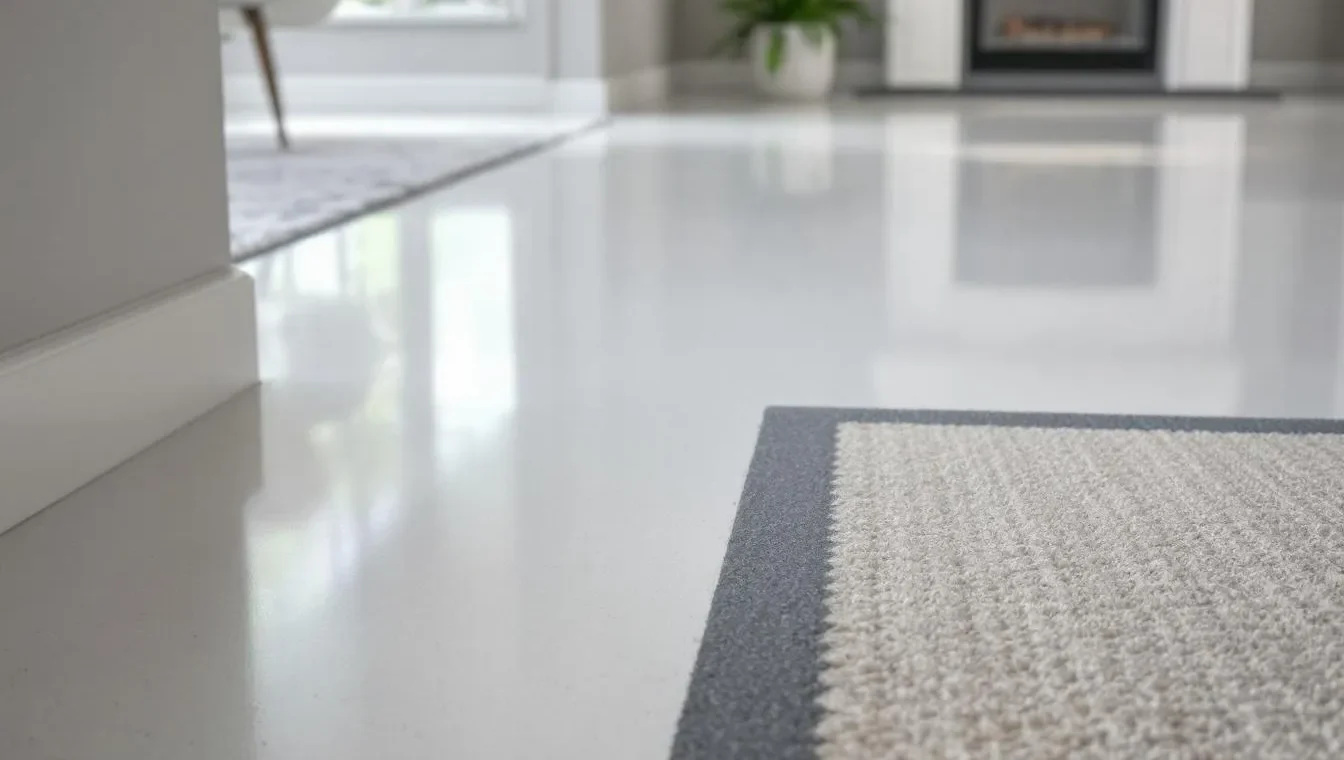
At Superfloor Australia, we’ve seen a surge in homeowners wanting to transform their spaces with painted concrete floors in houses. This trend combines durability with aesthetic appeal, offering a cost-effective way to revamp your home’s look.
Ready to give your concrete floors a stunning makeover? Our step-by-step guide will walk you through the process, from preparation to the final coat.
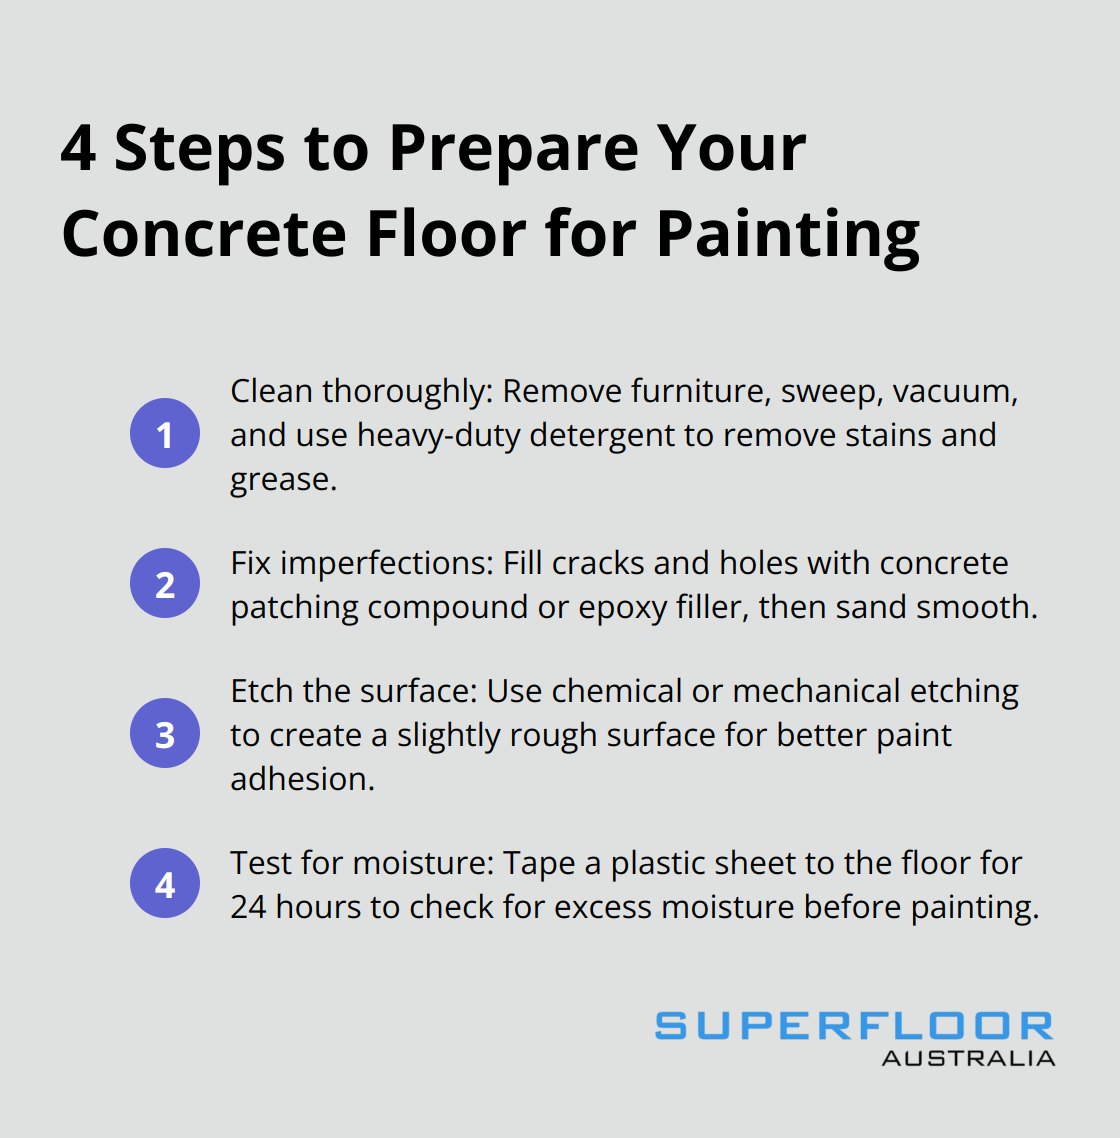
How to Prepare Your Concrete Floor for Painting
Clean Thoroughly: Beyond Sweeping
Remove all furniture and fixtures from the area. Sweep and vacuum meticulously. Use a heavy-duty detergent to remove any stains or grease until the surface is free from stains. Be sure to remove any old paint as well to get the best results. For stubborn spots, scrub vigorously with a stiff-bristled brush, then rinse with clean water. Allow the floor to dry completely before proceeding.
Fix Imperfections: Address Every Detail
Inspect your floor closely for cracks, holes, or uneven areas. Fill small cracks with a concrete patching compound, and use epoxy filler for larger ones. Apply the filler with a putty knife, ensuring it’s level with the surrounding concrete. After it dries, sand the repaired areas smooth. This step is essential – even minor flaws will show through your paint job.
Etch the Surface: The Key to Paint Adhesion
Etching creates a slightly rough surface that helps paint adhere better. Chemical etching involves using acidic solutions to create designs on the surface of the concrete. The acid solution is applied to the surface, let it work for about 10 minutes, then rinse thoroughly with clean water. For mechanical etching, rent a concrete grinder from a local hardware store. This method requires more effort but produces excellent results.
After etching, your floor should feel like medium-grit sandpaper. If it doesn’t, repeat the process. Once satisfied, use a shop vacuum to remove all dust and debris.
Test for Moisture: Prevent Future Problems
Before you move on to painting, it’s important to test for moisture in your concrete. Excess moisture can cause paint to bubble and peel. To test, tape a plastic sheet (about 2 feet square) to the floor and leave it for 24 hours. If condensation forms under the plastic, your concrete has too much moisture and needs more time to dry.
Proper preparation takes time, but it’s the foundation of a successful paint job. A well-prepared surface will ensure your paint looks great and lasts for years. Now that your floor is ready, let’s explore how to choose the right paint and tools for your project.
What Paint and Tools Do You Need?
Selecting the Right Paint
The choice of paint can make or break your concrete floor project. Epoxy paint stands out as a top option for concrete floors. It offers exceptional durability, resists chemicals, and creates a high-gloss finish. However, its application requires precision and careful mixing. Acrylic paint provides an easier application process but sacrifices some durability. For outdoor areas, select paints specifically formulated for exterior concrete surfaces.
Water-based paints offer easier application, faster drying times, and lower VOCs, making them ideal for quick projects and environmentally-conscious homeowners. Oil-based paints provide superior durability but come with stronger odours and longer drying times.
Essential Tools for a Professional Finish
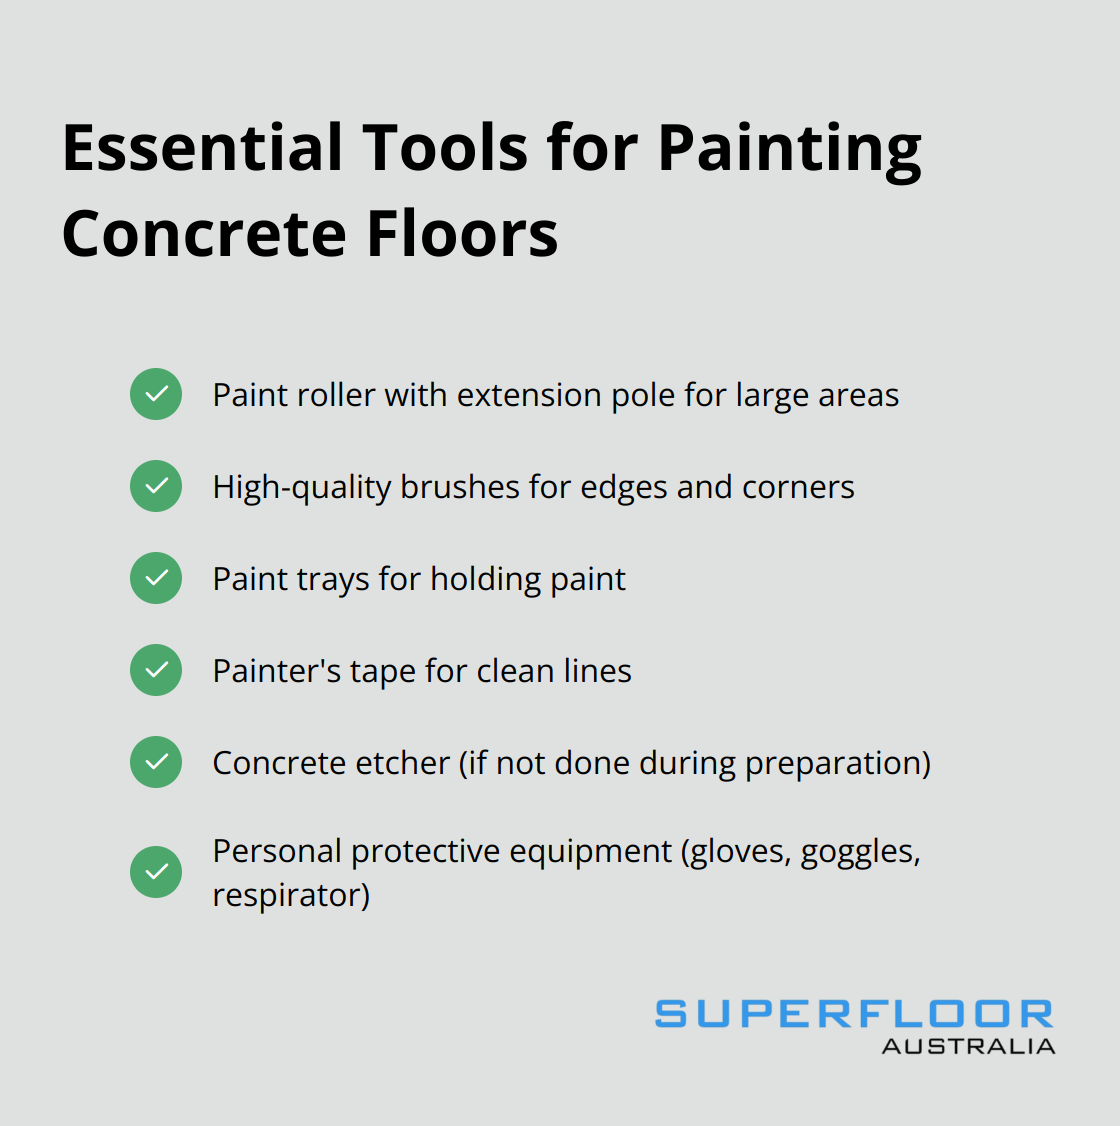
To achieve a professional-looking result, you’ll need:
- Paint roller with extension pole
- High-quality brushes for edges and corners
- Paint trays
- Painter’s tape
- Concrete etcher (if not completed during preparation)
- Personal protective equipment (gloves, goggles, and a respirator)
Quality matters when it comes to tools. Low-grade rollers might leave lint in your paint, while cheap brushes can shed bristles. Invest in good tools, and you’ll see the difference in your finished floor.
Choosing the Perfect Colour
Your colour selection will significantly impact the look and feel of your space. Light colours make the space appear larger, while darker colours make them appear more closed and smaller to the eye. Consider the room’s purpose and existing decor when making your selection.
For a modern aesthetic, greys and whites remain popular choices. Earthy tones like beige or terracotta can create a warm, inviting atmosphere. If you want to make a bold statement, consider a vibrant colour or even a multi-colour design.
Keep in mind that concrete paint often appears darker when applied. It’s wise to choose a shade lighter than your desired final colour. Always test your chosen colour on a small, inconspicuous area before committing to the entire floor.
Additional Considerations
Don’t forget to factor in the finish of your paint. Glossy finishes reflect more light and can make a space feel larger, but they also highlight imperfections. Matte finishes hide flaws better but may not be as easy to clean.
The amount of paint you’ll need depends on the size of your space and the number of coats you plan to apply. As a general rule, calculate about 400 square feet per gallon for smooth surfaces (and less for rough surfaces).
With your paint, tools, and colour selected, you’re ready to start the transformation of your concrete floor. In the next section, we’ll guide you through the painting process step by step, ensuring you achieve the stunning results you desire.
How to Paint Your Concrete Floor
Apply Primer: The Foundation for Success
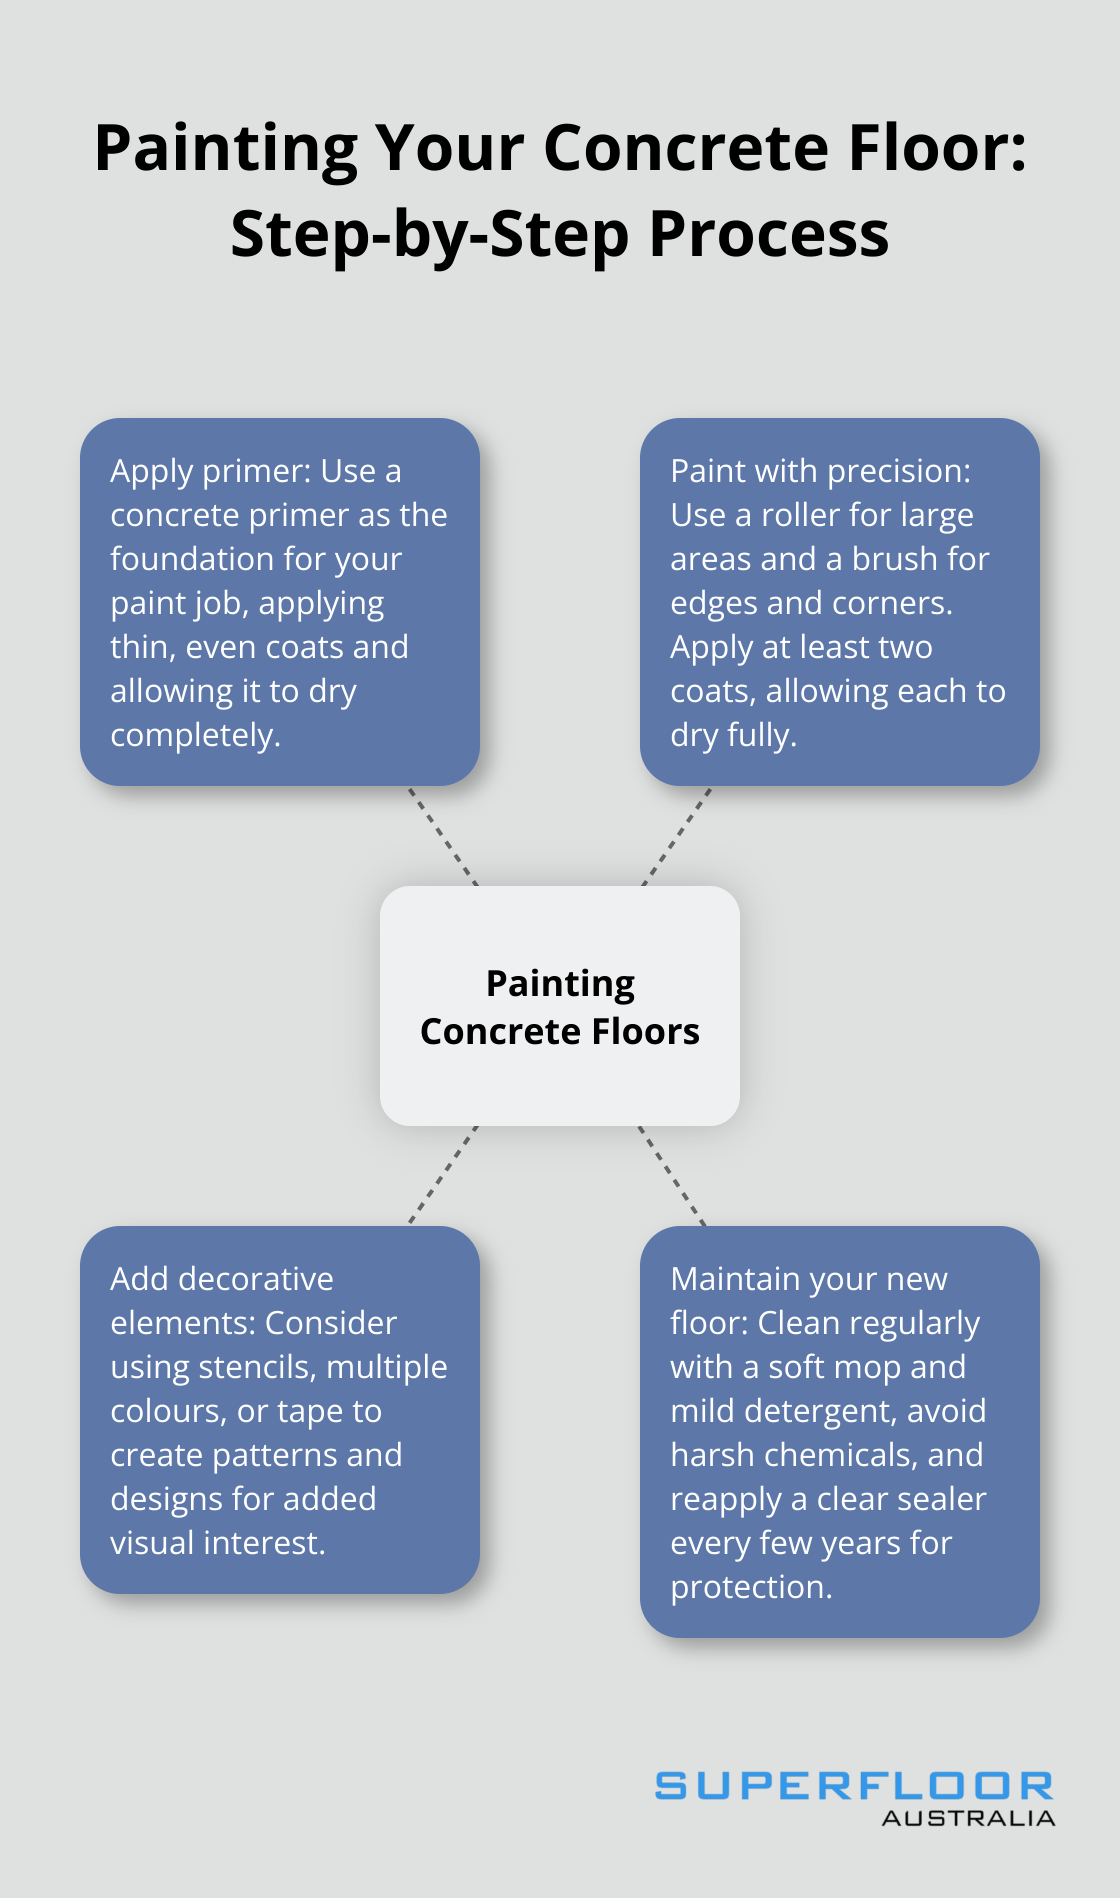
Start with a concrete primer application. A good acid wash and the right primer will often be enough to prepare the floor for new paint without grinding. Use a roller with an extension pole for large areas and a brush for edges and corners. Apply thin, even coats in small sections. Allow the primer to dry completely (typically 8 hours, but may vary based on conditions).
Paint with Precision: Techniques for Flawless Coverage
Once the primer dries, begin painting. Pour concrete floor paint into a paint tray. Start in a corner furthest from the exit and work your way out. Use long, overlapping strokes with your roller for even coverage. For a smoother finish, roll in one direction, then cross-roll perpendicular to your initial strokes.
Pay extra attention to edges and corners. Use a brush to cut in these areas before rolling. This technique (known as “cutting in“) helps prevent visible brush marks in your finished floor.
Most concrete floors require at least two coats of paint for optimal coverage and durability. Allow each coat to dry completely before applying the next. Drying times range from 4 to 24 hours, depending on paint type and environmental conditions.
Add Decorative Elements: Elevate Your Design
To add flair to your floor, incorporate decorative elements. Stencils create intricate patterns or mimic the look of tile. For a marbled effect, use two or more colours and swirl them together while the paint is still wet.
To create stripes or geometric shapes, use painter’s tape to mark off your design after the base coat dries completely. Apply your accent colour, then remove the tape while the paint is still slightly wet to ensure clean lines.
Try to keep floor designs simple and elegant. A straightforward pattern can make a big impact without overwhelming the space.
After your final coat or decorative elements are complete, allow the floor to cure fully before walking on it or replacing furniture. A curing period of at least 30 days is required for the concrete to react and become less alkaline.
Maintain Your New Floor: Ensure Long-lasting Beauty
To keep your newly painted concrete floor looking its best:
- Clean regularly with a soft mop and mild detergent.
- Avoid harsh chemicals or abrasive cleaning tools.
- Place felt pads under furniture legs to prevent scratches.
- Reapply a clear sealer every few years to protect the paint (this varies based on foot traffic and wear).
With proper care, your painted concrete floor will remain a stunning feature in your home for years to come.
Final Thoughts
Painted concrete floors in houses offer a unique blend of durability and style that can transform your living space. The key to success lies in patience and attention to detail throughout the process. Regular sweeping and gentle mopping will keep your newly painted floors looking fresh for years to come.
Avoid harsh chemicals and abrasive tools that could damage the paint. Place felt pads under furniture to prevent scratches, and consider reapplying a clear sealer every few years to protect the paint (especially in high-traffic areas). We at Superfloor Australia encourage you to take on this exciting project to update your home with a modern, low-maintenance solution.
If you want professional assistance or wish to explore other concrete flooring options, visit our website for expert advice and services. Painted concrete floors provide a fantastic way to enhance your home’s aesthetic and will stand the test of time. Try this rewarding DIY project and enjoy the stunning results in your living space.