Concrete floor repair is a vital skill for maintaining the integrity and appearance of your property. At Superfloor Australia, we’ve seen firsthand how neglected concrete floors can lead to costly replacements and safety hazards.
This comprehensive guide will walk you through the most common types of concrete floor damage and provide step-by-step repair techniques. We’ll also share essential preparation tips and long-term maintenance strategies to keep your floors in top condition.
What Damages Concrete Floors?
Concrete floors, while durable, are not invincible; overloading can result in flexural crack formation and possible failure. At Superfloor Australia, we’ve encountered various types of damage that can compromise the integrity and appearance of concrete surfaces. Understanding these issues is essential for effective repair and maintenance.
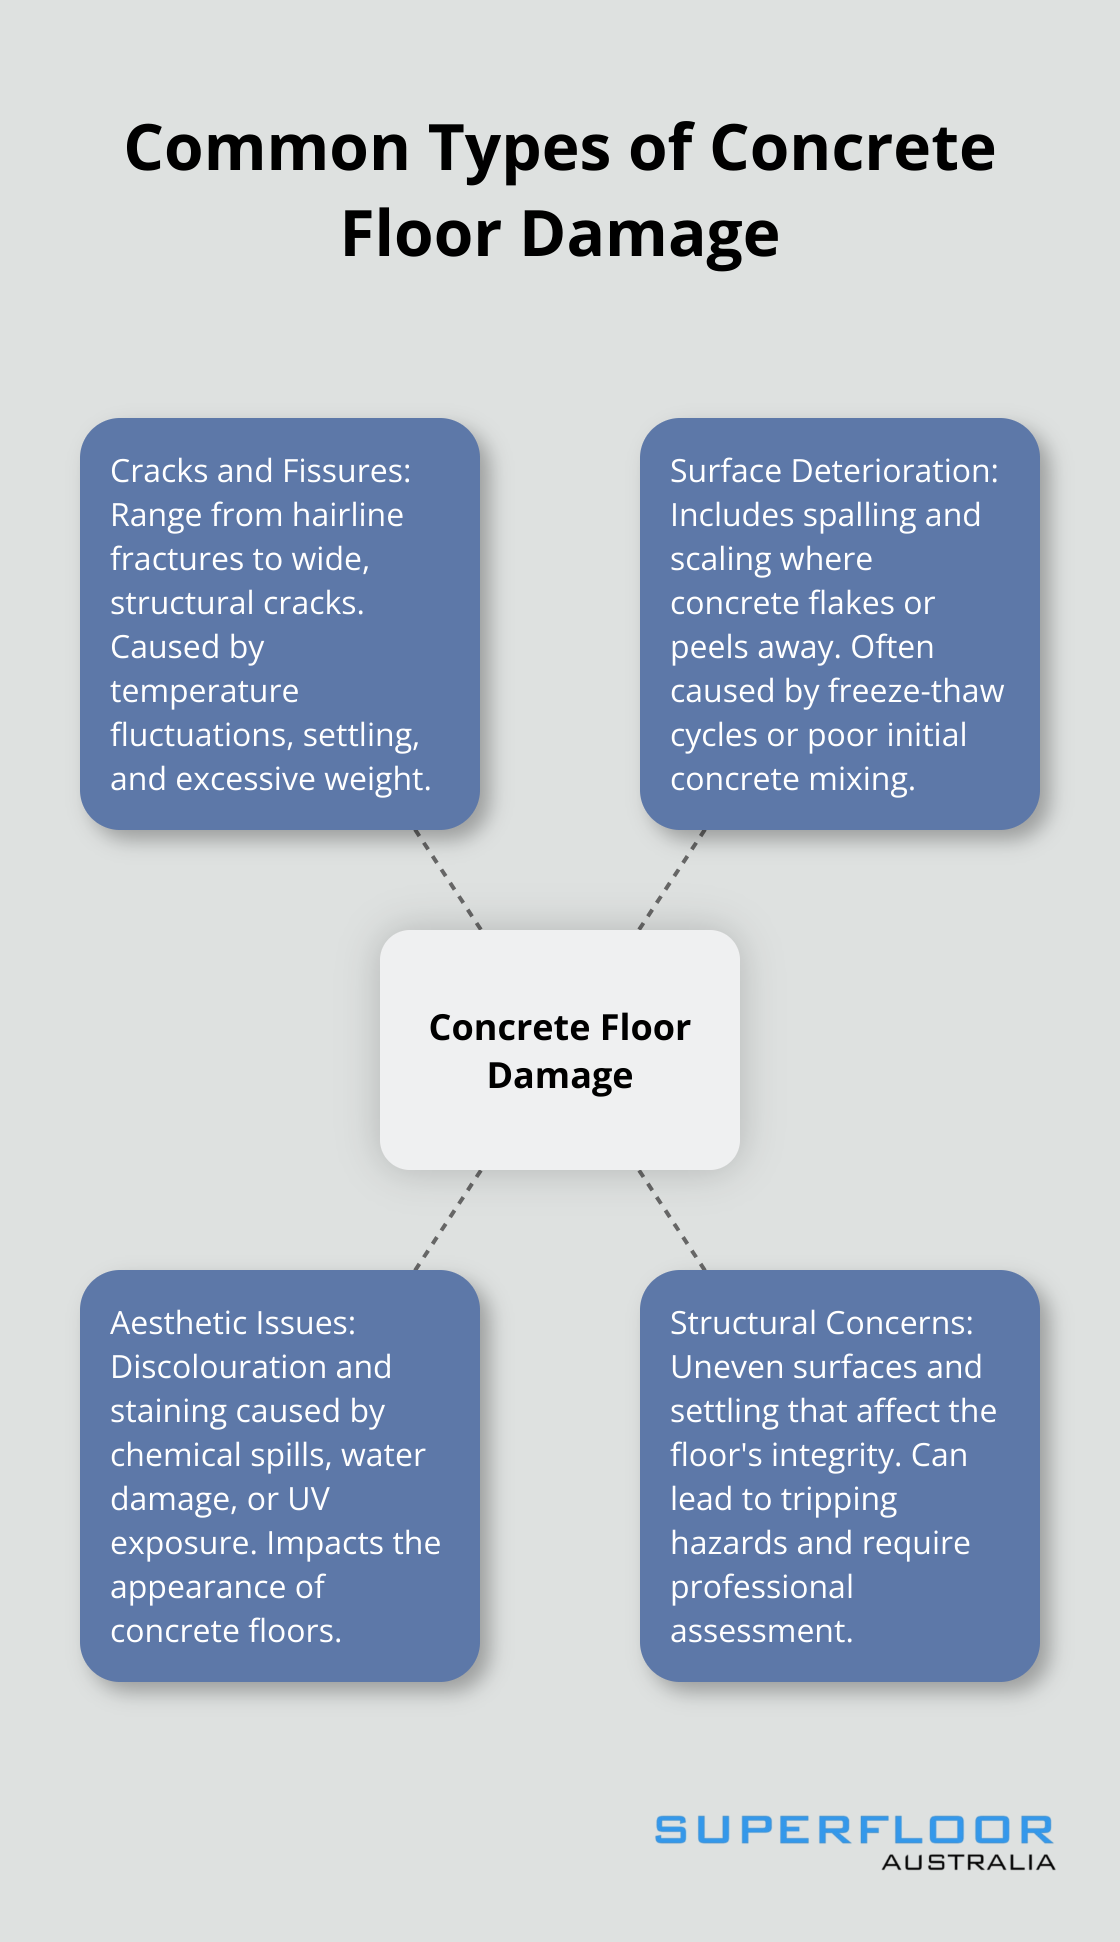
Cracks and Fissures
Cracks represent the most common form of concrete floor damage. They range from hairline fractures to wide, structural cracks. Good design and construction practices can minimise the amount of cracking and eliminate or control visible large cracks by minimising restraint. Temperature fluctuations, settling, and excessive weight primarily cause these problems. Early detection and repair of small cracks prevent them from expanding and causing more severe damage.
Surface Deterioration
Spalling and scaling are forms of surface deterioration where concrete flakes or peels away. Freeze-thaw cycles, de-icing chemicals, or poor initial concrete mixing often result in these issues. Prompt action prevents further degradation and potential safety hazards.
Aesthetic Issues
Discolouration and staining significantly impact the appearance of concrete floors. Chemical spills, water damage, or UV exposure often cause these problems. For stubborn stains, specialised cleaning solutions and techniques (such as pressure washing or chemical treatments) restore the floor’s original colour.
Structural Concerns
Uneven surfaces and settling are serious problems that can affect the structural integrity of the floor. This leads to uneven floors, which not only look unsightly but also pose tripping hazards. Professional assessment is always recommended for these issues, as they often require specialised equipment and expertise to address effectively.
Prevention and Maintenance
Regular inspections and maintenance are key to preserving the longevity and appearance of concrete floors. Try to implement a routine maintenance schedule (e.g., monthly inspections and annual deep cleaning) to catch potential issues early. Proper sealing and immediate cleanup of spills also go a long way in preventing damage.
As we move forward, let’s explore how to prepare for concrete floor repair, ensuring you have the right tools and knowledge to tackle these common issues effectively.
How to Prepare for Concrete Floor Repair
Proper preparation is essential for successful concrete floor repair. This chapter outlines the key steps to take before starting any repair work.
Assess the Damage
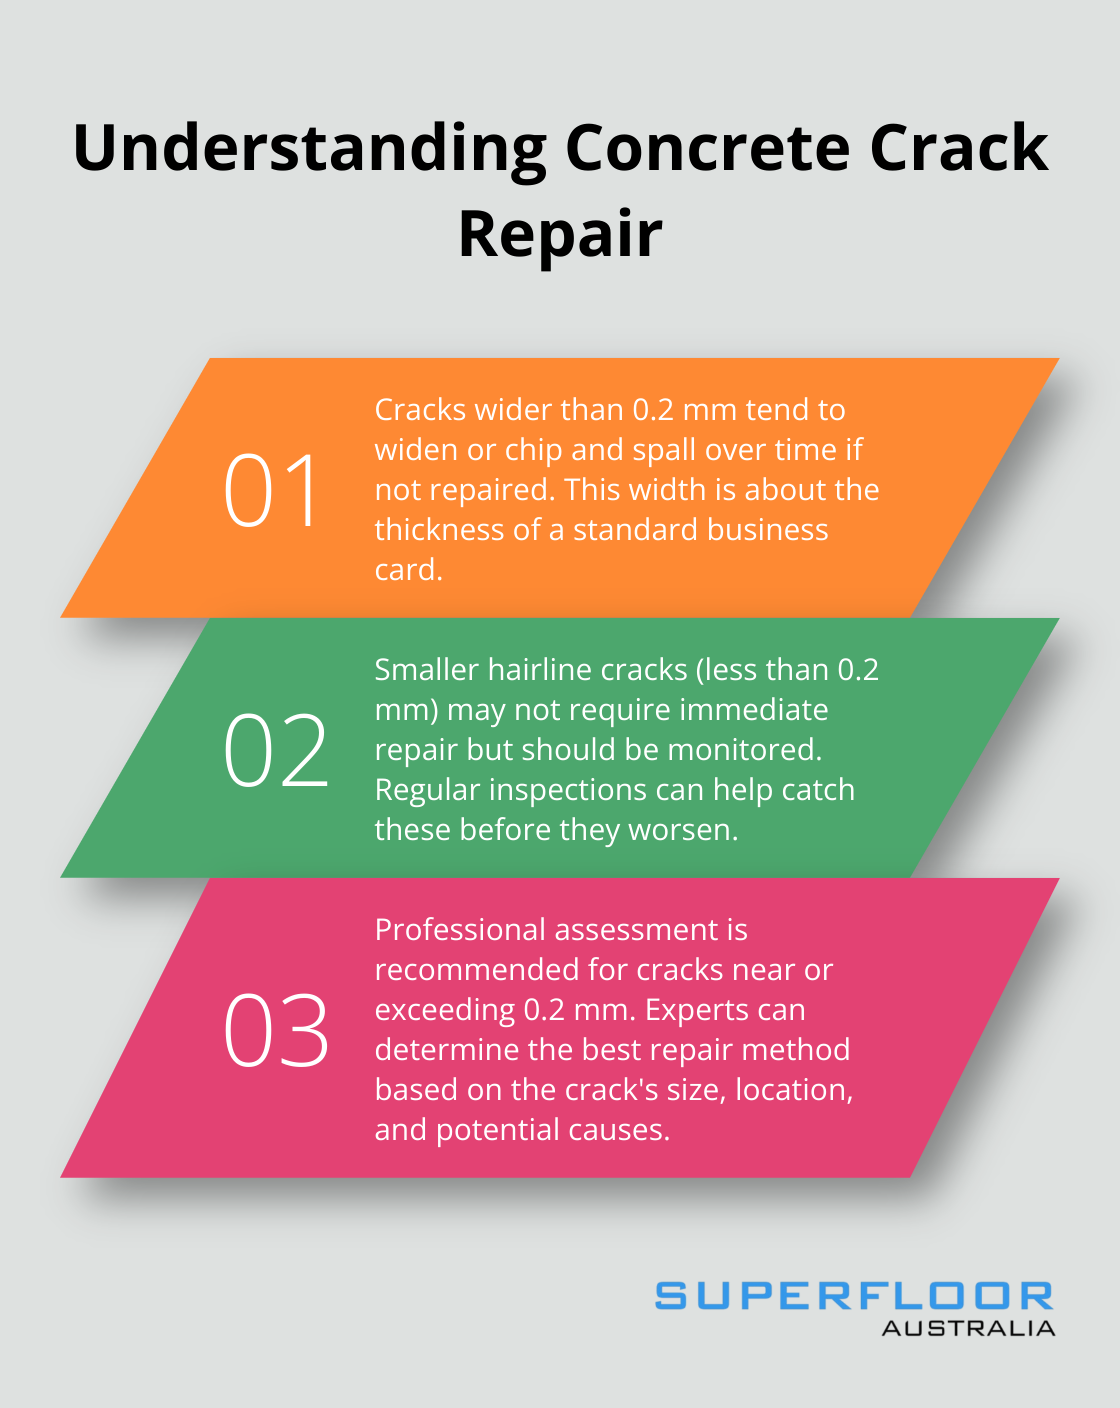
Start with a thorough inspection of your concrete floor. Look for cracks, chips, spalling, or uneven areas. Use a flashlight to spot subtle imperfections. Measure the length, width, and depth of cracks or holes. Cracks wider than 0.2 mm will tend to widen or chip and spall over time if not repaired. This information will determine the repair method and materials needed.
For larger areas or structural concerns, consider hiring a professional inspector. They can use specialised tools (such as moisture meters or thermal imaging cameras) to identify potential problems that may not be visible to the naked eye, such as energy loss, moisture intrusion, and electrical issues.
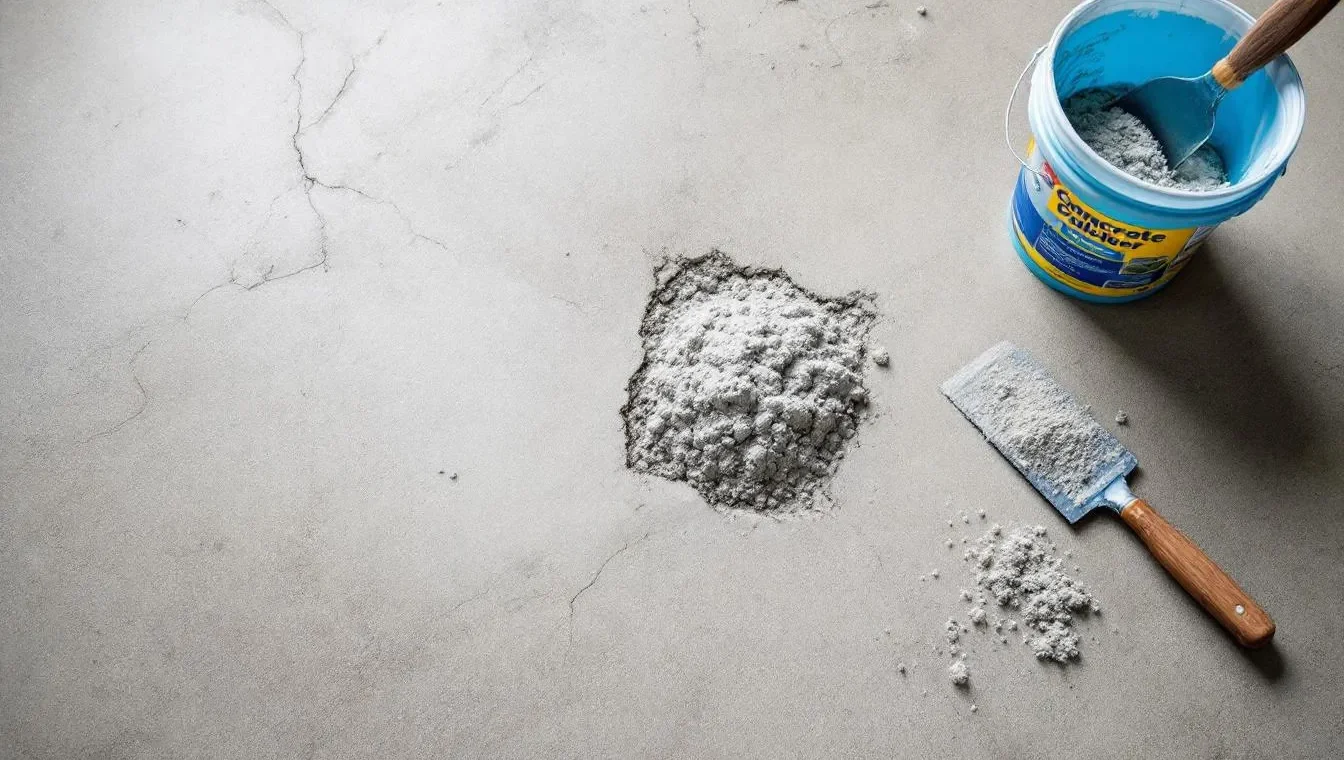
Clean and Clear the Area
Remove all furniture, equipment, and debris from the repair zone. Sweep the floor thoroughly, then use a vacuum with a HEPA filter to remove fine dust particles. For stubborn dirt or oil stains, apply a degreaser or concrete cleaner.
Next, use a wire brush or grinding wheel to remove loose concrete around damaged areas. This creates a clean, rough surface for better adhesion of repair materials. Finish by wiping the area with a damp cloth to remove any remaining dust.
Gather Tools and Materials
Based on your damage assessment, compile a list of necessary tools and materials. Common items include:
- Concrete patching compound
- Epoxy filler
- Trowel or putty knife
- Mixing bucket
- Drill with mixing paddle
- Concrete sealer
- Safety glasses and dust mask
- Knee pads
For larger repairs, you might need additional equipment like a concrete grinder or self-levelling compound. Always choose high-quality products designed specifically for concrete repair.
Prioritise Safety
Concrete repair can be hazardous if you don’t take proper precautions. Wear safety glasses to protect your eyes from dust and debris. Use a respirator or dust mask to avoid inhaling concrete particles. Knee pads and work gloves will protect you during extended periods of kneeling and handling materials.
Ensure proper ventilation in the work area, especially when using chemical products. Keep a first aid kit nearby and familiarise yourself with the safety data sheets of all products you’re using.
Selecting the most appropriate flooring and keeping it well maintained will significantly reduce risk of slips, trips, and falls.
Plan Your Repair Strategy
Before you begin, create a detailed plan for your repair work. Consider factors such as drying times, weather conditions, and the sequence of repair steps. This planning will help you work efficiently and avoid potential setbacks.
Now that you’ve completed these preparation steps, you’re ready to move on to the actual repair techniques. The next chapter will guide you through the step-by-step process of repairing various types of concrete floor damage.
How to Fix Common Concrete Floor Issues
At Superfloor Australia, we’ve developed effective techniques to address the most common concrete floor problems. This guide will walk you through practical steps to repair various issues and maintain your concrete floors.
Filling Cracks and Small Holes
For hairline cracks (less than 1/8 inch wide), use concrete caulk or liquid filler. Clean the crack thoroughly, then apply the filler with a caulking gun. Wider cracks require a concrete patching compound. Mix the compound according to instructions, press it into the crack with a putty knife, smooth the surface, and let it cure for 24 hours.
Fill small holes with concrete repair mortar. Clean and slightly dampen the hole, apply mortar with a trowel, and overfill slightly (as the mortar will shrink while drying). After about 20 minutes, smooth the surface with a damp sponge.
Tackling Spalling and Surface Damage
Spalling repairs start with removing loose concrete using a chisel and hammer. Clean the area thoroughly and apply a bonding agent for good adhesion. Mix concrete resurfacer, apply it with a trowel, work it into the damaged area, and smooth with a float. Allow 24 hours of curing before walking on the repaired surface.
For larger damaged areas, consider a self-levelling overlay. These products cover entire floors, creating a smooth, even surface (particularly useful for floors with multiple small damaged areas).
Levelling Uneven Areas
Address minor unevenness with a concrete grinder to smooth out high spots. For low spots, clean thoroughly and apply a self-levelling compound. These compounds flow into depressions, creating a level surface.
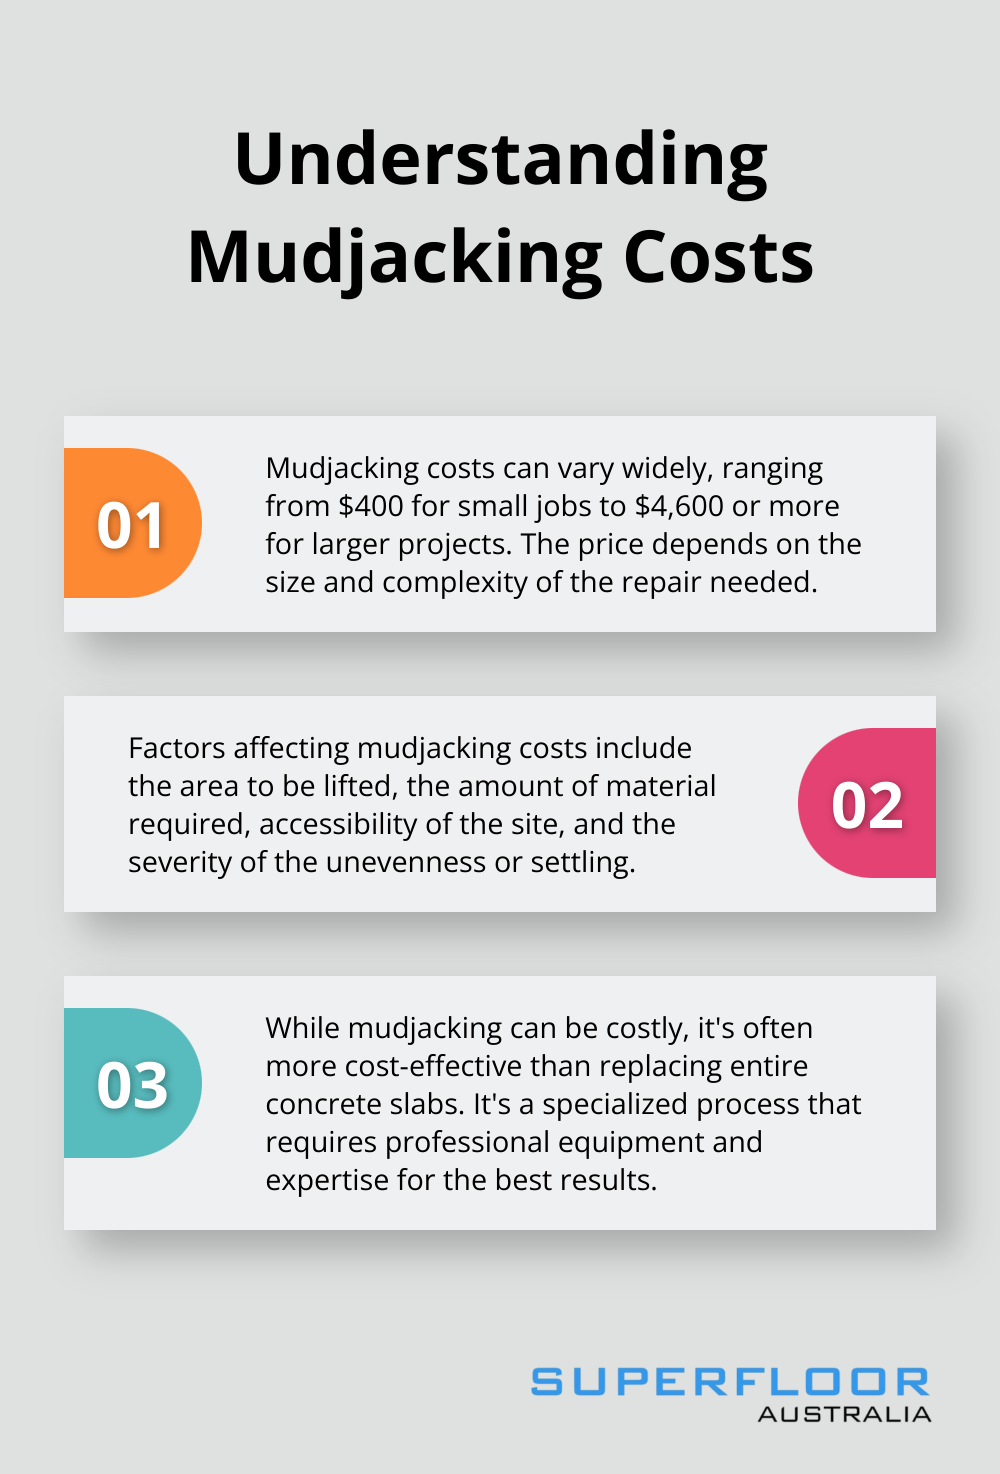
Significant unevenness might require mudjacking (pumping slurry under the slab to raise it). This process requires specialised equipment and is best left to professionals.
Sealing and Protecting
After repairs, apply an appropriate sealer for long-term protection. Choose based on your concrete type and usage. Indoor floors benefit from penetrating sealers (which don’t change the floor’s appearance), while outdoor or high-traffic areas need topical sealers for robust protection.
Apply sealer with a roller or sprayer, following manufacturer instructions carefully. Most sealers need at least two coats (with drying time between applications). Allow the final coat to cure fully before resuming normal floor use.
Professional Intervention
While these techniques address many common issues, some problems require expert help. If you’re unsure about damage extent or best repair methods, consult professionals (like us at Superfloor Australia). We assess situations and provide tailored solutions to ensure durable and attractive concrete floors.
Final Thoughts
Concrete floor repair requires prompt action to prevent minor issues from becoming major problems. Regular maintenance, including sweeping, cleaning spills, and periodic deep cleaning, will keep your floors in top condition. Professional concrete floor repair offers numerous benefits, such as accurate damage assessment and efficient handling of complex issues.
Experts possess the knowledge, experience, and specialised equipment to ensure long-lasting results. We at Superfloor Australia specialise in high-quality polished concrete flooring solutions that enhance both aesthetics and durability. Our team can tackle everything from small cracks to complete floor renovations.
Investing in proper concrete floor repair and maintenance enhances the appearance of your space and contributes to the safety and longevity of your property. Taking action sooner rather than later will save you time and money in the long run (and prevent potential headaches). Contact us today to discuss your concrete floor repair needs and discover how we can help you achieve beautiful, durable floors.