At Superfloor Australia, we know that installing a durable concrete floor slab is a critical foundation for many construction projects.
A well-executed concrete floor slab provides strength, longevity, and versatility for residential, commercial, and industrial applications.
This guide will walk you through the essential steps to ensure your concrete floor slab installation meets the highest standards of quality and durability.
How to Prepare Your Site for a Concrete Slab
Clear and Level the Area
The first step in preparing your site for a concrete slab is to clear the area of all vegetation, debris, and topsoil. Use heavy machinery to remove obstacles and excavate to the required depth (typically 15-20 cm below the final slab level). This depth allows for the base layer and concrete thickness.
Next, level the area using laser-guided equipment to achieve a flat surface. Cut down high spots and fill low areas with compacted soil. Create a slight slope (about 1 cm per metre) away from buildings to help with drainage.
Create a Solid Foundation
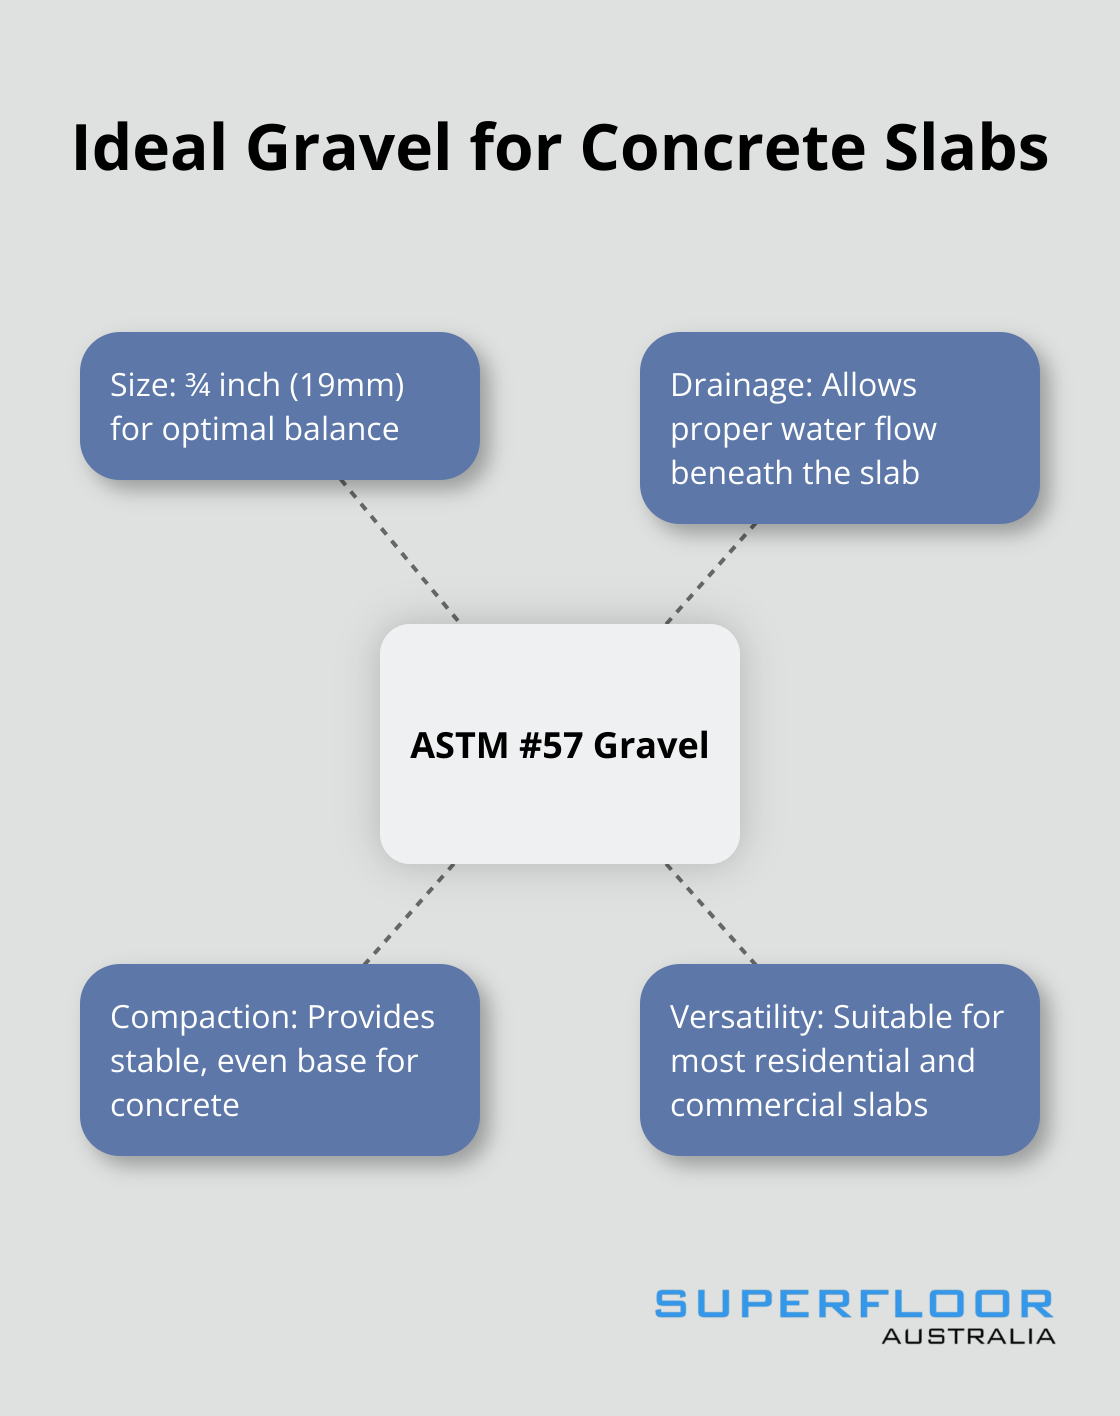
A proper base layer prevents future settling and cracking. Spread a 10-15 cm layer of crushed stone or gravel evenly across the area. For concrete slabs, the ideal gravel size is typically ¾ inch (ASTM #57), as it offers a good balance of drainage and compaction. Compact this material using a plate compactor or roller.
For areas with poor soil conditions, consider additional measures like soil stabilisation or a thicker base layer. In extreme cases, consult a geotechnical engineer to ensure the ground can support the slab.
Set Up Formwork and Reinforcement
Formwork acts as a mould for the concrete and defines the slab’s edges. Use sturdy timber or steel forms, ensuring they’re straight, level, and securely staked. Set the forms to the exact height of the finished slab.
Reinforcement is essential for the slab’s structural integrity. Use steel mesh or rebar, depending on the slab’s purpose and expected loads. Rebar, made of steel, provides superior strength and is better suited for heavy-duty construction like foundations and load-bearing walls. Place the reinforcement on “chairs” to keep it at the correct height within the slab (typically in the middle or slightly above).
For larger slabs, install expansion joints to control cracking. Place these at regular intervals (usually every 3-4 metres) and at any corners or changes in slab thickness.
Final Checks and Moisture Barrier
Before pouring, double-check all aspects of the preparation:
- Verify levels
- Ensure forms are secure
- Confirm correct reinforcement placement
Install a vapour barrier to prevent moisture from seeping up through the slab. The single most important reason to use a high-performance vapour barrier is to protect the expensive floor covering in your building.
This meticulous preparation lays the groundwork for a concrete slab that will stand the test of time. The attention to detail in this phase distinguishes a high-quality concrete floor from a mediocre one. Now that the site is properly prepared, it’s time to move on to the next critical step: mixing and pouring the concrete.
How to Mix and Pour Concrete for Your Slab
At Superfloor Australia, we understand that mixing and pouring concrete is a key step in creating a durable floor slab. The quality of your concrete mix and the precision of your pouring technique directly impact the strength and longevity of your floor.
Select the Right Concrete Mix
The appropriate concrete mix is essential for your slab’s performance. For most residential and light commercial applications, a one-way flat slab is the most common type used. The strength requirements may vary depending on the specific application and local building codes.
The water-to-cement ratio is another important factor. Correct mix proportions prevent structural issues that might require extensive repairs later and support load-bearing elements.
For enhanced durability, consider adding fibre reinforcement to your mix. Polypropylene fibres are very effective in reducing plastic shrinkage cracks in the first days of concrete life and significantly improve its properties.
Calculate Concrete Volume
Accurate calculation of the required concrete volume is necessary to avoid shortages or excess. The basic formula is:
Volume (m³) = Length (m) x Width (m) x Depth (m)
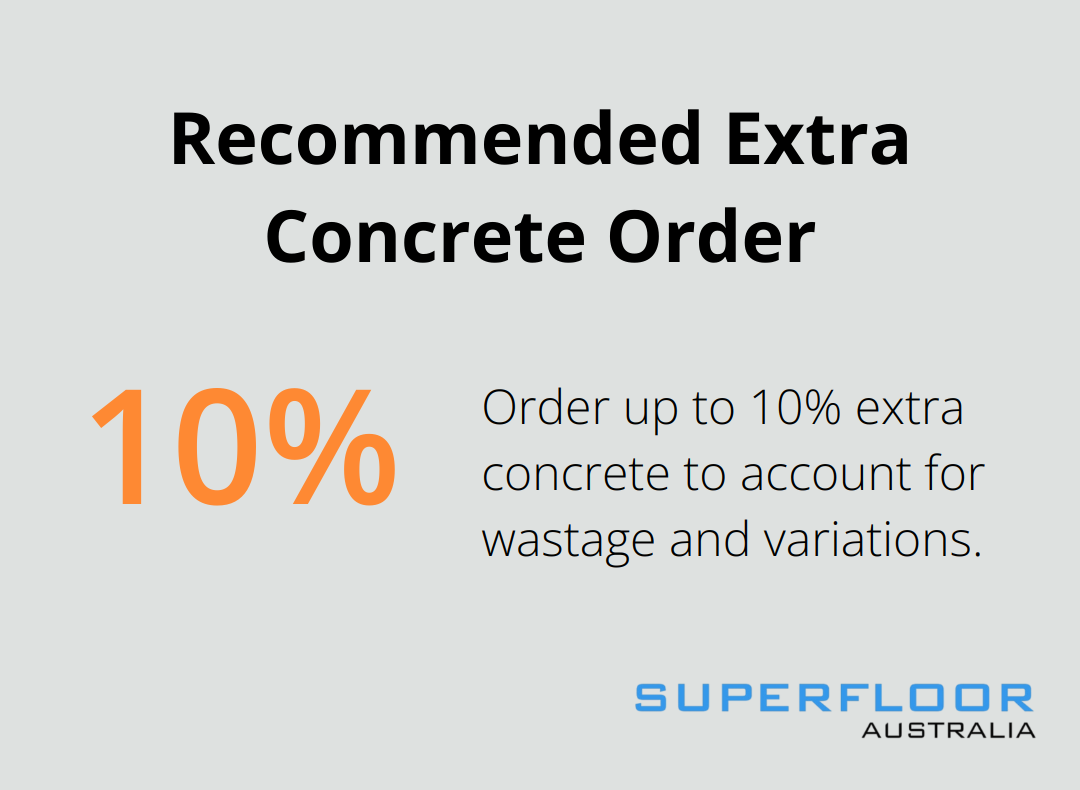
For a 10m x 10m slab with a thickness of 0.15m, you’ll need 15m³ of concrete. However, we always recommend ordering 5-10% extra to account for potential wastage or slight variations in slab thickness.
Use Proper Pouring Techniques
When it comes to pouring, timing and technique are everything. Start early in the morning to avoid the heat of the day, which can cause rapid setting and make finishing difficult.
Begin pouring at the farthest point from the concrete truck and work your way back. Use a concrete pump for large areas or where access is difficult. Pour the concrete in even layers (typically around 100mm thick).
As you pour, use a concrete vibrator to eliminate air pockets and ensure the concrete fills all spaces around reinforcement. Be careful not to over-vibrate, as this can cause segregation of the mix components.
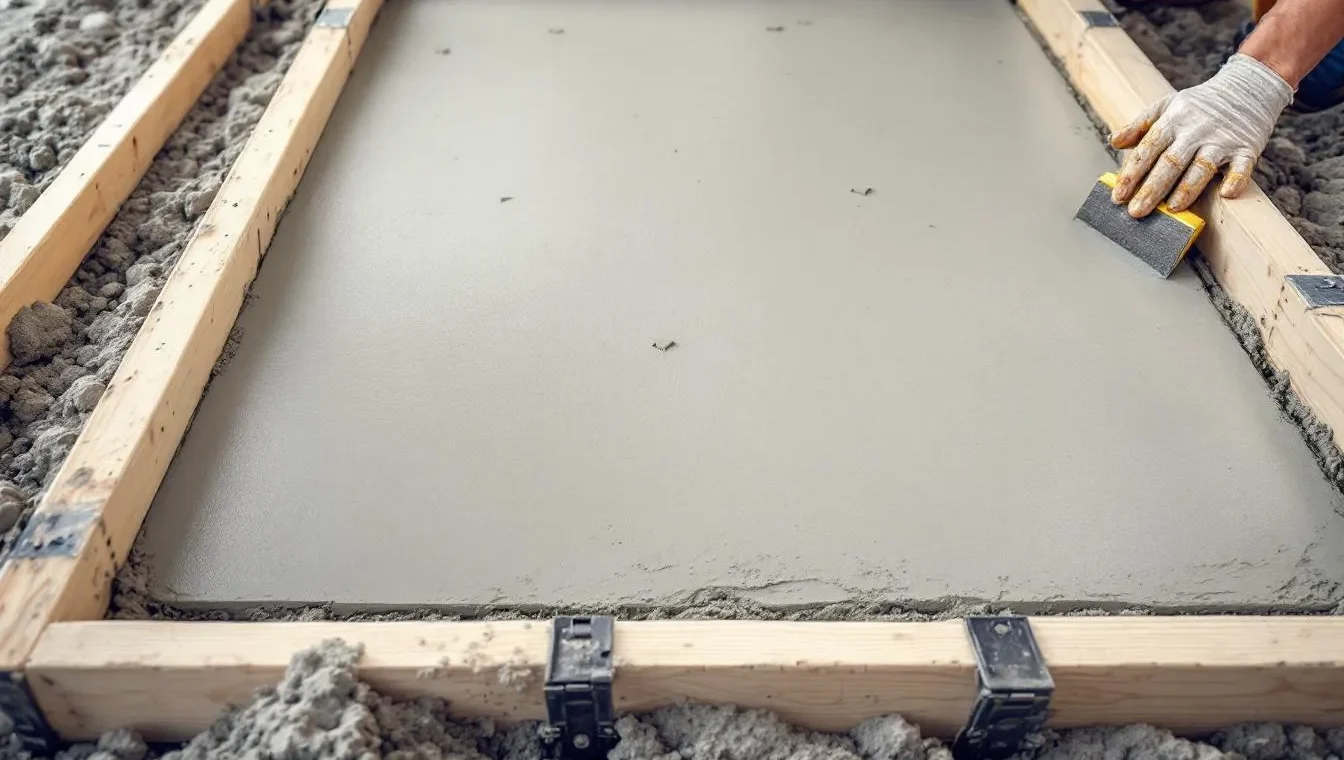
Screed the concrete immediately after pouring to level the surface. Use a straight edge (typically a 2×4 board) in a sawing motion across the top of the forms. This creates a uniform surface for further finishing.
Concrete begins to set within 30-90 minutes of mixing, depending on the temperature and mix design. Plan your pour to ensure you can finish the entire slab before the concrete starts to harden.
The next step in creating your durable concrete slab involves finishing and curing. This process is just as important as the mixing and pouring, and requires careful attention to detail to achieve the best results.
How to Perfect Your Concrete Slab Finish
Screeding and Floating
After pouring your concrete slab, start screeding immediately. Use a straight edge (typically a 2×4 board) to level the surface. Move it back and forth in a sawing motion across the top of the forms. This creates an even surface for further finishing.
Wait for the bleed water to evaporate (30 minutes to an hour, depending on weather conditions). Once gone, use a bull float to smooth out imperfections. Push and pull the float across the surface, slightly tilting the leading edge up when pushing and down when pulling.
Edging and Jointing
Use an edging tool along the formwork to create a slightly rounded edge. This prevents chipping and cracking along the slab’s perimeter. For larger slabs, cut control joints using a groover tool. These joints allow for movements caused by temperature changes and drying shrinkage.
Trowelling for Smoothness
When the concrete has set enough to walk on without leaving deep footprints, start trowelling. Begin with a magnesium float to smooth out remaining irregularities. Follow with a steel trowel for a smoother finish. For an ultra-smooth surface, perform multiple passes with the steel trowel, increasing the blade angle slightly with each pass.
Curing for Strength
Proper curing is essential for concrete strength and durability. Curing ensures the continued hydration of the cement so that the concrete continues to gain strength after placing. Start curing as soon as the concrete has hardened enough to prevent surface damage.
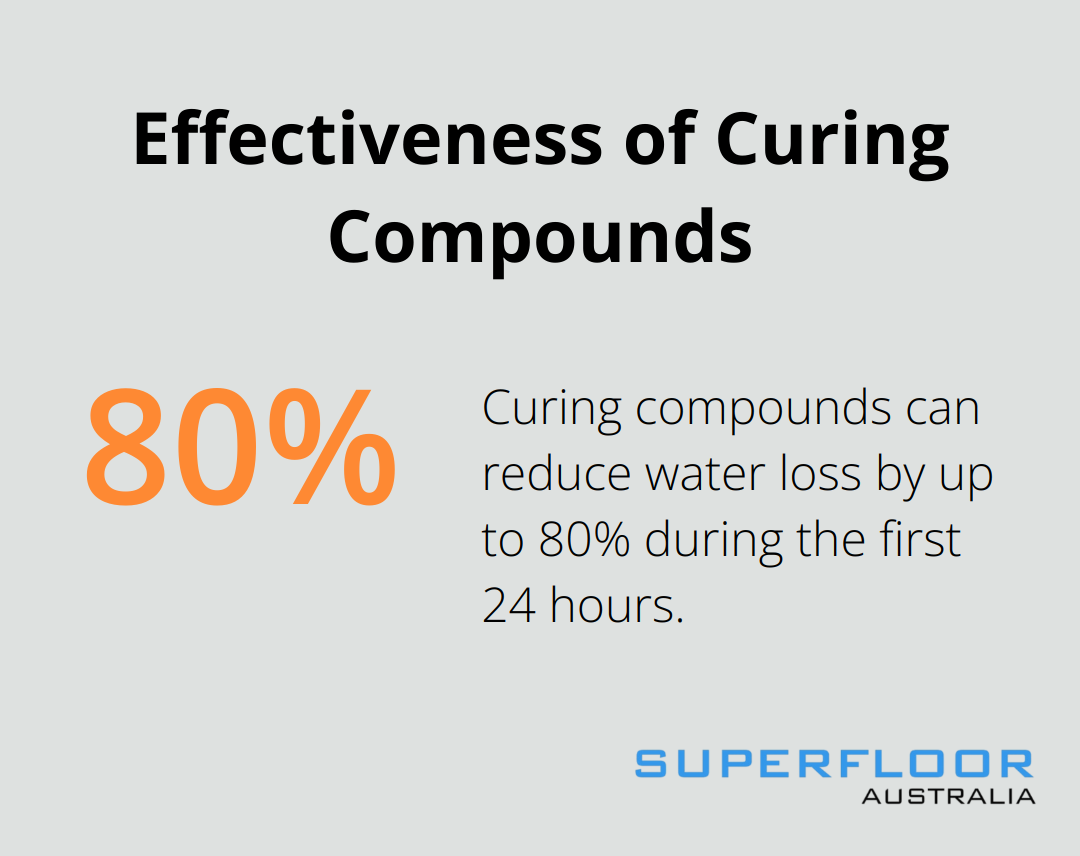
Cover the slab with plastic sheeting for 7 days to retain moisture and allow proper hydration. Alternatively, apply a liquid curing compound that forms a membrane over the surface (these compounds can reduce water loss by up to 80% during the first 24 hours).
For outdoor slabs, consider wet curing. Keep the concrete consistently moist for 7 days, either through periodic sprinkling or by covering with wet burlap.
Skipping the curing step can lead to a weaker slab prone to cracking and dusting. The extra time invested in proper curing results in a stronger, more durable concrete floor that will serve well for decades.
Final Thoughts
Installing a concrete floor slab requires precise planning and execution. Each step, from site preparation to curing, contributes to the slab’s durability and quality. Professional contractors possess the expertise and equipment to handle challenges and ensure compliance with local building codes.
A well-installed concrete floor slab offers long-term benefits (stability, durability, and easy maintenance). It withstands heavy loads, resists stains and moisture, and lasts for decades with minimal upkeep. The versatility of concrete allows for various finishes, including polishing, staining, or texturing to suit different aesthetic preferences.
For exceptional concrete flooring solutions in Brisbane, Superfloor Australia delivers high-quality polished concrete floors. Their expertise in concrete honing and polishing can transform your floor slab into a sleek, low-maintenance surface perfect for homes, commercial spaces, and industrial environments.