Installing hardwood floors on concrete slab requires proper preparation and the right techniques. Many homeowners face unique challenges when working with concrete subfloors.
We at Superfloor Australia have guided countless customers through this process. This comprehensive guide covers everything from moisture testing to final installation steps.
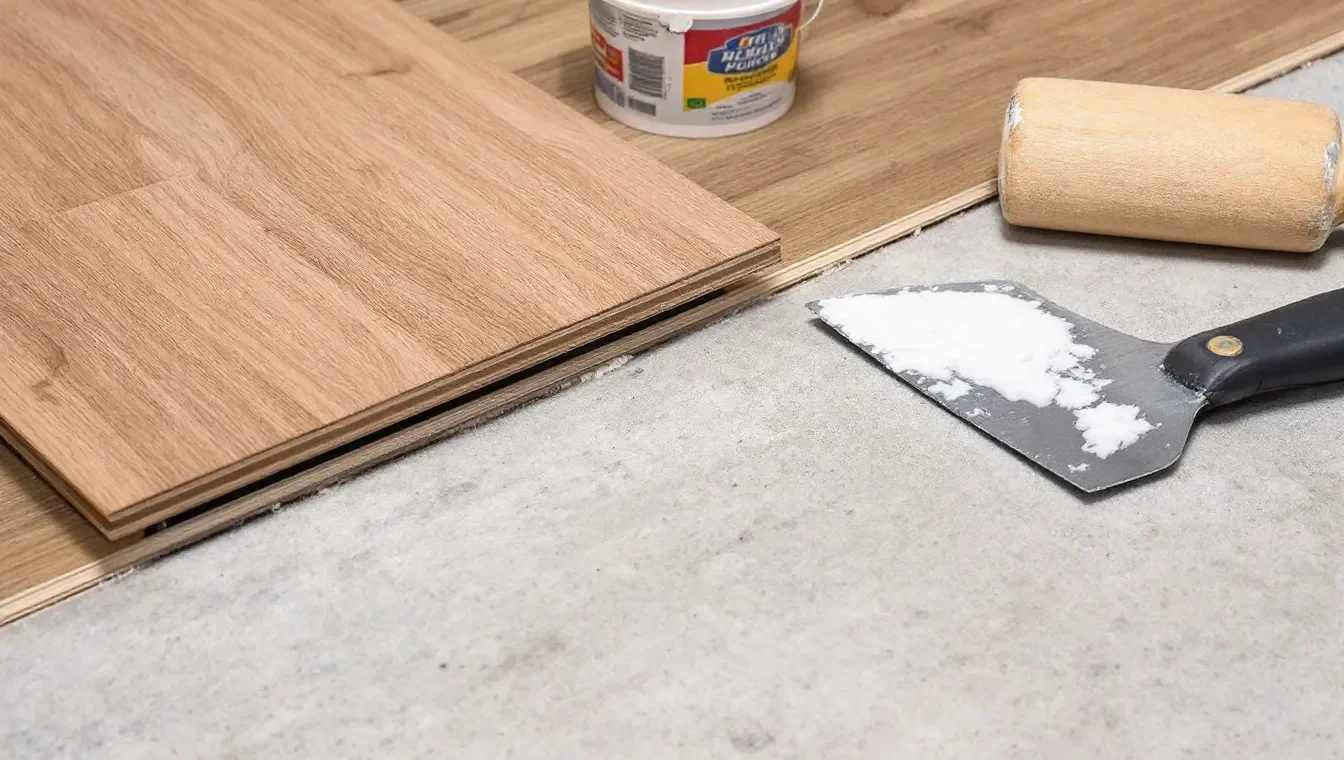
Tools and Materials Needed for Hardwood Installation on Concrete
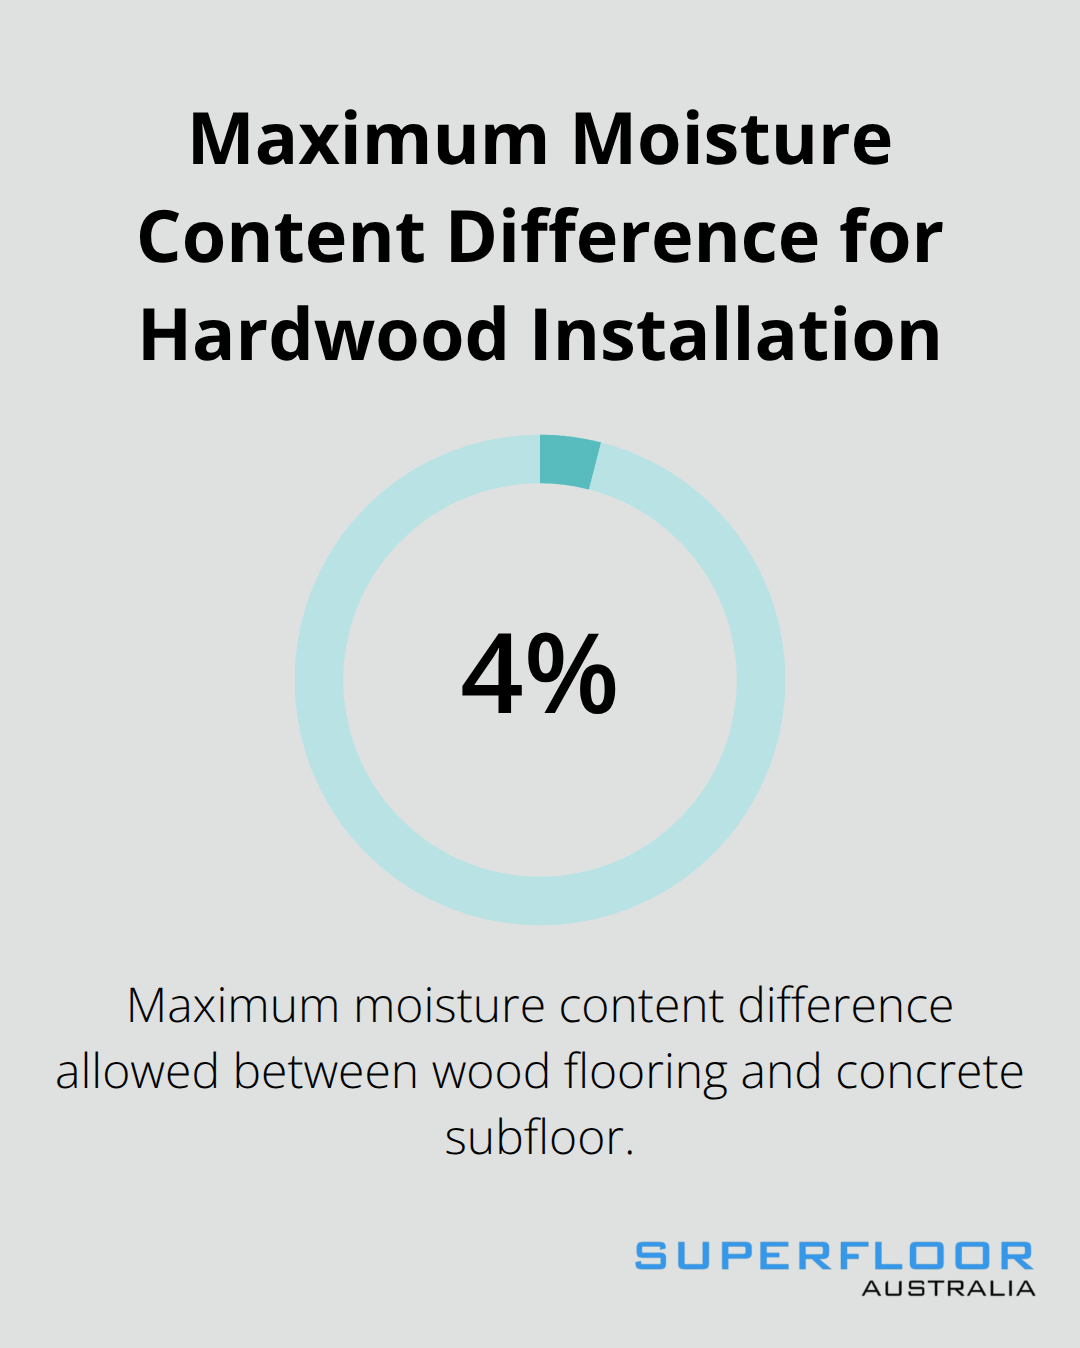
Success with hardwood installation on concrete depends entirely on having the right equipment before you start. A moisture meter ranks as your most important tool – the National Wood Flooring Association requires no more than 4 per cent moisture content difference between properly acclimated wood flooring and the subfloor for concrete slabs.
You need a concrete grinder for high spots, a self-levelling compound for low areas, and a notched trowel for adhesive application. Professional installers use a 1/4-inch square-notched trowel for optimal adhesive coverage.
Essential Installation Tools
Your tool list must include a circular saw with carbide-tipped blades, a pneumatic nailer for engineered floors, and a pull bar for tight fits. A chalk line helps maintain straight rows, while a rubber mallet prevents damage during installation. Most professionals recommend renting a concrete moisture meter rather than purchasing one – rental costs around $30 per day versus $200-400 for purchase.
Moisture Barriers and Adhesives
Wakol PU280 polyurethane primer stands out as the top moisture barrier choice for permanently moisture-proof subfloors. This one-component barrier covers 40-45 square metres per 5-litre drum when applied at 150 microns thickness. Selleys Direct Stick Timber Flooring Adhesive provides superior bonding strength for glue-down installations on concrete surfaces.
Safety Equipment Requirements
Safety gear includes knee pads rated for concrete work, safety glasses, and dust masks with N95 filtration minimum. Professional-grade equipment makes the difference between a 10-year floor and a 30-year floor. Concrete dust poses serious health risks (especially silica particles), making proper respiratory protection non-negotiable during preparation work.
Once you gather all necessary tools and materials, the next step focuses on preparing your concrete slab to accept hardwood flooring properly.
How Do You Properly Prepare Concrete for Hardwood
Testing Concrete Moisture and Age Requirements
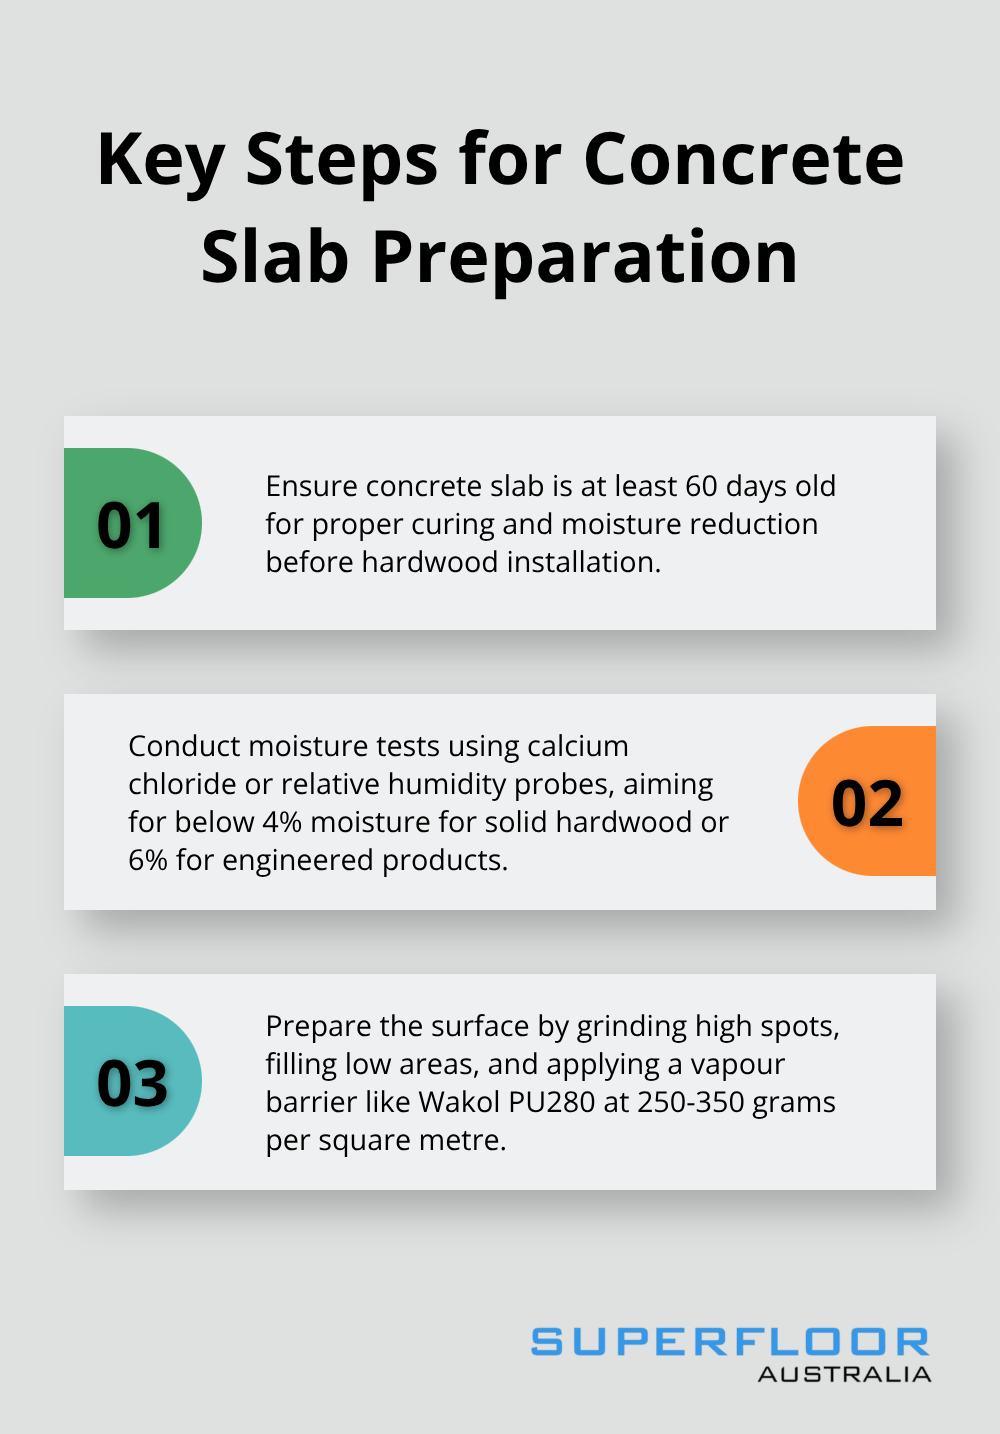
Concrete slabs under 60 days old contain too much moisture for hardwood installation and will cause warping within months. The National Wood Flooring Association mandates moisture tests in multiple areas with calcium chloride tests or relative humidity probes. Acceptable moisture levels must stay below 4 per cent for solid hardwood and below 6 per cent for engineered products. New concrete requires minimum 30 days before tests begin, though most professionals wait 60-90 days for complete curing. Test every 1,000 square feet and near exterior walls where moisture accumulates most. Failed moisture tests mean you postpone installation or switch to engineered products designed for higher humidity conditions.
Surface Preparation and Levelling Standards
Concrete surfaces need grinding to remove high spots that exceed 1/8 inch over 6 feet – rental concrete grinders cost $40-60 daily and complete most residential jobs in 4-6 hours. Low spots require self-levelling compound applied with a gauge rake to achieve proper flatness. Remove all oil stains, paint, adhesive residue, and construction debris with degreasing agents and mechanical scraping. The surface must pass the plastic sheet test: tape 2×2 foot plastic sheets to different areas for 24 hours, then check for condensation underneath that indicates excessive moisture transmission.
Vapour Barrier Installation Process
Apply Wakol PU280 polyurethane primer with short-haired velour rollers at 250-350 grams per square metre for complete moisture protection. This barrier provides superior moisture protection and dries within 40-50 minutes for immediate installation. Alternative options include 6-mil polyethylene sheets with sealed seams (using construction adhesive), though liquid barriers provide superior long-term protection. Skip traditional asphalt felt systems – modern polyurethane barriers outperform them significantly and eradicate the messy hot asphalt application process that creates health hazards.
With your concrete slab properly prepared and protected, you can now focus on the actual hardwood installation process that transforms your prepared surface into a beautiful finished floor.
How Do You Install Hardwood Planks on Concrete
Planning Your Layout and Starting Position
Start your layout from the longest, straightest wall in the room – this prevents crooked rows that compound throughout installation. Measure the room width and divide by plank width to determine if your final row exceeds 2 inches wide. Rows narrower than 2 inches look unprofessional and create weak points. Snap chalk lines parallel to your starting wall at 3-foot intervals to maintain straight rows during installation. Professional installers always dry-fit the first three rows completely before they apply any adhesive to identify potential problems with room geometry or plank variations.
Adhesive Application and Installation Technique
Apply adhesive with a 1/4-inch square-notched trowel held at 45-degree angles to create consistent ridges. Work in 3-foot sections to prevent adhesive from forming a skin – most polyurethane adhesives remain workable for 45-60 minutes after application. Press each plank firmly into the adhesive with 15-20 pounds of pressure and slide slightly to spread adhesive evenly across the back. The National Wood Flooring Association provides guidelines for checking adhesive transfer when you lift random planks during the first hour – you should see adequate coverage on plank backs. Install planks within 60 minutes of adhesive application or scrape and reapply fresh material. For detailed guidance on proper adhesive techniques, refer to our glue-down flooring installation guide.
Cutting Techniques and Obstacle Management
Use a mitre saw with fine-tooth carbide blades for crosscuts and a circular saw for rip cuts along walls. Maintain 1/2-inch expansion gaps around all fixed objects (pipes, vents, and doorways included). Create paper templates for complex cuts around irregular obstacles like radiator pipes or built-in fixtures. Professional installers cut planks face-down to prevent tear-out on visible surfaces and score the back side first for clean breaks. Install transition strips at doorways with construction adhesive rather than nails that can crack concrete. Check each row for straightness with a 6-foot level before you move to the next section. If working with uneven concrete surfaces, additional preparation may be required.
Quality Control During Installation
Monitor your work every three rows to catch problems early. Look for gaps between planks that exceed 1/16 inch – these indicate insufficient adhesive or improper pressure application. Test adhesive bond strength after the first 100 square feet by attempting to lift corner pieces (they should resist firmly). Wipe excess adhesive from plank surfaces immediately with mineral spirits before it cures. Professional installers use weighted rollers to maintain consistent contact between planks and adhesive during the installation process.

Final Thoughts
Your hardwood floors on concrete slab installation needs thorough final inspection within 24 hours of completion. Walk the entire surface and check for loose planks, adhesive squeeze-out, or gaps that exceed 1/16 inch. Test random areas by pressing firmly – properly bonded planks won’t move or make hollow sounds, and you must address any issues immediately while adhesive remains workable.
Maintain your new floors with weekly vacuuming and monthly damp mopping with pH-neutral cleaners. Avoid excessive water that can penetrate seams and damage the concrete bond. Control indoor humidity between 30-50 per cent year-round to prevent expansion and contraction issues (refinish every 7-10 years depending on traffic levels).
Professional installation becomes necessary when moisture readings exceed acceptable limits, room layouts involve complex cuts around multiple obstacles, or when you work with premium hardwood species that cost over $8 per square foot. DIY mistakes on expensive materials often cost more than professional labour. For concrete flooring solutions in Brisbane, Superfloor Australia offers polished concrete that provides dust-resistant, low-maintenance alternatives to traditional hardwood installations.