Polished concrete garage floors transform ordinary spaces into sleek, professional-looking areas that resist stains and damage. Learning how to polish concrete garage floor properly saves thousands compared to professional installation.
We at Superfloor Australia see homeowners achieve stunning results with the right tools and techniques. This guide walks you through each step of the polishing process.
Preparing Your Garage Floor for Polishing
Concrete Curing Requirements
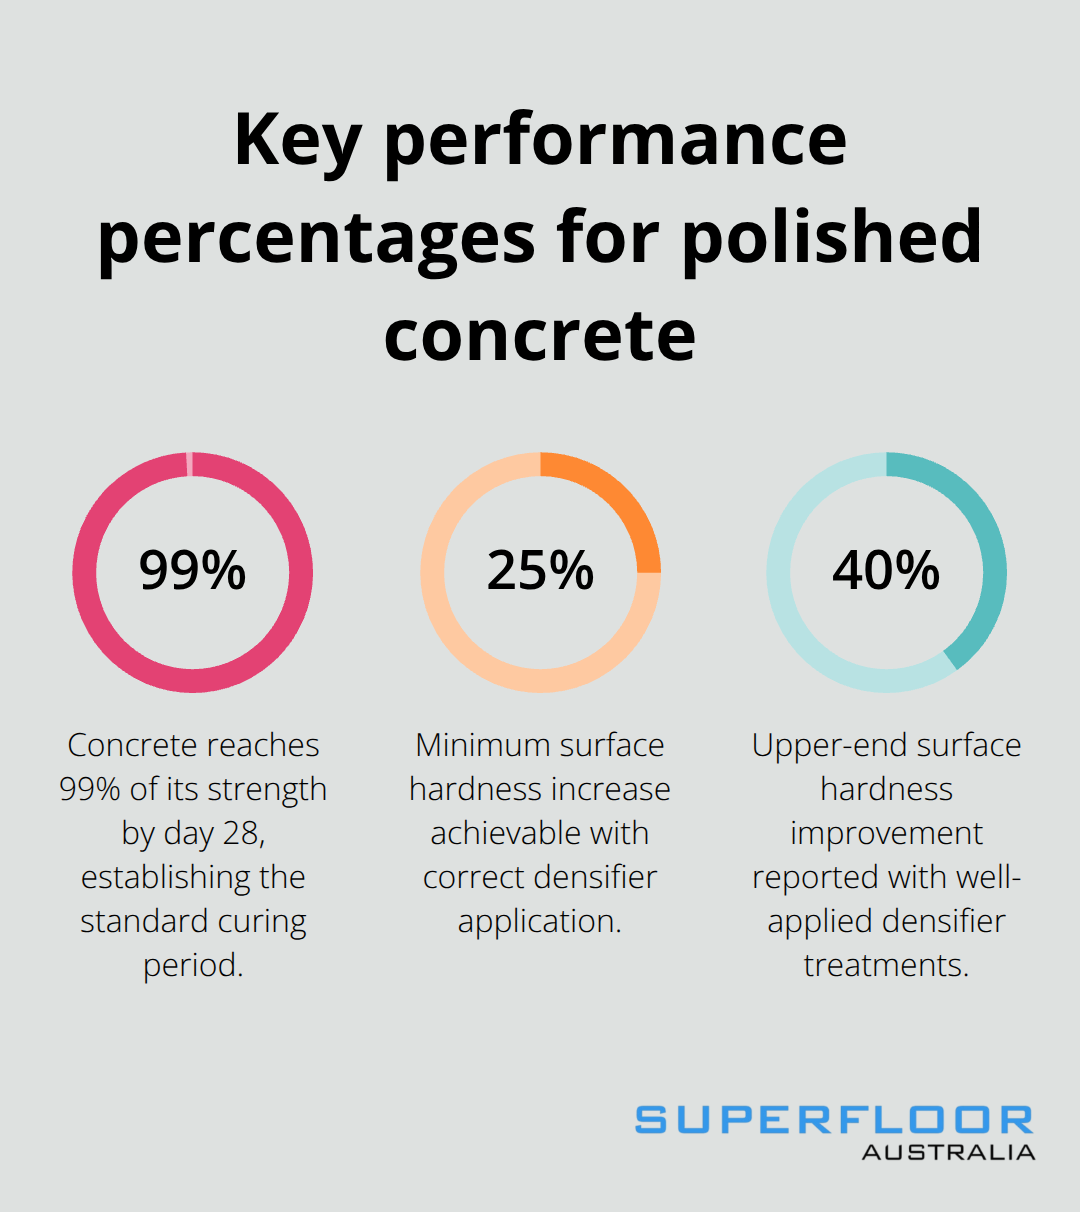
Your concrete must cure for at least 28 days before you begin any polishing work. New slabs need this full time period to reach maximum hardness and stability. The 28-day standard comes from decades of testing that determined concrete achieves 99% of its strength in 28 days. Skip this wait and you risk poor adhesion and uneven results that cost more to fix later.
Surface Cleaning and Coating Removal
Start with thorough cleaning using a degreasing agent and pressure washer to remove all oil stains, paint, and existing sealers. Stubborn coatings require mechanical removal with 16-30 grit diamond grinding discs. These coarse diamonds cut through old finishes effectively and prepare the surface for proper adhesion.
Crack Repair and Surface Preparation
Fill all cracks and holes with high-quality patching compound and allow 24 hours for complete drying. Even small imperfections show through the final polish, so address every surface defect now. Clean the patched areas thoroughly before moving to the next step.
Concrete Hardness Testing
Test concrete hardness using a Mohs Hardness test kit to select proper diamond tooling. Harder concrete needs metal-bonded diamonds while softer concrete works better with resin-bonded options. This test determines your entire tooling strategy and prevents costly mistakes during the grinding process.
Poor preparation accounts for most polishing failures, making this phase essential for professional results. Floors with extensive damage require additional preparation work. Once you complete these preparation steps, you’re ready to begin the actual grinding process with coarse diamond pads.
Step-by-Step Concrete Polishing Process
Initial Grinding Phase
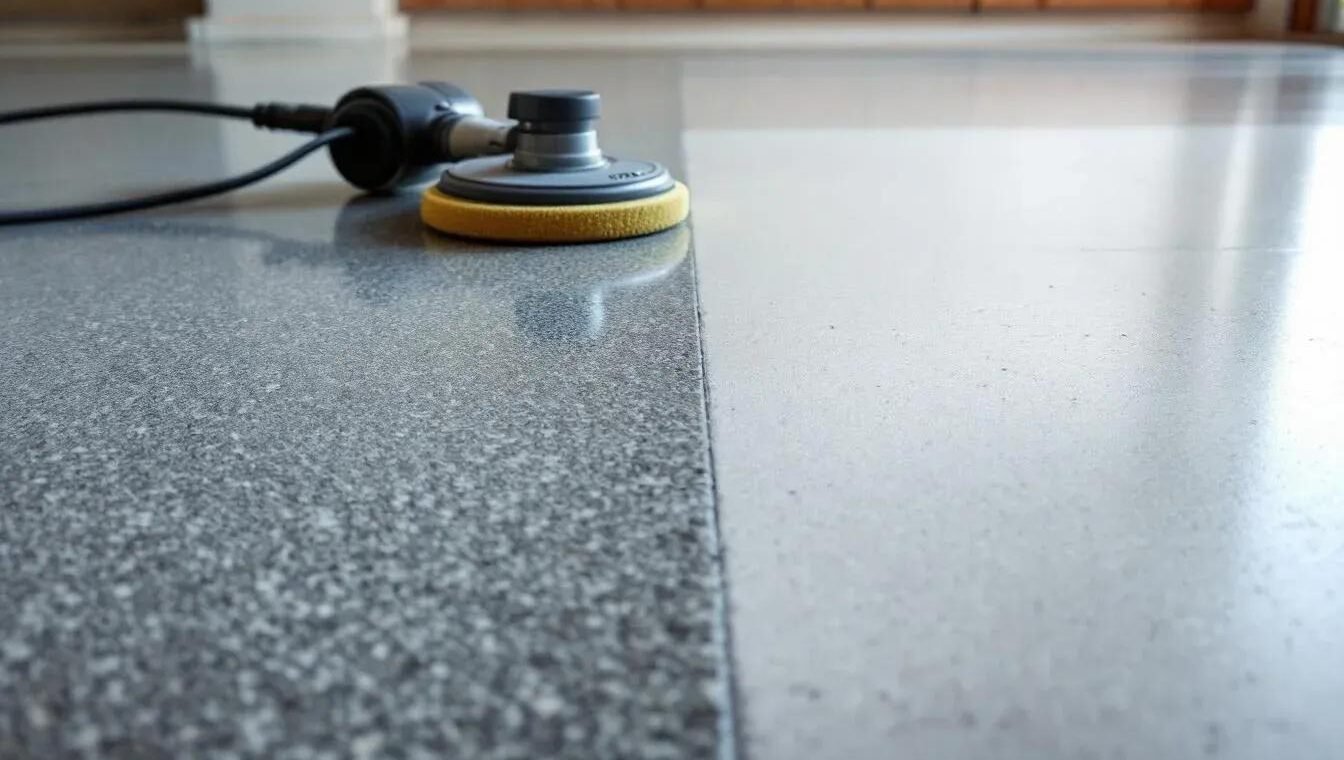
Start the process with coarse metal-bonded diamond pads to remove the top surface layer and expose fresh concrete. Move your grinder in overlapping passes at walking speed, and cover each area twice to achieve uniform removal. The Concrete Polishing Association reports that proper initial grinding removes approximately 1-2mm of surface material.
Use a dust collection system during this phase as concrete dust reduces visibility and damages equipment. Complete coverage requires methodical patterns – work in 4-foot sections and move left to right, then front to back. Check your progress frequently and examine the scratch pattern uniformity across the entire floor surface.
Progressive Grit Refinement
Progress through 80, 150, 400, 800, 1500, and 3000 grit diamond pads in sequence. Never skip grit levels as this creates visible scratches in the final finish.
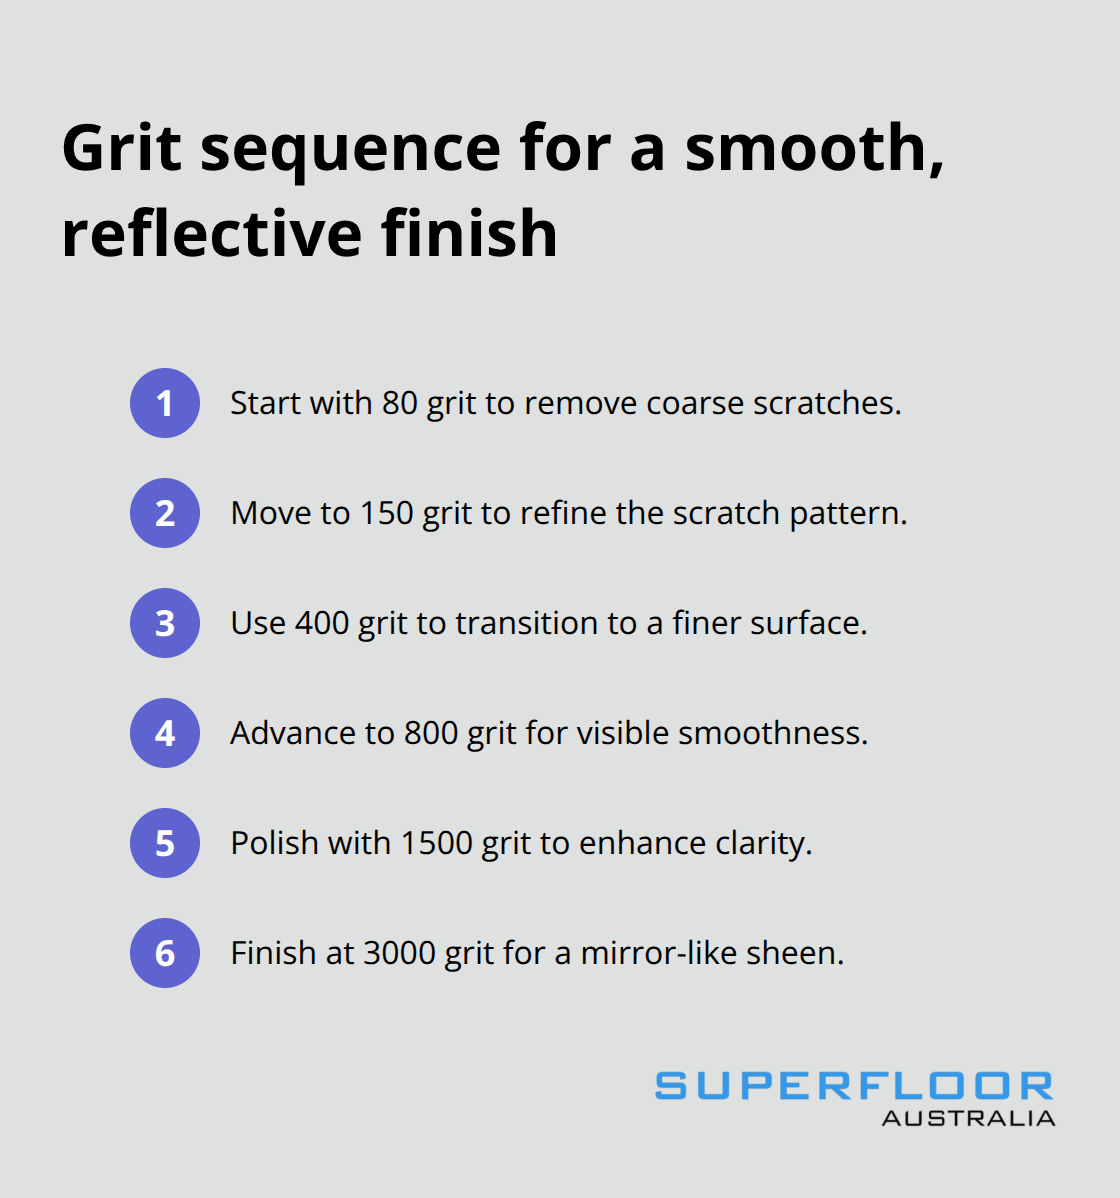
Each grit level removes the scratches from the previous stage while creating finer ones for the next step.
Work systematically through each grit level and maintain consistent pressure throughout the process. The transition from coarse to fine grits transforms the rough concrete surface into a smooth, reflective finish that mirrors overhead lighting.
Chemical Densifier Application
Apply chemical densifier after the 200 grit stage when concrete pores open optimally for penetration. The densifier chemically hardens the concrete surface and fills microscopic voids that create the mirror-like finish. Allow 2-4 hours for densifier curing before you continue with finer grits.
Industry testing shows that proper densifier application increases surface density and reduces dusting compared to untreated concrete. This chemical treatment forms the foundation for the high-gloss finish that polished concrete floors are known for.
Final Sealing Process
Apply concrete sealer after final polishing and use a microfibre applicator in thin, even coats. Two sealer coats provide optimal protection – apply the second coat perpendicular to the first after 45 minutes of drying time. The finished surface should reflect overhead lighting clearly when viewed at a 45-degree angle (indicating proper polish levels).
Quality sealers protect your investment and make daily maintenance effortless. The right tools and materials make this entire process achievable for dedicated DIY enthusiasts.
Tools and Materials Needed for DIY Polishing
Essential Grinding Equipment
Professional-grade concrete grinders cost between AUD 2,500-8,000 to purchase, but rental options start at AUD 150 per day from equipment hire companies. Choose a planetary grinder with variable speed control and dust shroud attachment for optimal results. The Husqvarna PG 280 and HTC 270 models dominate professional markets due to their reliability and diamond pad compatibility.
Avoid lightweight consumer grinders as they lack the weight and power needed for effective concrete removal. These machines cannot generate the pressure required to cut through hard concrete surfaces efficiently.
Diamond Pad Selection and Costs
Diamond pad sets represent your largest consumable expense, with complete grit progressions costing AUD 400-800 depending on floor size. Metal-bonded diamonds work best on hard concrete while resin-bonded options suit softer surfaces. Purchase pads in complete grit sequences from 30 to 3000 to prevent visible scratch patterns in your final finish.
Quality diamond tooling directly affects your results and project timeline. Cheap alternatives create uneven finishes that require additional work to correct (adding both time and material costs).
Safety Equipment Requirements
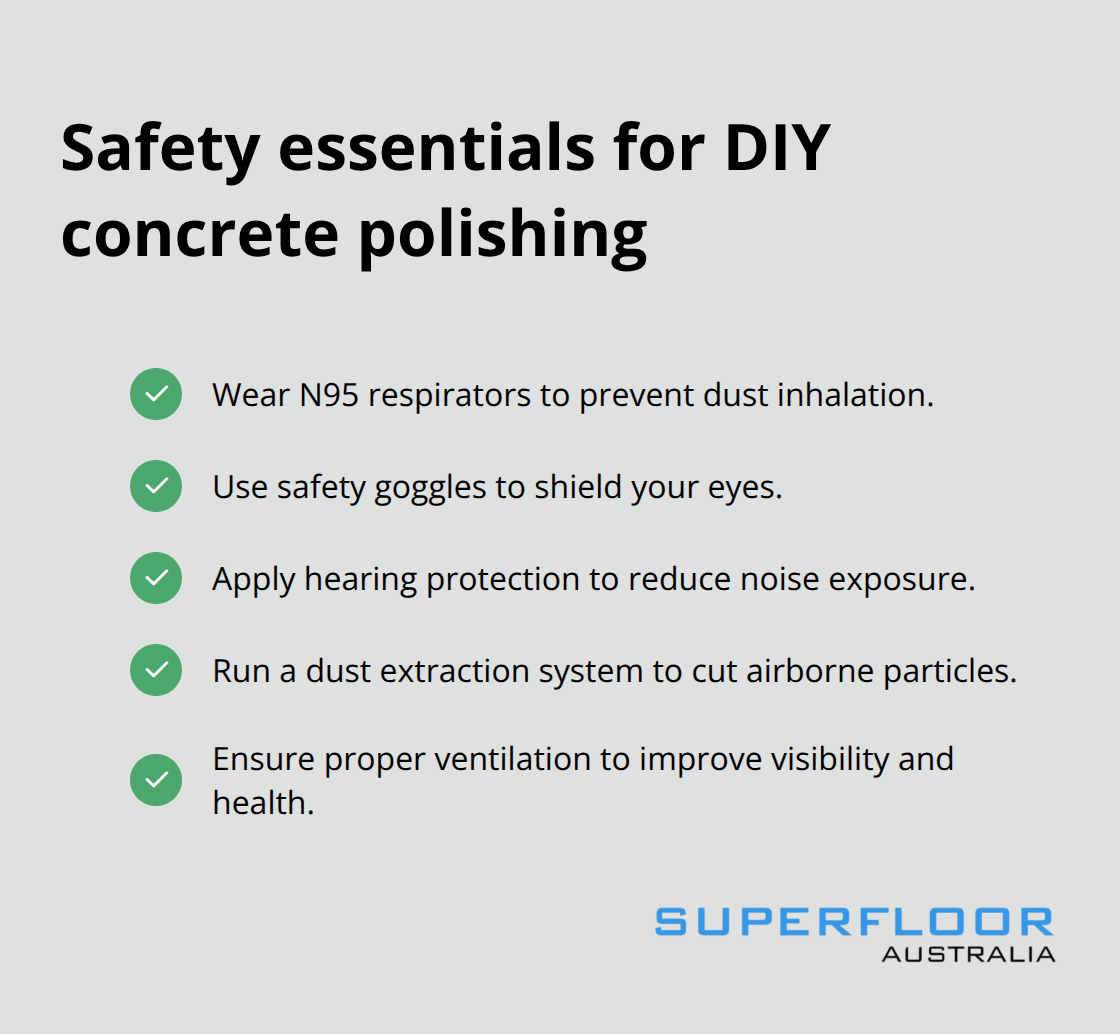
Safety equipment remains non-negotiable – N95 respirators, safety goggles, and hearing protection prevent concrete dust inhalation and noise damage. Professional-grade dust extraction systems reduce airborne particles significantly according to occupational health studies. Proper ventilation protects your health and improves visibility during the polishing process.
Chemical Products and Application Tools
Chemical densifiers like sodium silicate or lithium silicate penetrate concrete pores and increase surface hardness by 25-40%. Apply these products with pump sprayers or microfibre applicators for even coverage. Quality concrete sealers range from AUD 80-150 per gallon and typically cover 60-100 square metres depending on concrete porosity.
Acrylic sealers provide adequate protection for residential garages while polyurethane options offer superior durability for high-traffic areas. Purchase extra sealer as touch-ups become necessary after 2-3 years of normal use (especially in high-wear zones near vehicle entry points).
Final Thoughts
Polished concrete garage floors provide exceptional value through their durability, stain resistance, and professional appearance. These surfaces last over 20 years with minimal maintenance while they increase property values significantly. The smooth, non-porous finish prevents oil stains and makes cleanup effortless with just a damp mop.
Mastering how to polish concrete garage floor saves AUD 3,000-8,000 compared to professional installation costs. However, large garages that exceed 50 square metres or floors with extensive damage benefit from professional expertise. Complex repairs and precise chemical applications require specialised knowledge that prevents costly mistakes (especially with densifier timing and sealer compatibility).
Professional installation becomes worthwhile when time constraints matter or when perfect results are essential. We at Superfloor Australia deliver high-quality polished concrete solutions with expert craftsmanship. Long-term maintenance requires resealing every 2-3 years and immediate cleanup of spills. Regular dust mopping and monthly damp cleaning maintain the glossy finish while acidic cleaners damage the sealer and compromise surface protection.