
Polished concrete render finishes transform ordinary concrete surfaces into sleek, durable showpieces. At superfloor australia, we’ve helped countless clients achieve professional results that last for years.
This guide walks you through every stage-from surface prep to final sealing-so you can understand what goes into creating a truly polished finish.
Preparing Your Concrete for Polishing
Getting the foundation right determines everything that follows. Skipping proper preparation leads to uneven finishes, poor adhesion, and premature wear. Your concrete surface needs honest assessment before any grinding begins.
Identify and remove existing coatings
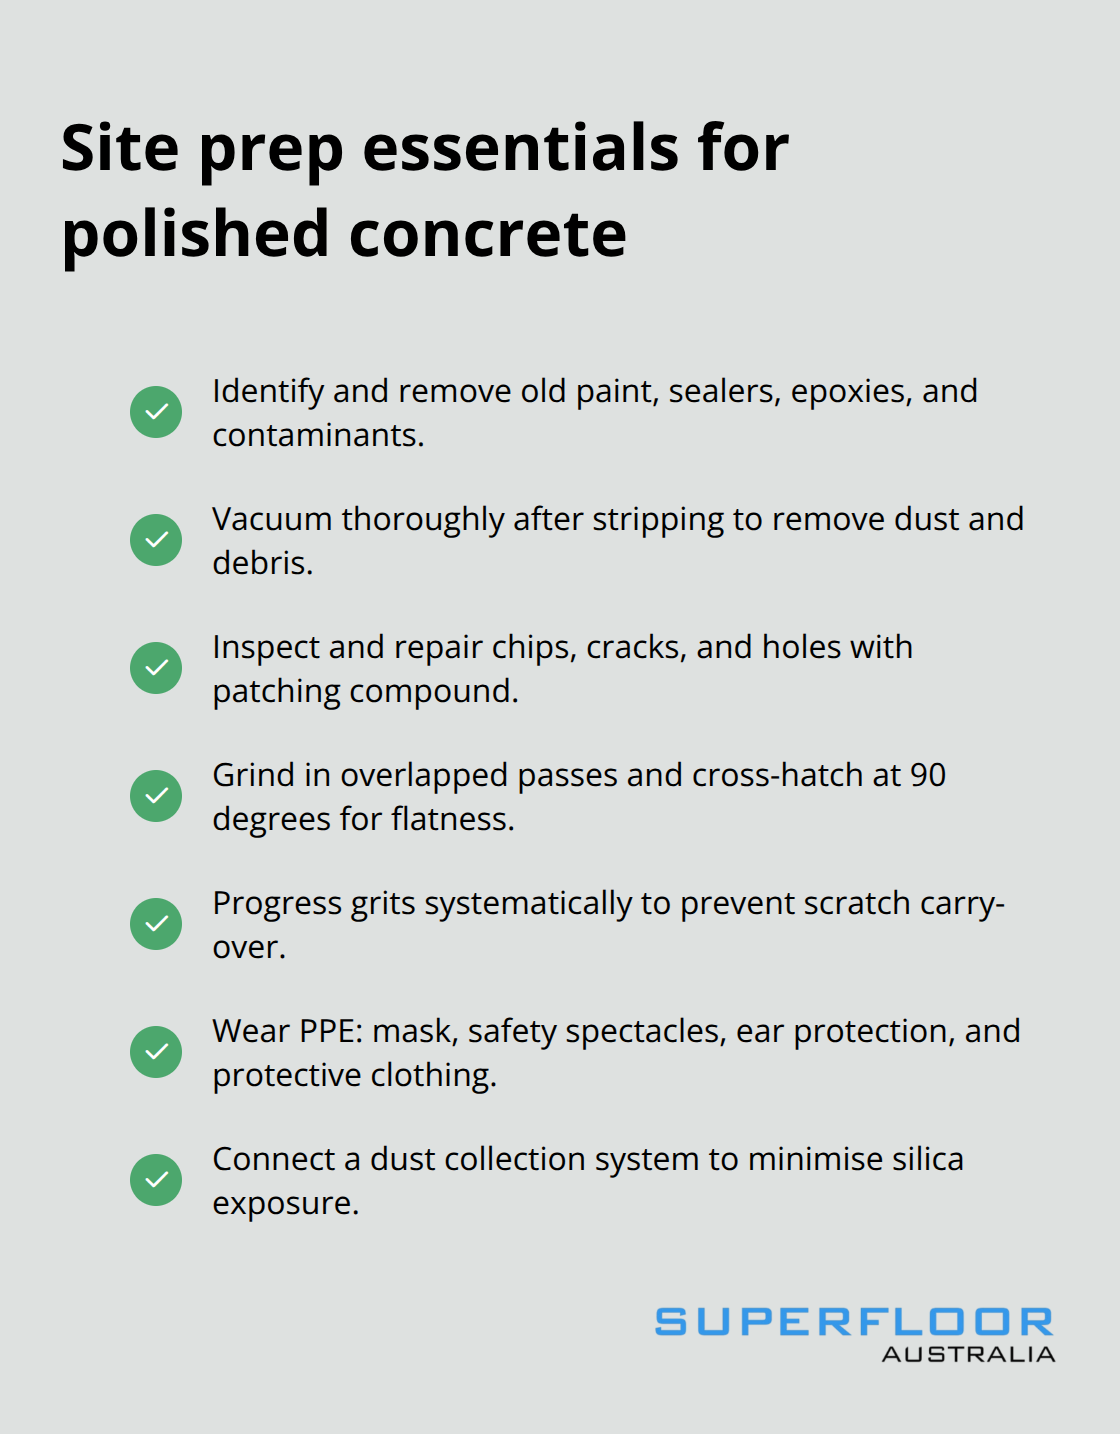
Start by identifying what sits on the surface-old paint, sealers, epoxy coatings, or stubborn contaminants all require different removal strategies. Paint typically comes off with a 16-30 grit resin-bonded diamond pad, while sealers may need multiple passes or chemical strippers depending on their age and type. Once you strip the surface, vacuum thoroughly and inspect for chips, cracks, or holes that will affect the final result. Fill any voids with a quality patching compound, then sand flush with the same 16-30 grit pad once dry. This step prevents hollow spots that catch light unevenly and ruin the polished aesthetic.
Level the concrete with systematic grinding
The concrete underneath is rarely flat enough for polishing. Move your grinding machine in smooth, overlapped passes in one direction, then repeat at 90 degrees to ensure full coverage and consistent depth. This cross-pattern approach catches high spots and low areas that single-direction grinding misses. If your concrete has been sealed or painted before, expect the initial stage to take longer-you’re not just levelling, you’re removing years of buildup. Progress through grits systematically: after the 16-30 grit removal stage, move to 80-grit, then continue with progressively finer diamonds if you want a higher-end finish. Rushing between grit stages creates visible scratches that show through the final polish.
Protect yourself during the grinding phase
Personal protective equipment matters here-wear a mask, safety spectacles, ear protection, and protective clothing. Dust from grinding concrete contains silica, which damages lungs over time. Use a dust collection system on your machine when possible; this reduces workplace exposure and improves visibility so you catch problem areas earlier.
Assess concrete density and condition
Not all concrete polishes the same way. Dense, well-compacted concrete polishes to a mirror finish more easily than porous or poorly finished slabs. Tap the surface with a hammer-hollow sounds indicate delamination or weak bonding between layers. These areas need repair before polishing proceeds. Check for efflorescence, the white mineral deposits that bleed through concrete. These deposits are driven by hydrostatic pressure as moisture moves through the concrete, and they won’t disappear through polishing alone. Address moisture issues before sealing, or your polished finish will fail prematurely. Aggregate exposure matters too. Some concrete has large stones near the surface; polishing will expose them at different rates, creating an uneven appearance. If aggregate exposure is uneven, you may need to grind deeper or accept a less reflective finish.
The concrete quality directly influences your final result. Once you understand what you’re working with, you can select the right diamond grits and equipment to move forward with confidence.
Grinding and Sealing the Path to Mirror Finishes
Select the right diamond grits for your finish level
Diamond grit selection determines whether you end up with a satin sheen or a mirror finish that reflects light like polished stone. Start with your 16-30 grit resin-bonded pad to remove old coatings and level the surface, then move systematically through 80-grit before progressing to finer grits if you want higher reflectivity. The progression matters more than the specific grits you choose-each stage removes scratches from the previous one, so skipping grits leaves visible marks that show through the final polish.
Choose your finish depth based on your space
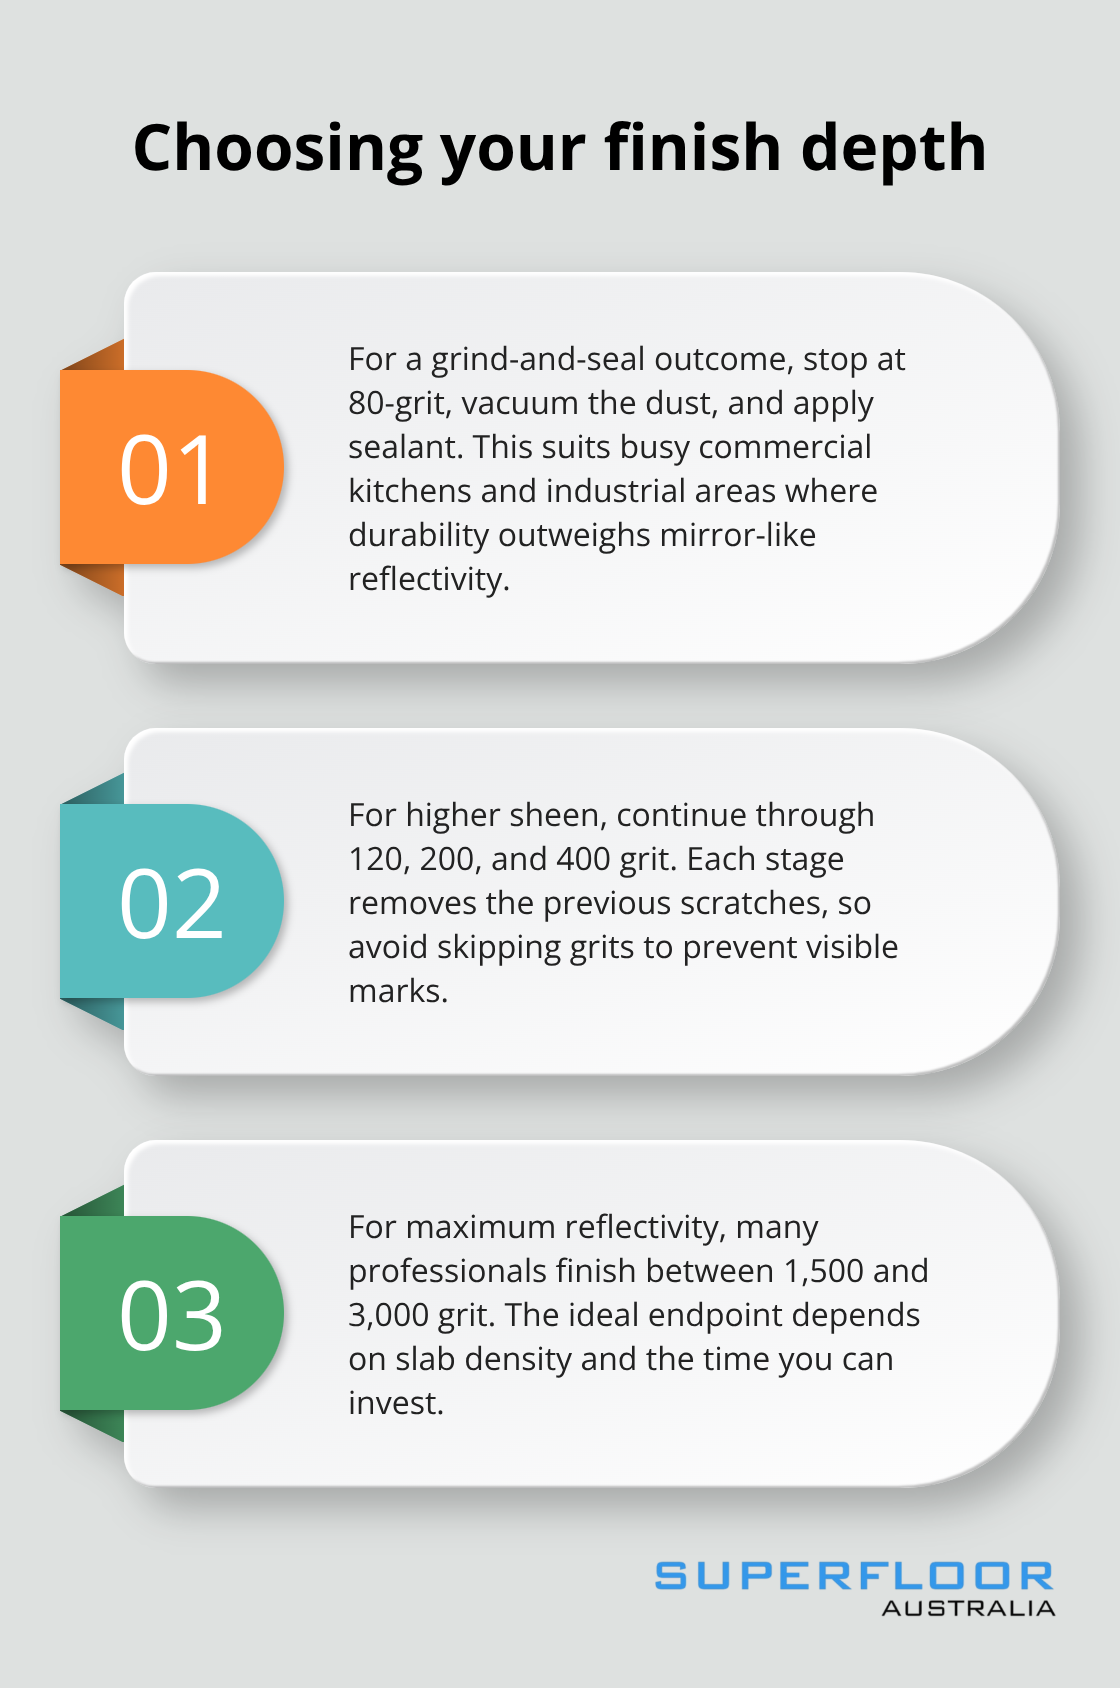
If you’re targeting a basic grind-and-seal finish, stop at 80-grit, vacuum the dust, and apply your sealant. This approach works well for commercial kitchens and industrial spaces where durability matters more than mirror reflectivity. For a genuinely polished finish that catches light dramatically, continue beyond 80-grit through 120, 200, and 400 grit. Professionals often finish at 1,500 to 3,000 grit to achieve maximum depth and light reflection, though the exact endpoint depends on your concrete density and how much time you’re willing to invest.
Execute consistent grinding passes
Move your machine in smooth, overlapped passes and maintain consistent pressure throughout each stage. The dry polishing method stands as the standard because it’s faster and requires less cleanup, though you must manage dust carefully with a collection system on your equipment.
Apply densifiers and sealers for lasting protection
After the final grit stage, vacuum thoroughly and wipe the surface with a dry cloth to remove all residue before moving to densifiers and sealers. Densifiers close the pores in your concrete, which is what enables that mirror-like finish and greater light reflection. Apply your densifier according to product instructions, allowing proper cure time before sealing. Once the densifier has set, apply a durable sealant that renders the surface impervious to liquids and wear. Allow at least 45 minutes drying time between applications. A correctly finished floor reflects light evenly and resists stains, moisture, and general wear for years.
The sealer protects your investment and maintains that polished appearance over time. With your concrete now sealed and protected, the real transformation becomes visible-but the work doesn’t stop here. Design choices and customisation options allow you to take your polished finish from functional to truly distinctive.
Customising Your Polished Finish
Choose your sheen level to match your lifestyle
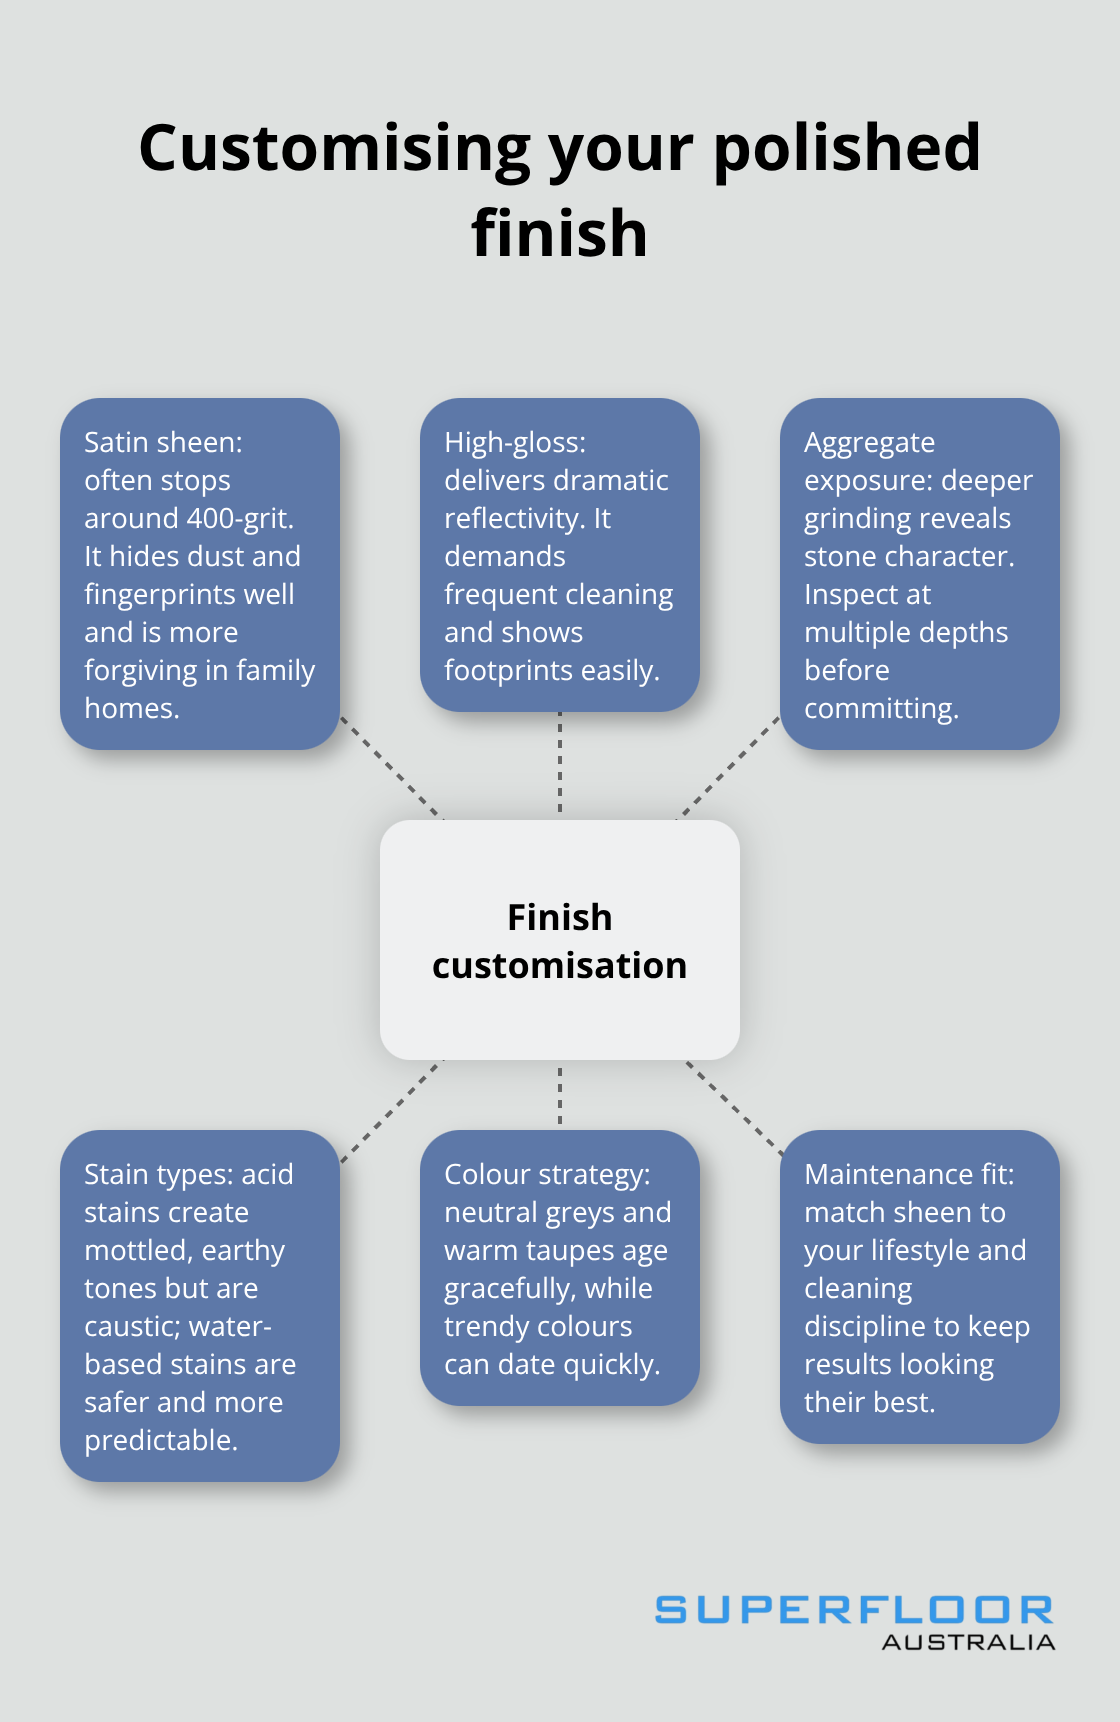
The sheen level you select shapes how your polished concrete responds to light and fits into your space. Two distinct camps emerge: those who want a subtle satin finish that hides dust and fingerprints, and those who demand mirror-like reflectivity that transforms the room. Satin finishes work well in homes with children or pets because they’re forgiving-dust and marks stay less obvious, and daily wear doesn’t show as dramatically. A satin finish typically stops at 400-grit polishing, offering a soft sheen without the high-maintenance demands of a full mirror finish.
High-gloss finishes demand discipline. They require regular cleaning to prevent dust accumulation and show every footprint, but they deliver undeniable visual impact and make spaces feel larger through light reflection. Commercial kitchens and showrooms favour high-gloss because the reflective surface creates a premium atmosphere that justifies the maintenance effort. Test your concrete with a 400-grit polish first-you can always continue to 1,500-grit later if the result feels flat.
Expose aggregate to reveal hidden character
Aggregate exposure and colour choices separate a finished polished concrete from a truly distinctive one. When you grind deeper, you expose the aggregate, creating visual texture and movement in polished concrete. Some concrete contains beautiful granite or quartz aggregates worth revealing; others hold bland gravel that adds nothing. Inspect your concrete at different depths before committing to deep grinding to see what lies beneath. If the aggregate disappoints, stay at 80-grit and apply a concrete stain instead-this gives you control over the final appearance without chasing invisible beauty.
Select stains that suit your aesthetic
Staining works in two ways: acid stains chemically react with concrete minerals to create earthy, mottled tones that vary based on concrete chemistry, while water-based stains sit on the surface and deliver consistent colour. Acid stains create more authentic-looking finishes but require careful application and proper ventilation because they’re caustic. Water-based stains are safer and more predictable, making them ideal if you’re new to customisation. Apply stain before your final polishing stages so the densifier and sealer lock in the colour. For spaces where subtle sophistication matters more than boldness, neutral greys and warm taupes outperform trendy blacks or reds that date quickly.
Final Thoughts
Polished concrete render finishes demand precision at every stage, but the payoff justifies the effort. You’ve now seen how proper surface preparation prevents costly mistakes, how systematic grinding builds toward your desired sheen, and how customisation transforms a functional floor into a statement piece. The difference between an amateur result and a professional one comes down to patience, attention to detail, and understanding your concrete’s unique characteristics.
Maintain your polished finish to protect your investment long-term. Regular sweeping removes grit that scratches the surface, while damp mopping with pH-neutral cleaners keeps the sheen intact without degrading sealers. Avoid acidic cleaners and abrasive scrubbing pads that dull the polish, and reapply sealer every two to three years depending on foot traffic and moisture exposure. High-traffic commercial spaces may need annual resealing, while residential areas typically stretch longer between applications.
Professional installation matters because experience catches problems that DIY approaches miss. Skilled installers recognise when concrete density won’t support a mirror finish and adjust expectations accordingly, manage dust exposure properly, and execute consistent grinding passes that amateurs struggle to maintain. We at superfloor australia understand that polished concrete render finishes require expertise to deliver lasting results, and our team in Brisbane specialises in high-quality polished concrete flooring for homes, commercial, and industrial spaces with precision preparation and expert craftsmanship tailored to your needs-contact superfloor australia to discuss your project with specialists who deliver exceptional service and quality finishes that stand the test of time.