Concrete grinding progress isn’t something you should leave to chance. At superfloor australia, we’ve seen too many Brisbane projects run over schedule because property owners didn’t know what to expect at each stage.
This guide walks you through every milestone, from initial assessment to final completion. You’ll learn how to spot delays before they become problems and keep your project on track.
Understanding Concrete Grinding Phases
What Happens During the First Inspection and Setup
The initial assessment is where most property owners lose control of their project timeline. We start every job with a detailed site inspection that takes two to four hours, depending on floor size and condition. During this phase, we document existing coatings, contaminants, substrate integrity, and moisture levels using in-situ RH testing following ASTM F2170 standards. This isn’t optional-moisture testing directly determines when grinding can safely begin. In Brisbane’s warm, humid climate, concrete releases moisture slowly, and skipping this step leads to coating failures months after completion.
We photograph the baseline condition, measure flatness and levelness using FF/FL metrics, and assess whether hidden damage or delamination exists beneath the surface. If structural issues emerge, we pause immediately and recommend a structural engineer before proceeding. This upfront work takes time, but it prevents the costly surprises that derail schedules later.
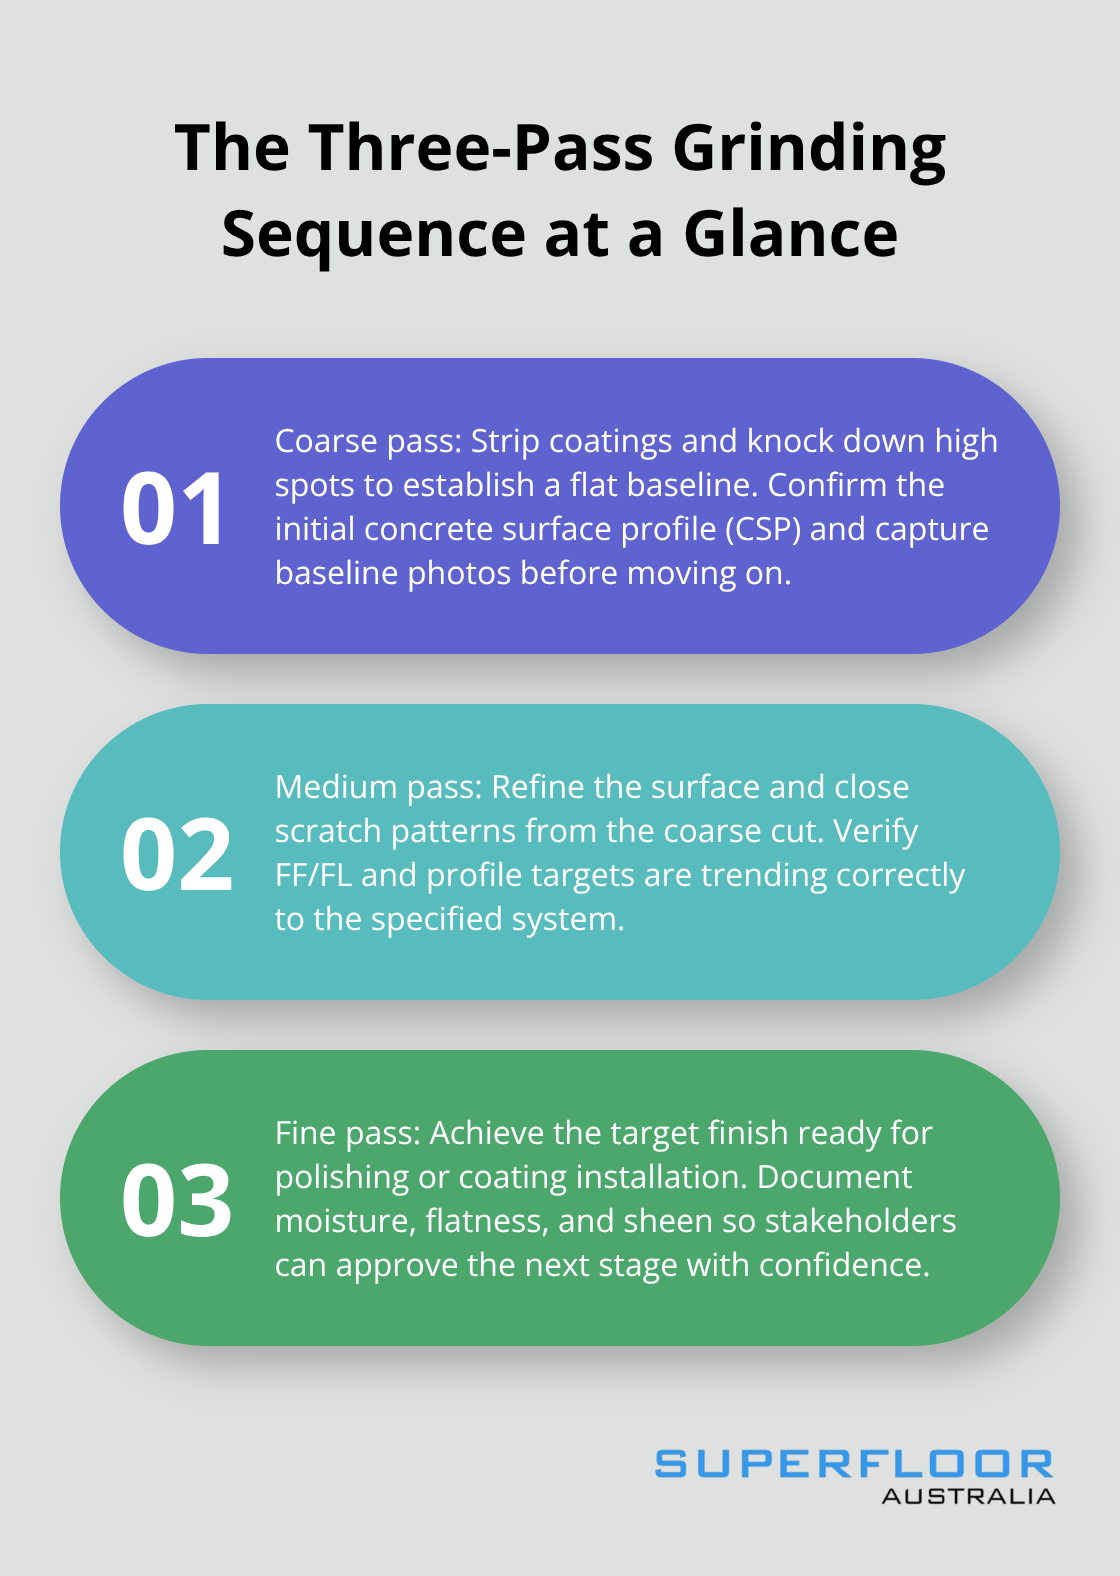
The Three-Pass Grinding Sequence
Concrete grinding follows a strict progression: coarse pass to remove coatings and flatten high spots, medium pass to refine the surface, and fine pass to create the finish you want. Each pass uses progressively finer diamond abrasives, and we measure the concrete profile after each stage to verify we’re hitting targets. Higher profile numbers have more “tooth” and get progressively rougher, while lower numbers are smoother.
Dry grinding is faster for indoor projects and typically completes residential floors within one to three days, while commercial spaces spanning 500 to 1,000 square metres take one to two weeks depending on scope. Wet grinding suits outdoor areas and dust-sensitive environments but extends timelines because of drying requirements. After each pass, we document progress with photographs, CSP readings, moisture data, and flatness measurements-this documentation protects your investment and keeps stakeholders informed.
Weather matters significantly in Brisbane: high humidity or rain can affect moisture test results and cure times, so we build contingency days into schedules. The target surface profile must match your coating system’s requirements, and we verify this before moving to final polishing.
Quality Verification Before You Pay
Post-final-pass verification happens before we consider the grinding stage complete. We test substrate cleanliness to ensure no chemical residues remain, measure moisture again using ASTM F1869 standards, and confirm coating compatibility with your chosen epoxy or polyurethane system. Flatness and levelness readings must fall within manufacturer tolerances, and we photograph the finished surface under consistent lighting to show true colour and sheen.
This verification step takes an additional one to two days but catches problems that would otherwise emerge during coating installation. If you see documentation gaps-missing moisture reports, no CSP readings, or vague timeline notes-that contractor is cutting corners. Transparent milestone tracking with dated photos and test results is non-negotiable because it proves work quality and protects both parties if disputes arise later.
Once you’ve confirmed the grinding phase meets all specifications, your contractor should hand over complete documentation and prepare for the next critical stage: setting clear benchmarks and deadlines that keep your project moving forward without surprises.
How to Track Progress Without Micromanaging Your Contractor
Establish a Written Timeline Before Work Starts
Effective milestone tracking starts with a written timeline that your contractor provides before work begins. This document must detail every phase: preparation, concrete treatment, each polishing pass, and final finish, with realistic dates attached to each stage. Vague timelines create disputes and give contractors room to slip schedules without accountability. Request specific hours for residential work and week-long estimates for commercial projects, then add weather contingency days for Brisbane’s unpredictable humidity and rain. A quality contractor will push back if you demand unrealistic deadlines, but they will commit to dates they can actually meet. When you see a timeline without contingency buffers, that contractor is either inexperienced or planning to cut corners later.
Set Communication Checkpoints at Each Grinding Pass
Your communication checkpoints should happen at the end of each grinding pass, not daily or weekly. After the coarse pass removes old coatings and high spots, your contractor photographs the surface, records CSP readings and flatness measurements, and sends you that documentation before moving to the medium pass. This three-checkpoint system-one after coarse, one after medium, one after fine-keeps you informed without becoming a distraction on site. Each checkpoint should include dated photos taken under consistent lighting so you can actually see the progression, moisture test results confirming the surface is ready for the next stage, and a brief written note explaining what the numbers mean. If your contractor resists providing this documentation or claims it slows them down, walk away. Professional operators build documentation time into their schedule because it protects their reputation and your investment.

Link Payments to Documented Milestones
Structure your payment milestones around these checkpoints to keep cash flowing without rewarding incomplete work. Pay a deposit at signing, a progress payment after coarse grinding approval, another after medium grinding, and final payment only after post-final-pass verification confirms moisture, flatness, and coating compatibility. Link payments to documented milestones to ensure contractors are paid for verified progress. When disputes arise months later about whether the substrate was properly prepared or moisture was tested correctly, your dated documentation becomes the evidence that settles the argument. Contractors who operate transparently welcome this structure because it proves they delivered what they promised.
Now that you understand how to track progress and protect your investment through documentation and structured payments, the next critical step involves recognising what can derail your timeline-and how to prevent those delays from happening in the first place.
Common Delays and How to Avoid Them
Weather Conditions Stall Your Timeline
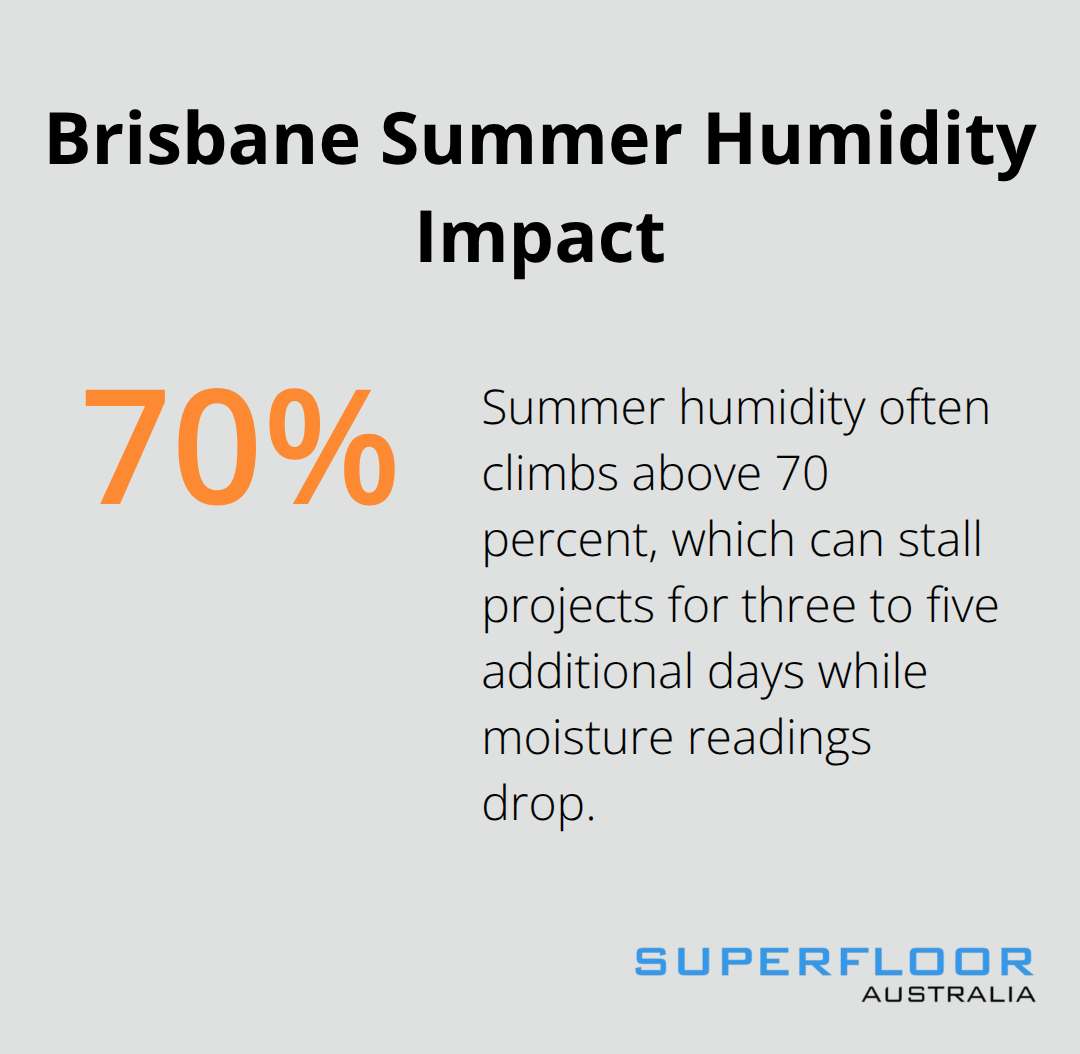
Brisbane’s weather creates the first major obstacle that derails concrete grinding timelines, and you cannot negotiate it away. High humidity and rain affect moisture testing results, which determine whether your concrete is ready for the next grinding pass. If moisture levels exceed ASTM F1869 thresholds before coating installation, your contractor must pause work and wait for the substrate to dry further. During Brisbane’s summer months from December to February, humidity regularly climbs above 70 percent, and projects stall for three to five additional days waiting for moisture readings to drop into acceptable ranges. A contractor who ignores moisture readings and proceeds anyway sets up coating failure within months, which means your entire investment gets stripped back and redone. Temperature swings also matter: concrete cures differently at 15 degrees Celsius versus 35 degrees, so seasonal timing affects how quickly each grinding pass progresses.
Winter projects experience faster cure times and tighter schedules, while summer projects require extra contingency days upfront. Schedule grinding between March and May or September and November when Brisbane’s climate is most stable.
Hidden Surface Damage Halts Work Mid-Project
Hidden surface damage discovered during the coarse grinding pass creates the second major delay, and proper initial assessment prevents it almost entirely. Contractors sometimes find delamination, cracks, or structural weakness that was not visible before grinding began. When this happens, work must stop immediately while a structural engineer assesses whether the slab is safe to continue or whether repair work is needed first. This inspection alone takes three to five days, and repairs can add one to three weeks depending on severity. A thorough baseline inspection before work starts, including ground-penetrating radar if the floor shows any visible cracking or uneven areas, eliminates this risk. Yes, this costs extra upfront (typically 300 to 600 dollars for a residential floor), but it removes the risk of expensive problems mid-project. The contractor who skips this step is either inexperienced or betting that you will accept delays and cost overruns later.
Equipment and Crew Conflicts Create Scheduling Problems
Scheduling conflicts emerge when contractors overcommit their equipment or crew to multiple projects simultaneously. If your contractor’s grinder breaks down or their team gets pulled to another job, your timeline evaporates. Verify that your contractor has dedicated equipment and crew assigned to your project before signing, and request written confirmation that no other projects will pull resources away during your scheduled dates. Ask specifically whether they own their equipment or rent it, because rented equipment can be recalled if another client needs it urgently. Contractors who own their own grinders and dust extraction systems experience far fewer equipment delays than those relying on rental fleets.
Final Thoughts
Your concrete grinding progress depends on three critical milestones that separate successful projects from those that spiral into delays and cost overruns. Monitor the baseline assessment and moisture testing before any grinding begins, because this determines whether your contractor has identified hidden damage or structural issues that could halt work mid-project. Track documentation at each grinding pass-coarse, medium, and fine-with dated photographs, CSP readings, flatness measurements, and moisture reports that prove work meets specifications and protect you if disputes arise later. Verify post-final-pass conditions before releasing final payment, confirming that substrate cleanliness, moisture levels, and coating compatibility all align with your chosen finish system.
Regular tracking protects your investment because it catches problems early when they are cheap to fix, not months later when coating failures force expensive rework. A contractor who resists providing documentation or pushes back on milestone-based payments signals that they cut corners elsewhere. Transparent operators welcome checkpoints because they prove quality and build trust with clients.
After your concrete grinding is complete, your next step depends on your chosen finish. If you apply epoxy or polyurethane coatings, coordinate closely with your coating installer to confirm they have received all moisture and substrate cleanliness documentation before they begin. If you want a polished concrete floor that reveals the natural beauty of your concrete without additional coatings, we at Superfloor Australia deliver high-gloss finishes that are dust, stain, and allergen-resistant, ideal for low-maintenance environments across residential, commercial, and industrial spaces.