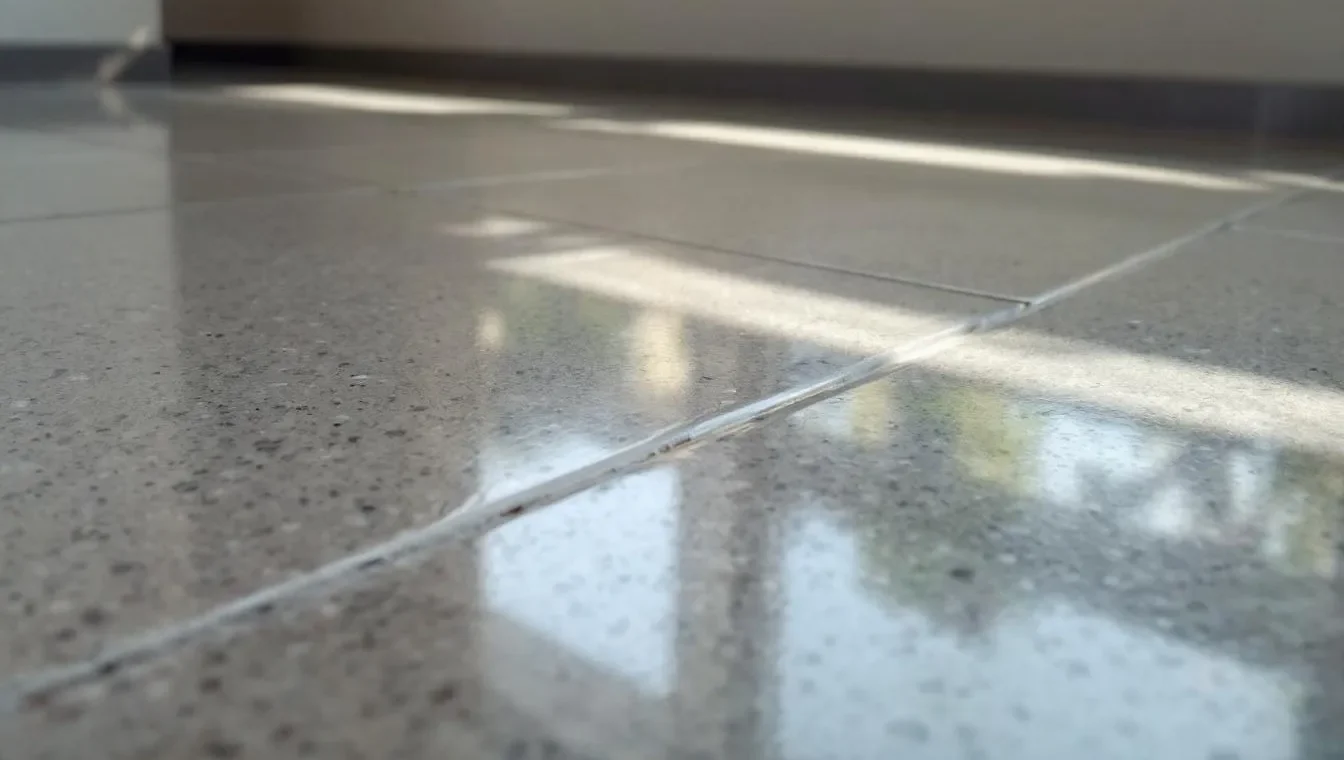
At Superfloor Australia, we’ve seen the rising popularity of polished concrete tile floors in recent years. These stunning surfaces offer a perfect blend of durability, style, and cost-effectiveness.
In this guide, we’ll walk you through the process of achieving a beautiful polished concrete tile floor for your space. From preparation to installation, we’ll cover all the essential steps to ensure a flawless result.
Why Choose Polished Concrete Tile Floors?
Unmatched Durability
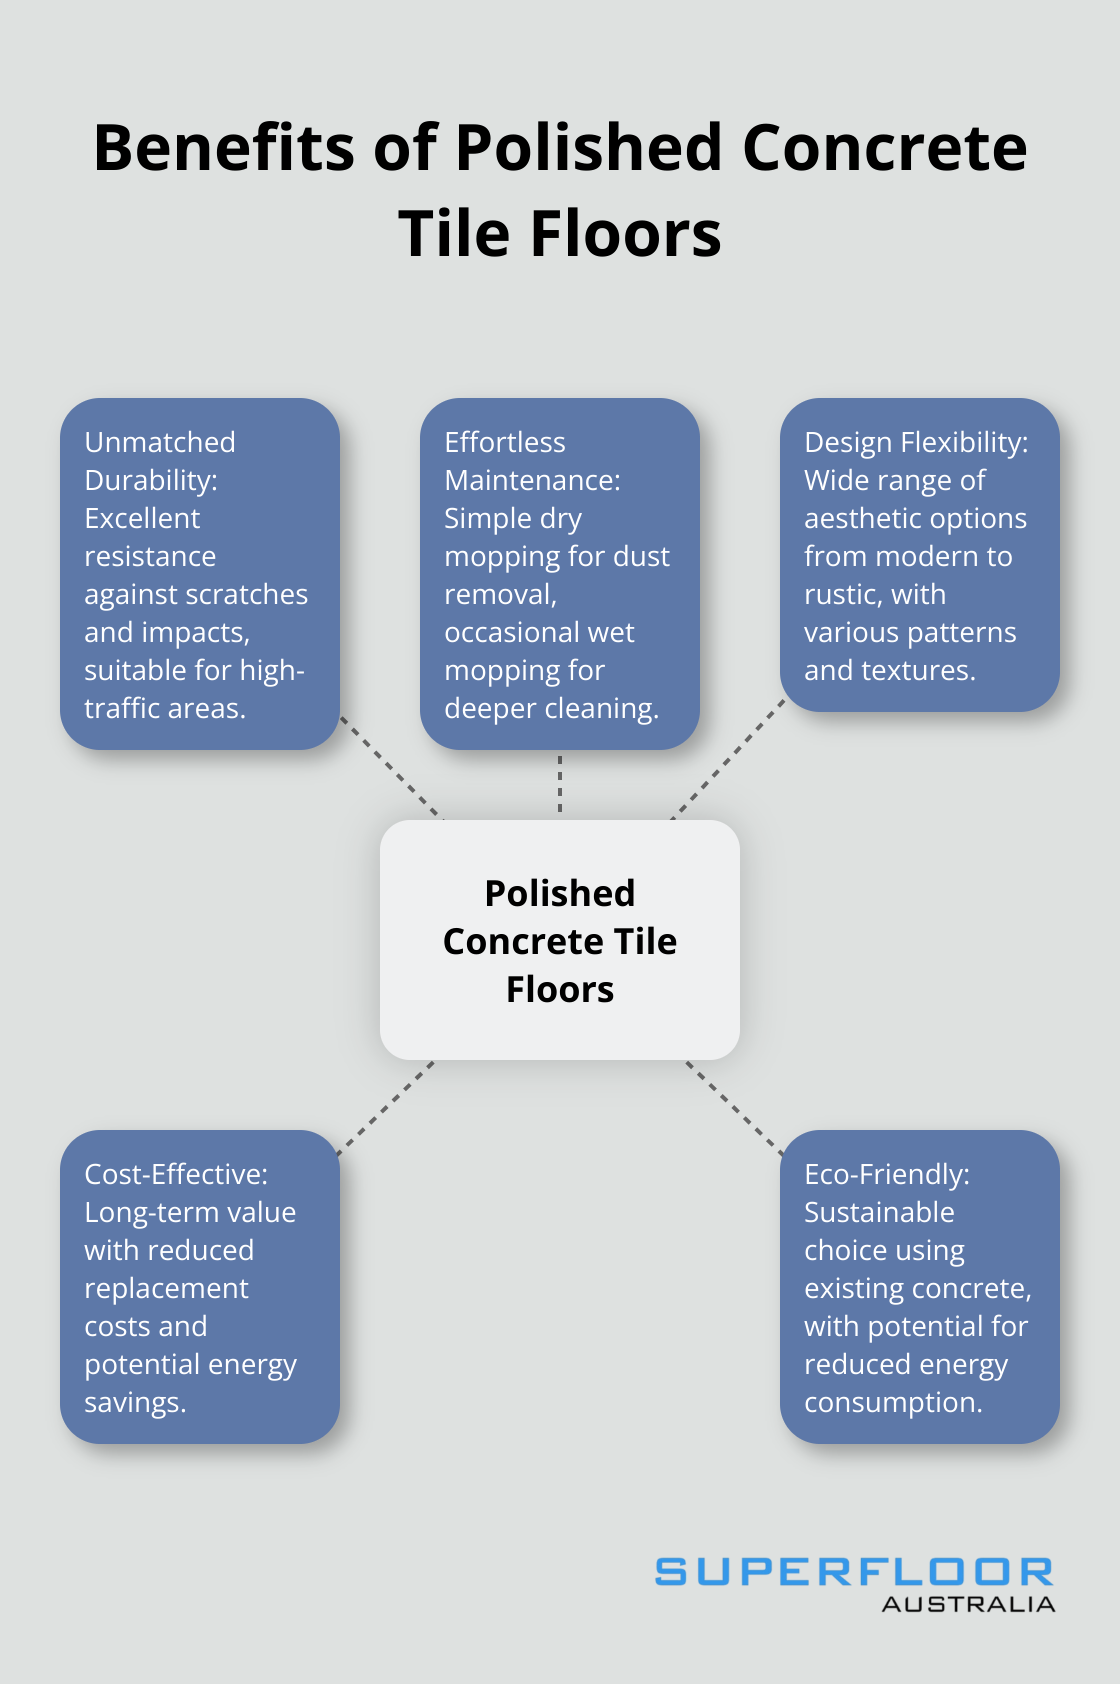
Polished concrete tile floors stand as titans in the flooring world. These surfaces offer excellent durability against scratches and impacts, making them suitable for high-traffic areas like entryways. In bustling commercial areas, we’ve observed these floors maintain their shine and integrity for decades with minimal upkeep.
Effortless Maintenance
Say goodbye to complex floor care routines. Polished concrete tiles demand only simple dry mopping to remove dust or dirt accumulated on the surface, while wet mopping with warm water offers a deeper clean. This simplicity translates to substantial time and cost savings, particularly in expansive commercial spaces where cleaning staff can redirect their efforts to other tasks.
Design Flexibility
The aesthetic range of polished concrete tiles astounds. From sleek, modern finishes to rustic, industrial looks, these floors adapt to any design vision. Different aggregates, colours, and polishing techniques create unique patterns and textures that elevate spaces to new heights (both literally and figuratively).
Cost-Effective Long-Term Solution
While the initial investment might exceed some flooring options, polished concrete floors offer exceptional value over time. Their longevity eliminates frequent replacement costs. Moreover, the energy-efficient properties of concrete can lead to lower heating bills, making them comfortable in summer and winter.
Eco-Friendly Choice
Polished concrete tiles shine in sustainability. They use existing concrete slabs, reducing the need for new materials. Their reflective surface can decrease lighting requirements, further cutting energy consumption. For those aiming to reduce their carbon footprint, these floors offer a stylish and responsible solution.
As we move forward, let’s explore the essential steps to prepare for your polished concrete tile installation. This preparation phase sets the foundation for a stunning and long-lasting floor that will transform your space.
How to Prepare for Polished Concrete Tile Installation
Evaluating Your Existing Floor
Before you start the installation, you must assess your current floor. Look for cracks, unevenness, or moisture issues. These problems can impact the final appearance of your polished concrete tiles. A floor with significant cracks might need extensive repairs or even replacement before installation can begin.
Use a moisture meter to check the concrete’s moisture content. The ideal level should be below 4.5%. Higher levels can cause problems like efflorescence or delamination in the future. If moisture is an issue, you should consider installing a vapour barrier.
Selecting the Right Concrete Mix
The concrete mix you choose will significantly influence the final look of your polished tiles. For a smooth, uniform appearance, select a mix with smaller aggregates. If you prefer a more industrial feel with visible stones, opt for a mix with larger aggregates.
The water-to-cement ratio is another important factor. A lower ratio typically produces stronger concrete that’s easier to polish. However, this can make the mix more challenging to work with during pouring and levelling.
Essential Tools and Equipment
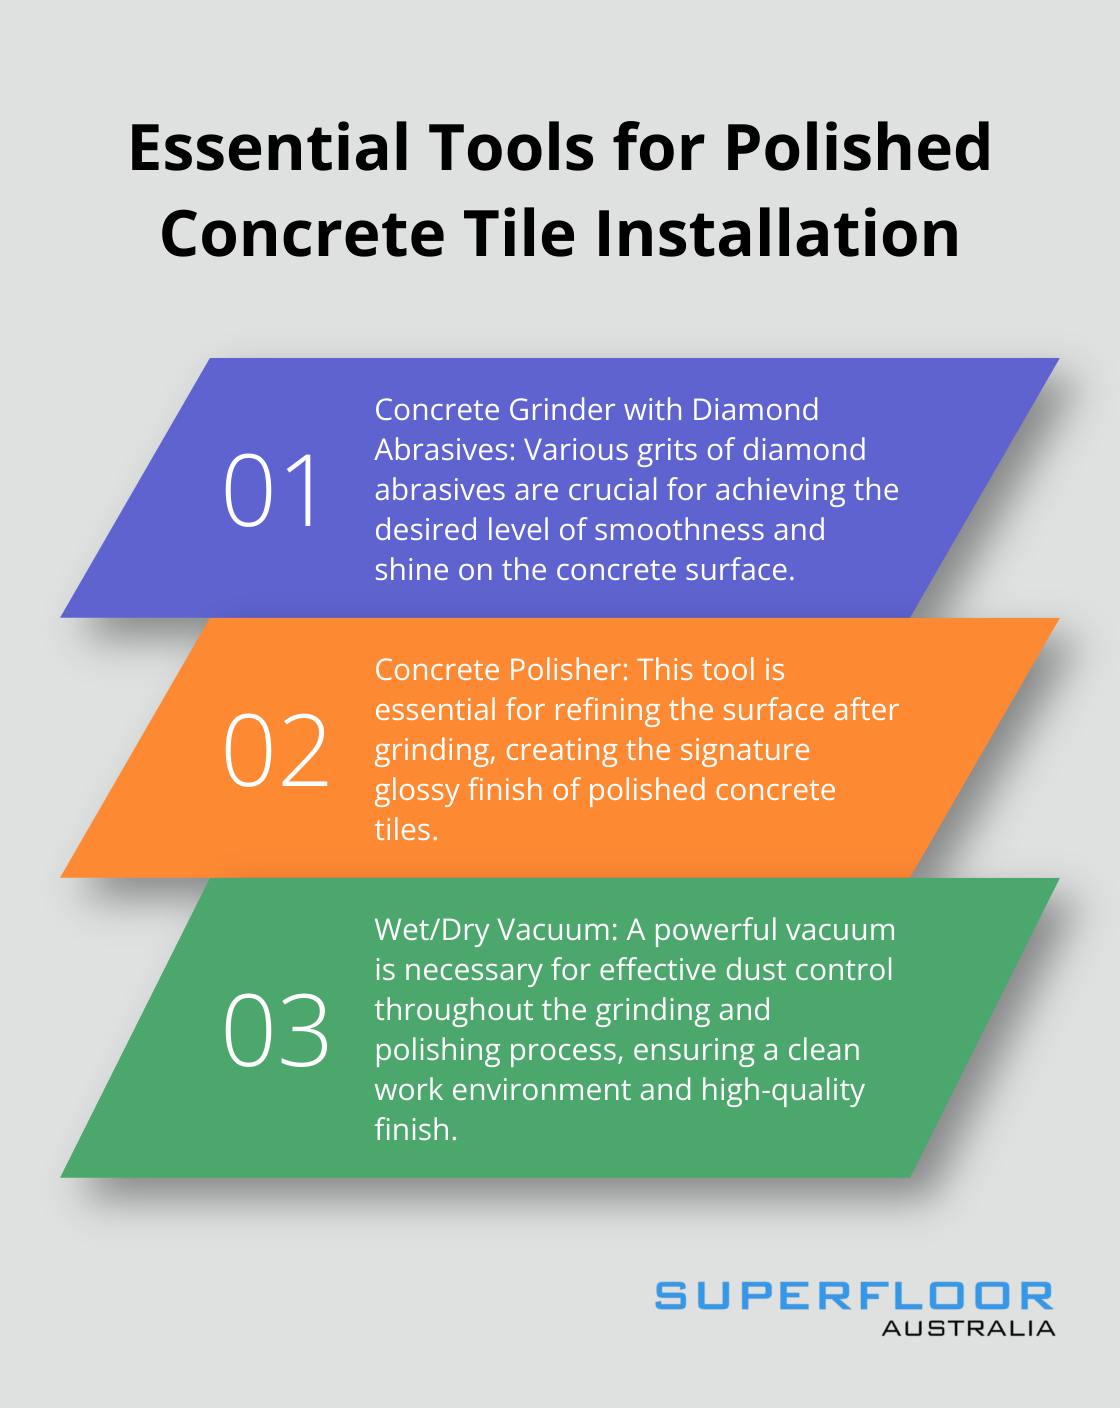
You’ll need proper tools to achieve a professional finish. These include:
- A concrete grinder with diamond abrasives of various grits
- A concrete polisher
- A wet/dry vacuum for dust control
- Concrete densifier and sealer
For larger areas, you should consider renting or investing in a ride-on grinder. These machines can significantly speed up the process and provide more consistent results (especially for commercial spaces).
Planning Your Layout
Take the time to plan your tile layout carefully. Consider the room’s shape, lighting, and focal points. A well-thought-out design will enhance the overall aesthetics of your space.
Use chalk lines to mark out your tile pattern. This step is essential for achieving straight, even lines in your final design. Don’t forget to account for expansion joints, which are necessary to prevent cracking as the concrete expands and contracts.
Now that you’ve completed the preparation phase, you’re ready to move on to the actual installation process. The next section will guide you through the step-by-step procedure of installing and polishing your concrete tiles, ensuring you achieve the stunning floor you’ve envisioned.
How to Install Polished Concrete Tiles
At Superfloor Australia, we have extensive experience in installing polished concrete tiles. This process requires precision, patience, and the right techniques. Here’s our step-by-step guide to achieve a flawless polished concrete tile floor.
Pouring and Levelling
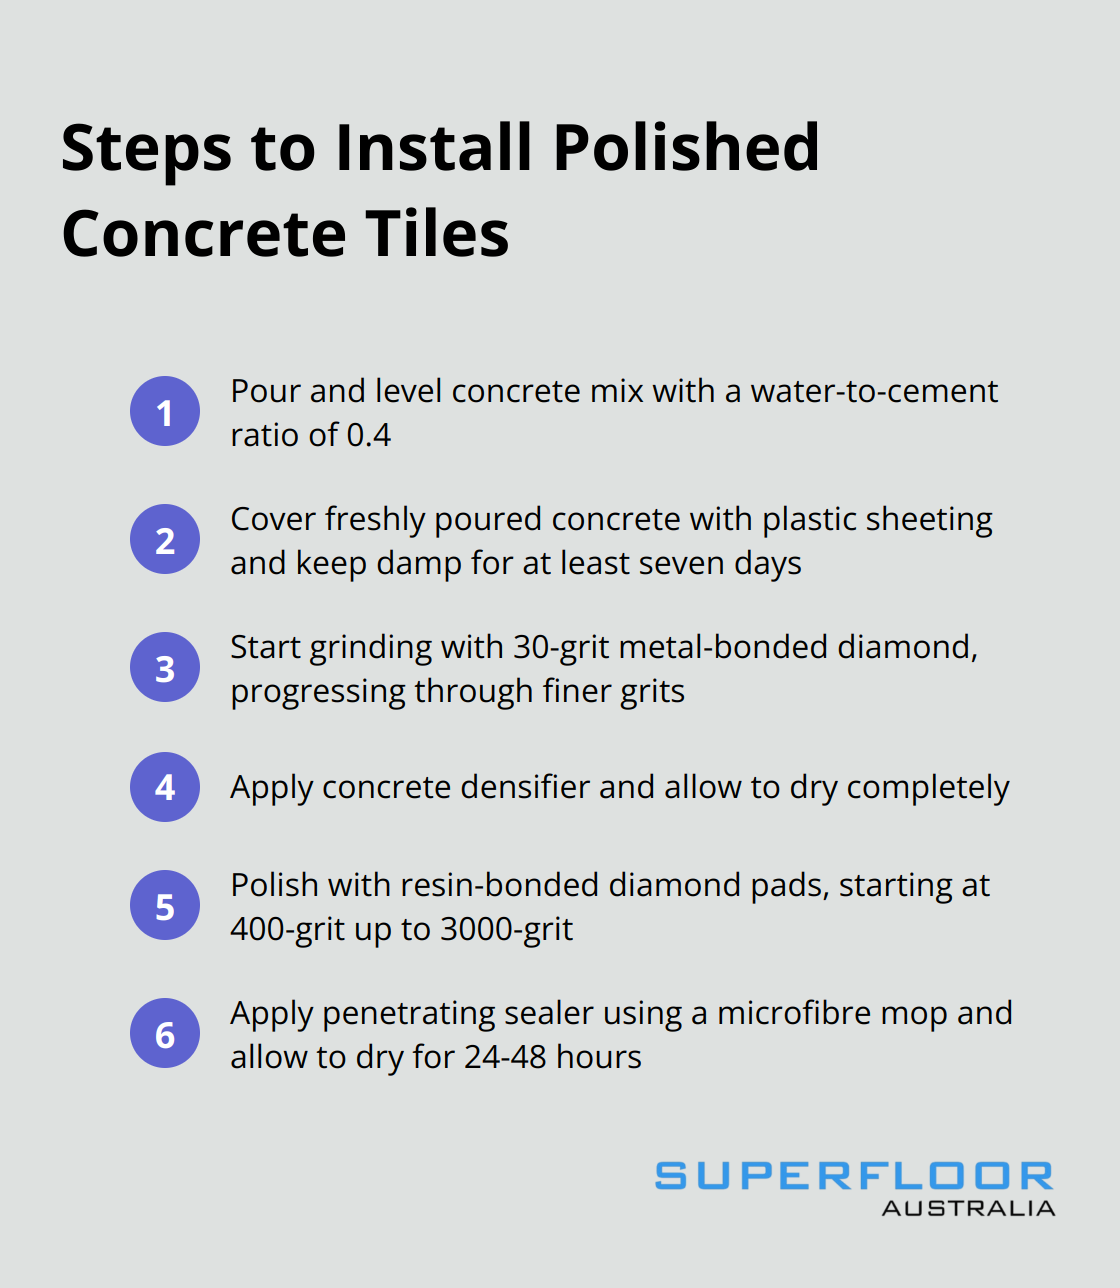
Mix your chosen concrete to the right consistency. For polished concrete tiles, we recommend a mix with a water-to-cement ratio of 0.4. This creates a strong, dense concrete that’s ideal for polishing.
Pour the concrete in sections, using screed boards to level the surface. Work quickly, as concrete begins to set within 30 minutes. Use a bull float to smooth out any imperfections and bring cream to the surface. For larger areas, a power trowel can save time and effort.
Curing Process
Proper curing is essential for the strength and durability of your concrete tiles. Cover the freshly poured concrete with plastic sheeting to retain moisture. Keep the concrete damp for at least seven days, misting it with water if necessary.
The concrete should cure before polishing begins. The ideal temperature for curing concrete is typically between 50 and 60°F, and high humidity helps concrete retain moisture, which is important for the curing process.
Grinding and Polishing
Once cured, start grinding. Begin with a 30-grit metal-bonded diamond to remove any major imperfections. Progress through finer grits (typically 50, 100, and 200) to achieve a smooth surface.
After the initial grinding, apply a concrete densifier. This hardens the surface, making it more receptive to polishing. Allow the densifier to dry completely before continuing.
Next, switch to resin-bonded diamond pads. Start with 400-grit and work your way up to 3000-grit for a high-gloss finish. Each pass should overlap by about 30% to ensure even polishing.
Sealing the Surface
The final step involves applying a sealer to protect your polished concrete tiles. Choose a penetrating sealer for maximum protection without altering the appearance of the polished surface. Apply the sealer evenly using a microfibre mop, working in small sections.
Allow the sealer to dry completely (typically 24 to 48 hours) before walking on the surface or placing furniture. For high-traffic areas, try applying a second coat of sealer after the first has fully cured.
While DIY installation is possible, achieving a professional-grade polished concrete tile floor requires skill and specialised equipment. For best results, consider hiring experienced professionals (like our team at Superfloor Australia). We have the expertise and tools to create stunning, long-lasting polished concrete tile floors that will transform your space.
Final Thoughts
Polished concrete tile floors offer a unique blend of durability, style, and practicality. Their longevity and low maintenance requirements make them an excellent investment for both residential and commercial spaces. The versatility in design allows for customisation to suit any aesthetic preference, from sleek modern to rustic industrial.
The installation process yields remarkable results when done correctly. Proper preparation, including assessing the existing floor and choosing the right concrete mix, sets the foundation for success. The grinding and polishing stages require patience and skill, but the end result is a floor that’s not only beautiful but also highly functional.
We at Superfloor Australia specialise in delivering high-quality polished concrete flooring in Brisbane. Our expertise ensures that you’ll get a floor that not only looks great but also stands the test of time. With our precision preparation and expert craftsmanship, we can create a polished concrete tile floor that perfectly suits your needs and enhances the overall appeal of your space.