Epoxy resin concrete floors are transforming interior spaces with their stunning aesthetics and durability. At Superfloor Australia, we’ve seen a surge in demand for these versatile flooring solutions.
This guide will walk you through the process of creating your own epoxy resin concrete floor, from selecting the right materials to applying the final coat. Get ready to elevate your space with a floor that’s both beautiful and long-lasting.
Which Epoxy Resin Is Best for Your Concrete Floor?
Types of Epoxy Resins
Epoxy resins for concrete floors come in three main varieties: water-based, solvent-based, and 100% solids. Water-based epoxies offer easy application but less durability. Solvent-based epoxies provide better adhesion and chemical resistance, but emit strong odours during application. 100% solids epoxies deliver the highest durability and thickness, but require skilled application.

Key Selection Factors
When choosing an epoxy resin, consider these factors:
- Traffic Level: High-traffic areas require more durable epoxies (e.g., 100% solids).
- Chemical Exposure: For floors exposed to chemicals, select solvent-based or 100% solids epoxies.
- Moisture Content: Use moisture-tolerant epoxy for concrete with high moisture content.
- Application Environment: Temperature and humidity affect curing time. Choose an epoxy suitable for your climate.
- Aesthetic Goals: Some epoxies offer more colour options and decorative possibilities than others.
Top Epoxy Resin Brands
The Australian market offers several standout brands. Leggari Products provides user-friendly DIY kits with excellent customer support. Stone Coat Countertops offers high-quality epoxies with a wide range of colour options. Infinity Paint’s epoxy solutions feature eco-friendly formulations.
For the best results in Brisbane and surrounding areas, Superfloor Australia recommends their specialised epoxy solutions. These products are tailored to local conditions and backed by concrete flooring expertise.
Application Considerations
Proper application is essential, regardless of the brand you choose. Prepare your concrete thoroughly (clean, dry, and etched). Mix the epoxy components precisely according to the manufacturer’s instructions. Apply thin, even coats using a roller or squeegee, working in manageable sections.
While DIY kits are available, professional application often yields superior results, especially for large or complex projects. Skilled technicians (like those at Superfloor Australia) ensure correct application, maximising durability and aesthetic appeal.
Epoxy Thickness and Coverage
The thickness of your epoxy coating impacts its durability and appearance. Most residential applications require a thickness of 2-3 mm (achieved through multiple coats). Commercial or industrial settings might need thicker coatings (up to 5 mm or more).
Coverage rates vary depending on the epoxy type and concrete porosity. As a general rule, expect to cover about 50sqm per 10 litre kit of mixed epoxy. Always check the manufacturer’s specifications for precise coverage rates.
Now that you understand the types of epoxy resins and selection factors, let’s move on to preparing your concrete floor for epoxy application. This crucial step ensures optimal adhesion and a flawless finish.
How to Prepare Your Concrete Floor for Epoxy
Proper preparation forms the bedrock of a stunning epoxy resin concrete floor. This step can make or break your project. Here’s how to prepare your concrete for that perfect epoxy application.
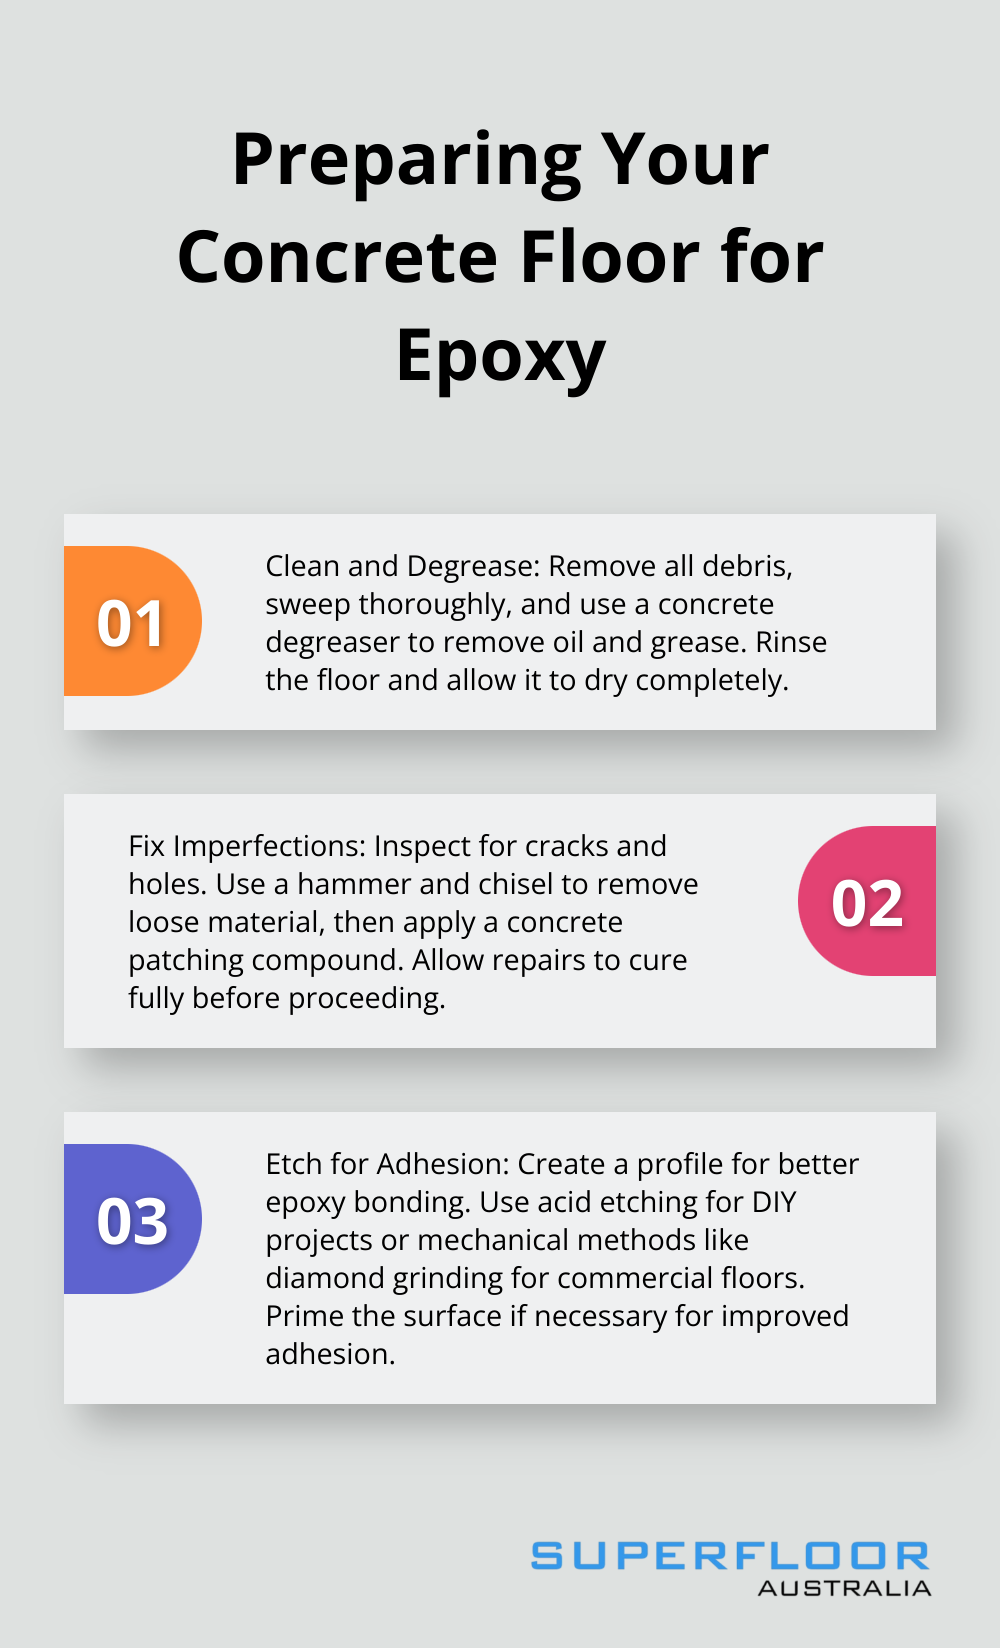
Clean and Degrease Thoroughly
Start by removing all debris from the floor. Sweep thoroughly, then use a shop vacuum to remove fine dust. Next, tackle the degreasing process. Clean and Degrease Thoroughly. Oil and grease are common contaminants on concrete floors. Choose a concrete degreaser that is appropriate for your floor’s condition. Rinse thoroughly and allow the floor to dry completely.
Fix Cracks and Imperfections
Inspect your floor for cracks, holes, and other imperfections. Fix Cracks and Imperfections by using a hammer and chisel to get rid of all the loose contaminators and debris. Then, utilise a brush to remove all the remaining concrete parts from the cracks.
For spalled areas, apply a concrete patching compound with a trowel. Feather the edges to blend with the existing surface. Allow all repairs to cure fully before moving forward.
Etch for Better Adhesion
Etch for Better Adhesion to create a profile that allows the epoxy to bond effectively. Acid etching is a viable option for DIYers when grinding isn’t feasible. However, it requires careful handling to ensure safety and effectiveness.
Commercial or heavily soiled floors might require mechanical etching methods like diamond grinding or shot blasting. These provide a more aggressive profile and can remove stubborn contaminants.
Prime for Success
While not always necessary, priming can significantly improve epoxy adhesion (especially on older or more porous concrete). Choose a primer compatible with your epoxy system. Apply a thin, even coat using a roller, working in sections to maintain a wet edge.
Allow the primer to dry completely before applying your epoxy. This typically takes 8-12 hours, but always check the manufacturer’s recommendations.
With your concrete floor meticulously prepared, you’re ready to move on to the exciting part: applying the epoxy resin. The next section will guide you through this process step-by-step, ensuring you achieve the stunning results you desire.
How to Apply Epoxy Resin to Concrete
Mixing the Epoxy Components
Start by mixing the epoxy resin and hardener according to the manufacturer’s instructions. You need Epoxy floor primer component A (base) and B (hardener). Add both components together and mix the resin for at least 2 to 4 minutes with a spiral mixer. Use a clean mixing container and a power drill with a mixing attachment for thorough blending. Avoid overmixing to prevent air bubbles.
Applying the Base Coat
After mixing, you have limited time before the epoxy sets. Pour the mixed epoxy onto the floor in ribbons, then use a squeegee to spread it evenly. Starting from a corner, pour a ribbon of the epoxy mix onto the floor, then use a squeegee to spread it. Work in small sections (1-2 square metres at a time). After spreading with the squeegee, use a medium nap roller to back-roll the epoxy, ensuring even coverage and removing air bubbles.
For larger areas, work with a partner to maintain a wet edge and avoid visible seams. The base coat should be approximately 10 mils (0.25 mm) thick. Allow this layer to cure for 12-24 hours (depending on the product and environmental conditions).
Adding Decorative Elements
Incorporate decorative elements like colour flakes or metallic pigments after applying the base coat. Shimicoat’s range of decoratives, including flake, glitter, and quartz, offers the perfect finishing touch for your resin flooring or epoxy coating projects.
For intricate designs, use multiple colours or create defined sections with painter’s tape. Try to balance visual interest and sophistication when adding decorative elements (less is often more).
Applying the Topcoat
Apply the topcoat after the base coat and decorative elements have cured. This layer provides additional protection and enhances the overall appearance. Mix the topcoat epoxy as you did the base coat, but consider adding a non-slip additive for improved safety (especially in potentially wet areas).
Apply the topcoat using a foam roller for a smooth finish. Work in thin, even layers to avoid drips or pooling. For outdoor applications or areas exposed to UV light, use a UV-resistant topcoat to prevent yellowing over time.
Allow the topcoat to cure fully before subjecting the floor to foot traffic or heavy use (this typically takes 24-72 hours, but can vary based on the specific product and environmental conditions).
While DIY application is possible, professional installation often yields superior results, especially for large or complex projects. Companies like Superfloor Australia combine expert techniques with high-quality materials to create stunning, long-lasting epoxy resin concrete floors tailored to specific needs and preferences.
Final Thoughts
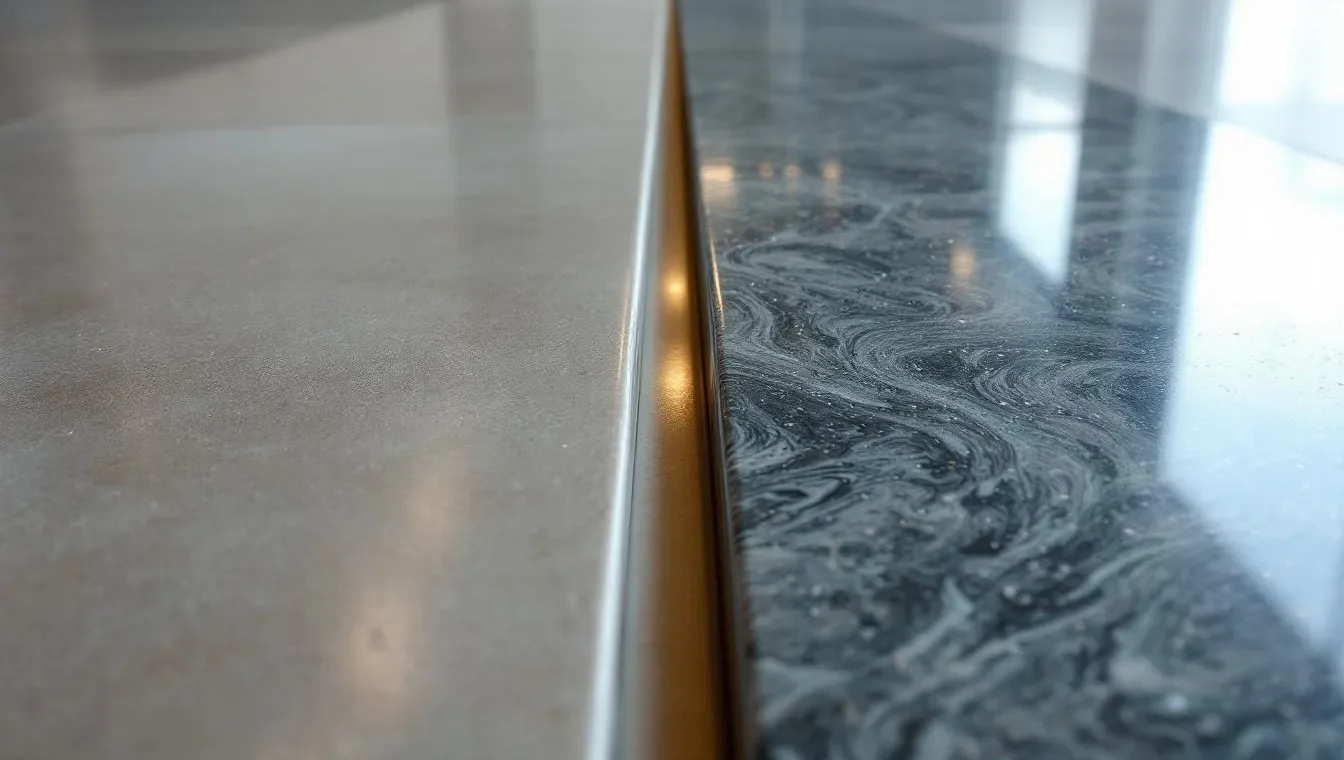
Epoxy resin concrete floors transform ordinary surfaces into extraordinary spaces. These floors offer exceptional resistance to stains, chemicals, and wear, making them ideal for high-traffic areas. Their seamless, glossy finish enhances aesthetics and simplifies cleaning, while allowing for customisation through colour choices and decorative elements.
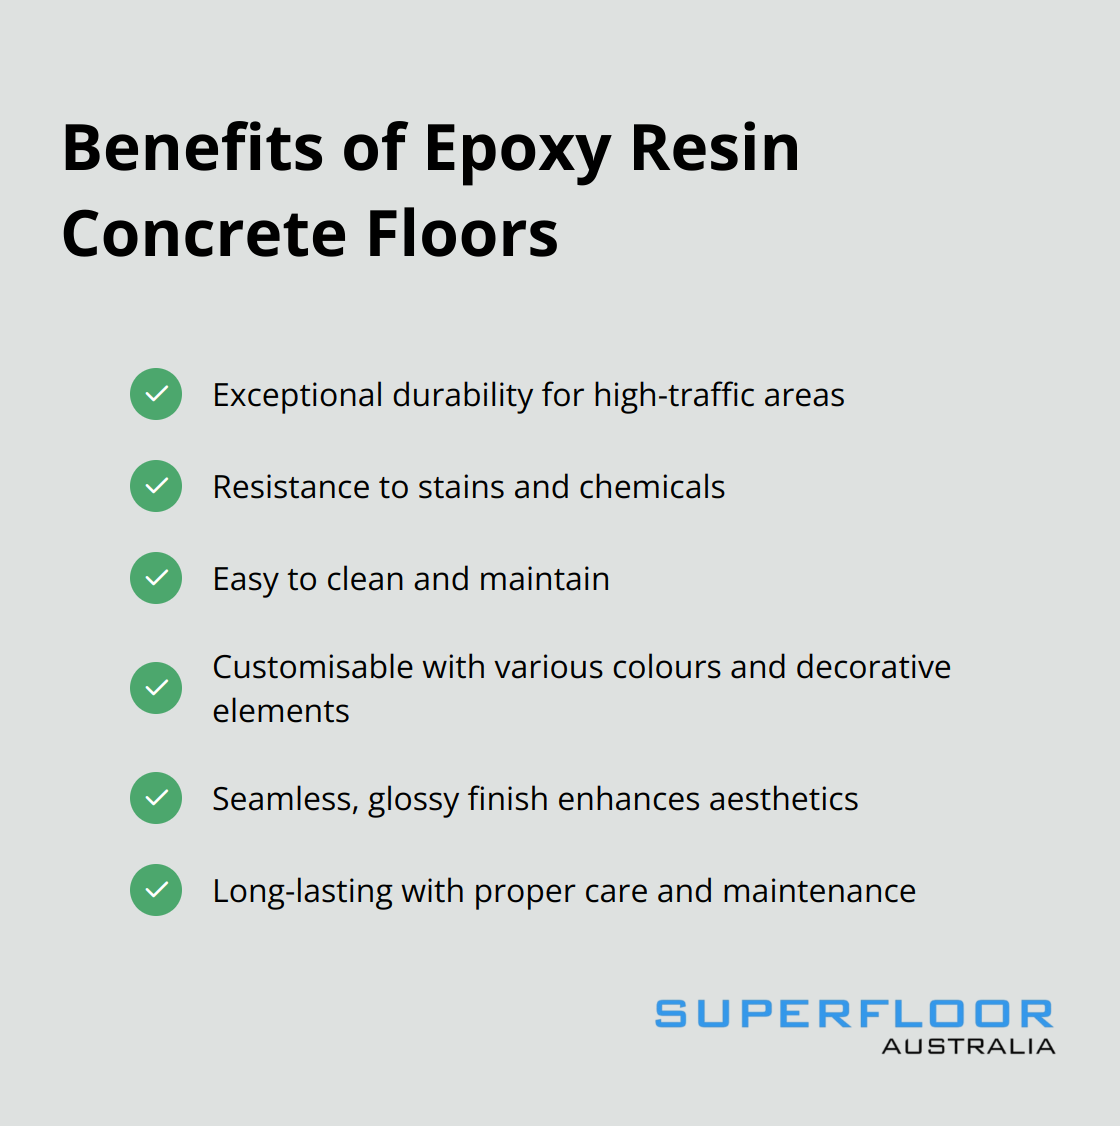
Regular care maintains the beauty and longevity of epoxy resin concrete floors. Sweep or vacuum frequently, clean spills promptly, and use pH-neutral cleaners for routine maintenance. Place protective pads under furniture legs to prevent scratches, and consider using entryway mats to reduce tracked dirt.
Professional application often yields superior results for epoxy resin concrete floors. We at Superfloor Australia specialise in creating high-quality polished concrete and epoxy resin floors. Our team’s expertise ensures your floor impresses for years to come (and continues to serve you well).