Exposed concrete floors have become the go-to choice for modern homes and commercial spaces. Their industrial aesthetic combined with exceptional durability makes them perfect for high-traffic areas.
We at Superfloor Australia have helped hundreds of property owners transform their ordinary concrete slabs into stunning polished surfaces. The process requires careful planning and proper execution to achieve professional results.
Planning Your Exposed Concrete Floor Project
Start with a thorough inspection of your existing concrete slab. Walk the entire area and mark any cracks wider than 0.2mm, as these require professional repair before you begin the polish process. Check for oil stains, paint spills, or adhesive residue from previous floors – these contaminants will show through the final finish if you don’t remove them properly. Use a straight edge or laser level to identify high and low spots that exceed 3mm variations, which will create uneven results.
Assess Your Concrete Slab Condition
Test your concrete’s hardness with a simple coin scratch test. Hard concrete produces minimal dust when you scratch it, while soft concrete crumbles easily and requires densification treatment before you polish. Look for areas where the surface has chipped away (spalling or scaling) – these sections need professional attention to reach solid concrete underneath. Age matters significantly: concrete older than 28 days polishes better than newer slabs that may still contain excess moisture.
Choose Between Polished and Honed Finishes
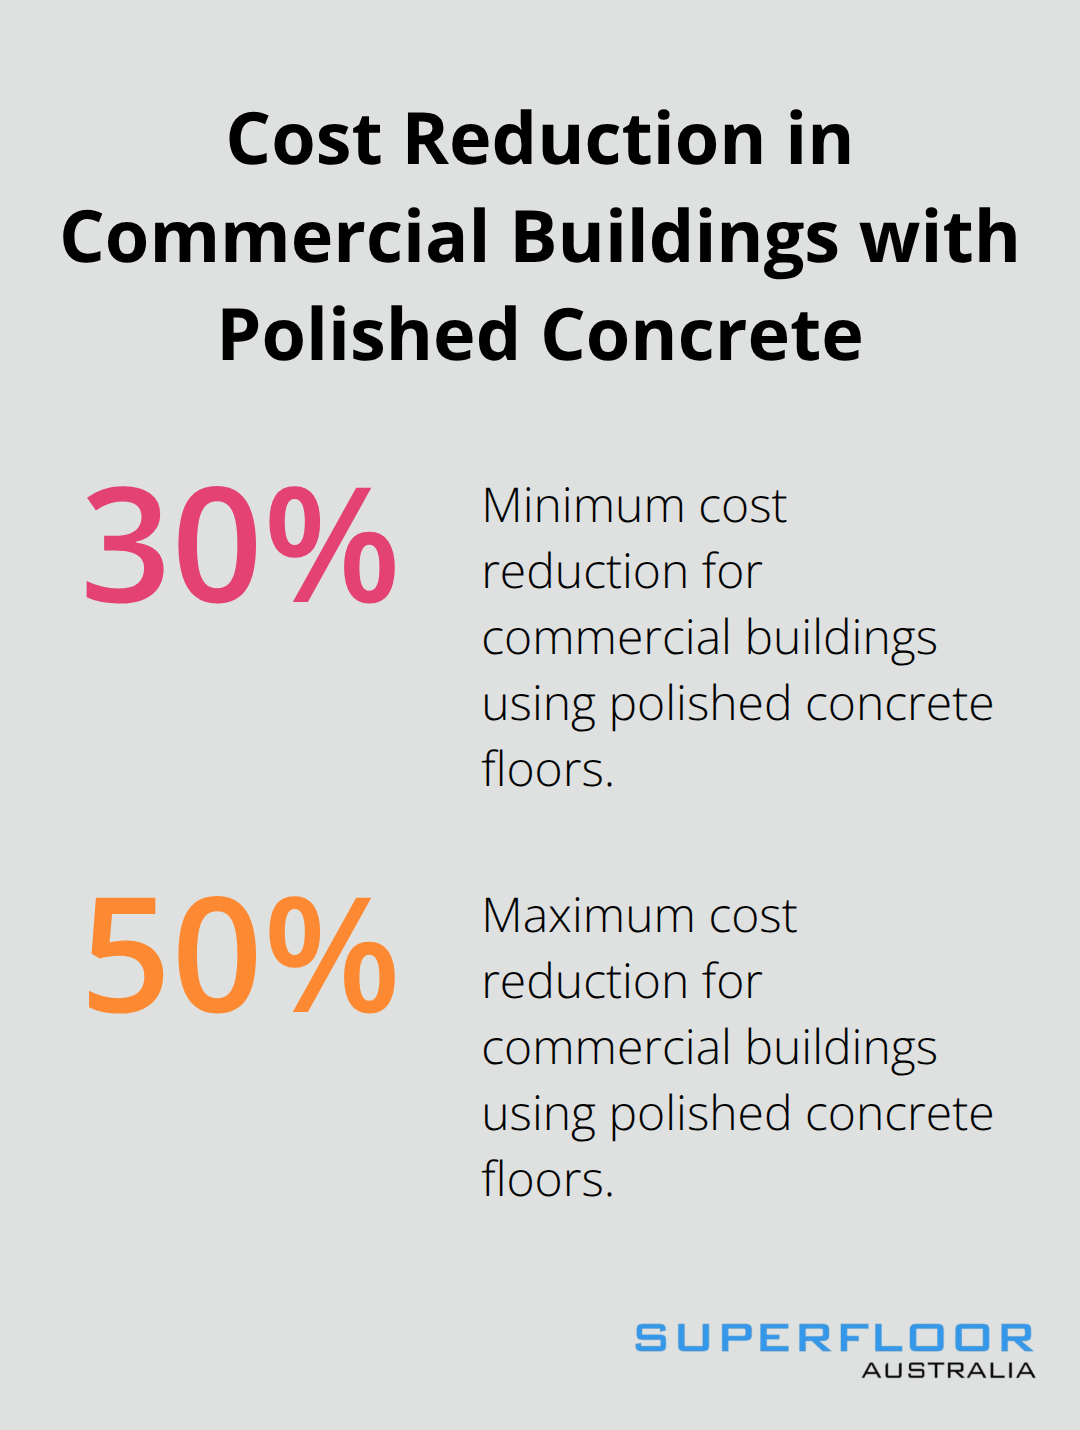
Select polished finishes for high-traffic commercial areas where maximum durability and light reflection matter most. The high-gloss surface can reduce commercial building costs by 30-50% according to industry studies. Choose honed finishes for residential spaces where slip resistance and subtle elegance take priority. Honed surfaces provide better traction in wet conditions while they maintain the concrete’s natural beauty. Consider your maintenance capacity – polished floors show every footprint and require daily attention, while honed surfaces hide minor dirt and scuffs better.
Set Realistic Budget and Timeline Expectations
Expect 3-5 days minimum for professional installation on standard residential projects. Large commercial spaces require 1-2 weeks (depending on square footage and complexity). Factor in drying time between steps – rushed processes lead to poor adhesion and premature failure. Budget for surface preparation costs, which often exceed 40% of total project expenses when extensive repairs are needed.
Once you complete your project assessment and make these key decisions, the real work begins with proper surface preparation techniques.
Preparation and Surface Treatment Process
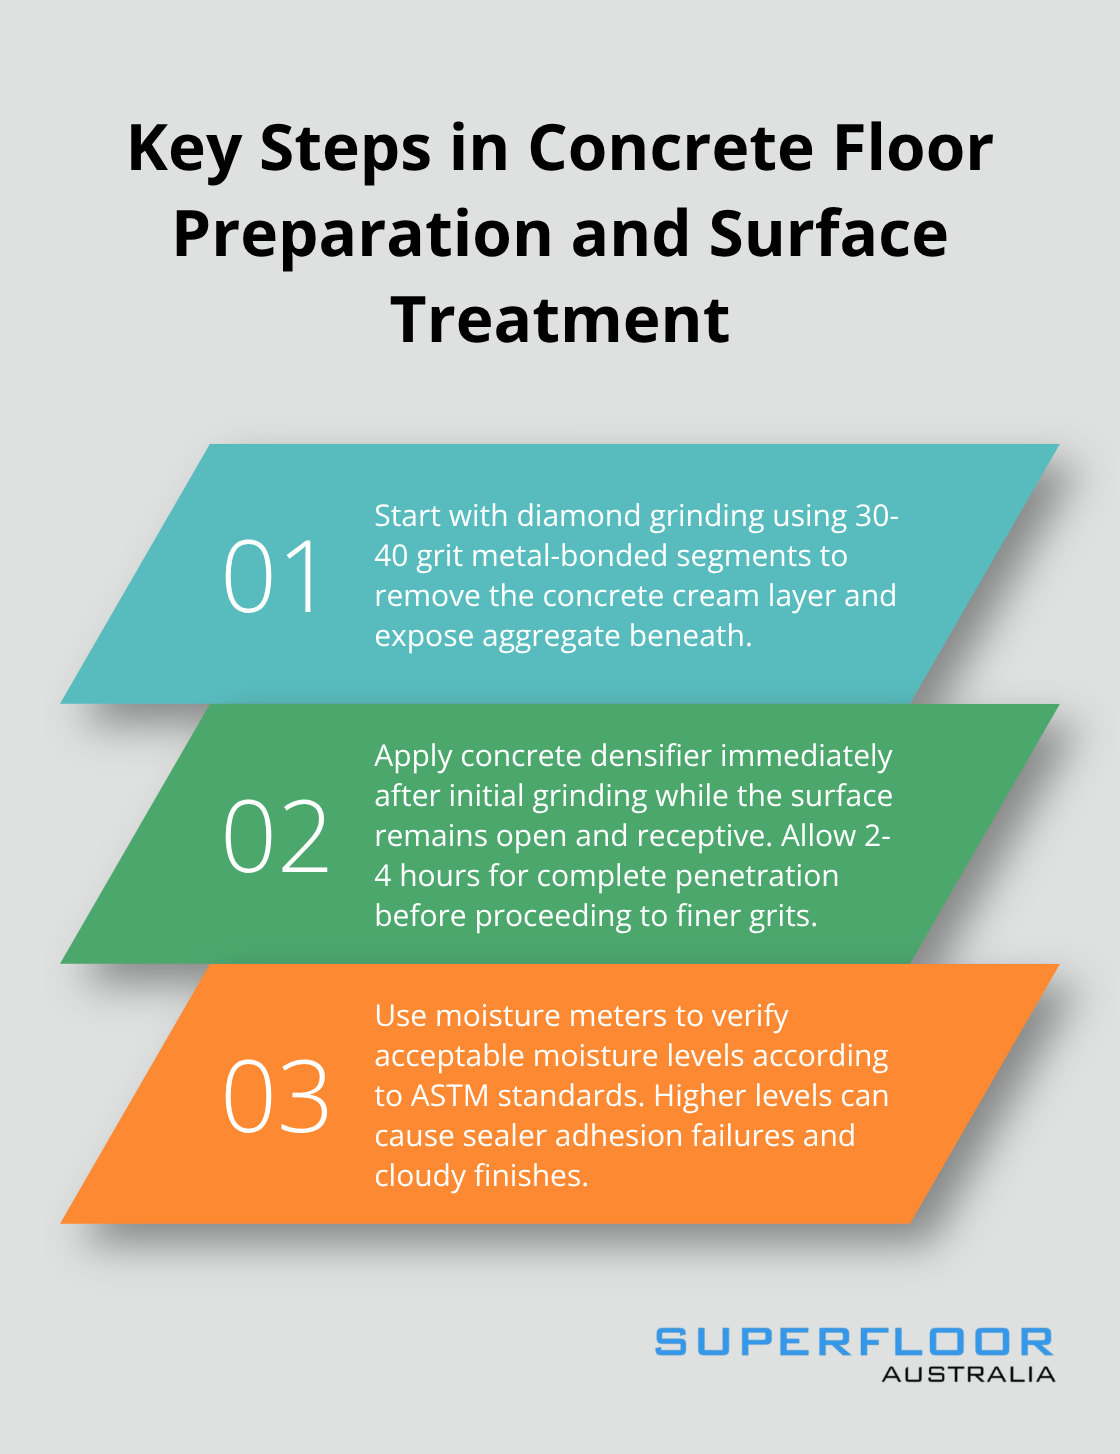
Professional surface preparation determines whether your exposed concrete floor succeeds or fails within the first year. Start with diamond grinding using 30-40 grit metal-bonded segments to remove the concrete cream layer and expose aggregate beneath. This aggressive grinding eliminates surface contamination and creates the proper profile for subsequent steps. Move systematically across the entire floor in overlapping passes, maintain consistent pressure to avoid creating waves or gouges that will telegraph through your final finish.
Grinding and Levelling the Concrete Surface
Use a planetary grinder for areas under 100 square metres and walk-behind grinders for larger spaces. Check your progress every 15 minutes with a straight edge – variations that exceed 2mm require additional grinding passes. Apply concrete densifier immediately after initial grinding while the surface remains open and receptive. The densifier chemically reacts with calcium hydroxide in the concrete, filling pores and microcracks to harden the surface. Allow 2-4 hours for complete penetration before you proceed to finer grits.
Repairing Cracks and Imperfections
Fill hairline cracks under 0.5mm with penetrating crack sealer applied under pressure. Wider structural cracks require routing and filling with polyurethane or epoxy compounds that match your concrete colour. Remove oil stains with alkaline degreasers followed by steam cleaning – never use acid-based products that etch the surface. Adhesive residue from previous flooring dissolves with specialised solvents, but test compatibility on a small area first to prevent discolouration (this step saves costly repairs later).
Cleaning and Decontaminating the Floor
Power wash the entire surface with clean water at 3000 PSI to remove grinding slurry and loose debris. Allow 24 hours minimum for complete moisture evaporation before you apply your chosen finish system. Use moisture meters to verify acceptable moisture levels according to ASTM standards – higher levels cause sealer adhesion failures and cloudy finishes that require complete removal and restart (moisture testing prevents expensive do-overs).
With your concrete surface properly prepared and completely clean, you can now focus on the polishing techniques that transform raw concrete into a stunning polished floor.
Finishing Techniques for Maximum Impact
Apply lithium silicate densifier immediately after your 100-grit pass while concrete pores remain open. Work in 200-square-metre sections and apply densifier with a microfibre mop at 150 square metres per litre coverage rate. The chemical reaction creates calcium silicate hydrate crystals that strengthen the concrete surface. Allow 4-6 hours for complete penetration before you begin progressive polish steps. Never skip this step – undensified concrete will dust continuously and fail within months.
Apply Densifiers and Hardeners
Choose lithium silicate densifiers over sodium or potassium alternatives for superior penetration and longevity. The lithium molecules are smaller and penetrate deeper into the concrete matrix, creating stronger chemical bonds. Apply densifier when surface temperature stays between 15-25 degrees Celsius for optimal reaction rates. Higher temperatures accelerate the reaction but may cause uneven penetration, while lower temperatures slow the process significantly. Test penetration depth with a simple water drop test – properly densified concrete will absorb water drops within 30 seconds rather than letting them bead on the surface.
Execute Progressive Diamond Polish Steps
Start with 200-grit resin-bonded diamonds and progress through 400, 800, 1500, and 3000-grit stages systematically. Each grit level removes scratches from the previous pass while it adds progressively finer polish marks. Spend equal time on each grit – rushed 400-grit work creates deep scratches that 800-grit cannot remove completely. Use wet methods for grits above 800 to prevent heat build-up that causes micro-cracks in the surface. Professional contractors achieve mirror finishes with steel wool pads and polish compound for final passes.
Select and Apply Protective Sealers
Choose penetrative sealers for maximum durability or topical sealers for enhanced gloss levels based on your specific needs. Penetrative sealers react chemically with concrete and provide long-lasting protection in most conditions. Topical acrylic sealers provide higher gloss but require recoat every 2-3 years in high-traffic areas. Apply sealers with microfibre applicators at manufacturer-specified coverage rates – typically 300-400 square metres per litre for penetrative types. Temperature and humidity affect cure times significantly, so apply sealers only when ambient temperature stays between 10-30 degrees Celsius with relative humidity below 85%.
Final Thoughts
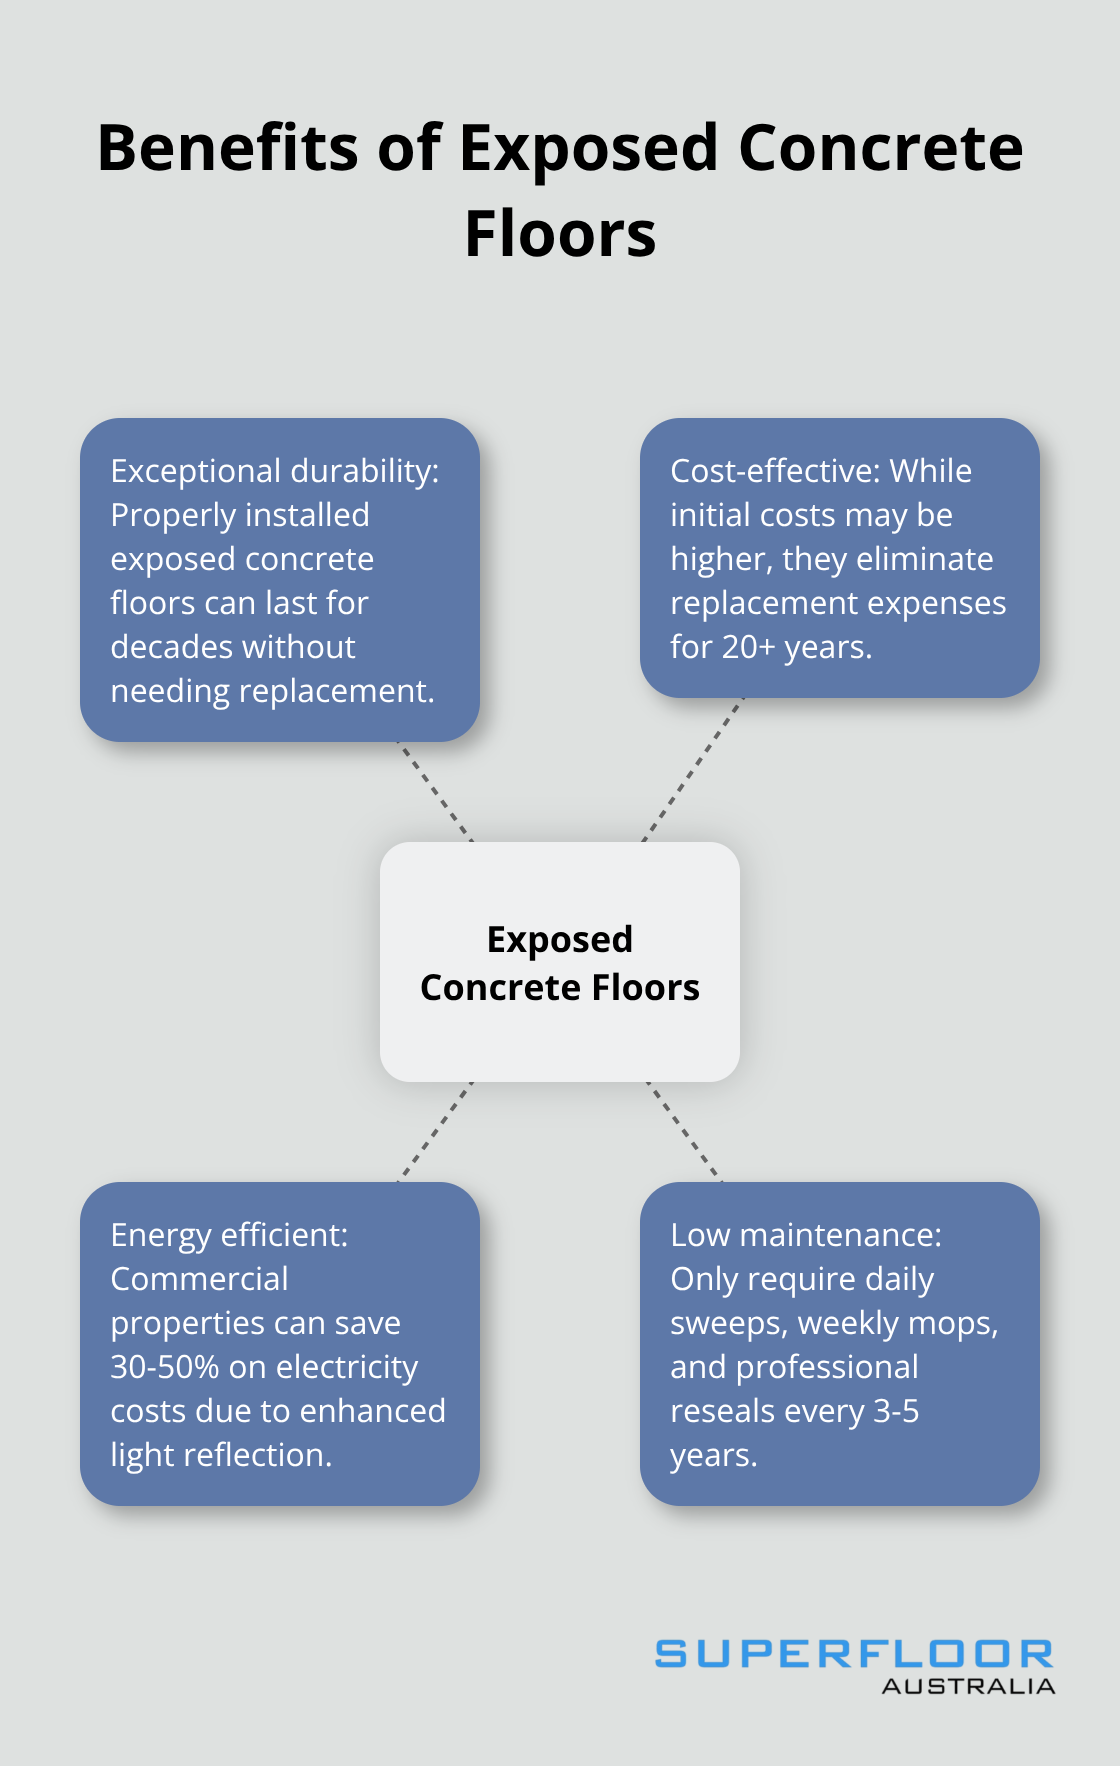
Exposed concrete floors need minimal long-term maintenance when professionals install them correctly. Daily sweeps and weekly mops with pH-neutral cleaners preserve the finish for decades. Professional reseals every 3-5 years maintain protection and appearance, which costs significantly less than carpet or tile replacements.
The financial advantages become clear over time. Initial installation costs may exceed traditional floors, but exposed concrete floors eliminate replacement expenses for 20+ years. Commercial properties save 30-50% on electricity costs due to enhanced light reflection (while residential spaces benefit from reduced temperature control expenses through thermal mass properties).
DIY installation rarely achieves professional results. The specialised equipment, technical knowledge, and experience required for proper surface preparation and finish work make professional installation the smart choice. We at Superfloor Australia combine precision preparation with expert craftsmanship to deliver results that enhance both aesthetics and durability.