
Polished concrete bathrooms are becoming the go-to choice for homeowners who want durability without sacrificing style. At superfloor australia, we’ve seen firsthand how this material transforms bathrooms into spaces that are both practical and beautiful.
The good news is that creating a polished concrete bathroom doesn’t require complicated processes or endless maintenance. We’ll walk you through everything from design options to installation and care.
Design Styles That Work With Polished Concrete
Modern Minimalist Aesthetics
Polished concrete adapts to whatever style you want, and the finish you select shapes the entire look. A high-gloss mechanically polished floor reflects up to 30% more light than unpolished floors, so your design direction should inform which polishing method you pick from the start. Modern minimalist bathrooms thrive with high-gloss finishes that reflect light and create visual openness. Houzz’s gallery of over 10,250 concrete bathroom images shows that floating vanities paired with matte finishes dominate contemporary designs, while slim black-framed glass shower screens amplify that spa-like feel. The coolness of grey concrete works best when balanced with natural wood accents-think timber vanities or timber ceilings-which warm the space without fighting the industrial character.
Beyond Grey: Colour and Pattern Options
If you want to move past grey, colouring concrete during the polishing process costs more but gives you options like burnt orange or charcoal tones that shift the entire mood. Industrial and contemporary spaces benefit from concrete’s raw authenticity, especially when you leave edges rough or expose aggregate patterns. Terrazzo finishes with chunky aggregates offer nearly the same level of durability as natural stone once polished. Pairing concrete with clay tiles or unpolished brick elements adds earthiness and prevents the space from feeling too harsh.
Warm, Inviting Finishes
For warm, inviting finishes, layer in pebbles on shower floors or walls to create texture and a resort-like atmosphere. Warm lighting-think cosy yellows rather than cool whites-transforms concrete from cold and austere into soothing and stylish. Built-in niches and shower seats (which appear in 461 bathroom photos on Houzz) reduce visual clutter and serve real purposes. Arched doorways and curved lines on basin edges introduce personality without requiring expensive renovations.
Creating Your Statement Piece
The key across all styles is consistency: pick one concrete feature as your statement piece-a polished basin, a textured wall, or a seamless floor-to-ceiling cement plaster-rather than scattering concrete throughout. This approach keeps the design intentional and prevents the bathroom from feeling cold or industrial by accident. Once you’ve settled on your aesthetic direction, the next step involves preparing your existing concrete surface and selecting the right polishing technique to bring your vision to life.
Installation Process and Preparation
Assessing Your Existing Concrete Surface
Before any polishing happens, your concrete surface determines everything that follows. A rough or damaged slab will sabotage even the best polishing technique, which is why surface assessment demands careful attention. Start by checking for cracks, spalling, or uneven areas across the entire floor. Moisture testing in bathrooms matters more than anywhere else because water trapped beneath the surface will cause the polish to fail within months. Test moisture levels using a calcium chloride or relative humidity meter before you proceed. If your existing concrete has old coatings, adhesive, or sealers, you must completely remove these during preparation. This removal step takes time and adds cost, but skipping it means your densifier and polish won’t bond properly to the substrate.
Removing Old Coatings and Preparing the Base
For bathrooms, a professional assessment of moisture and existing conditions protects your investment because the stakes are high in a wet environment. You need to know exactly what you’re working with before the grinding process starts. Old sealers and coatings act as barriers that prevent new materials from adhering to the concrete, so thorough removal is non-negotiable. The preparation phase sets up everything that comes next-without it, even premium polishing techniques fail.
Grinding and Polishing Techniques
The grinding and polishing sequence determines your final finish and durability. The process uses diamond discs with progressively finer grits to achieve either a matte, satin, or high-gloss result. A water-fed polishing process keeps surfaces wet during grinding, which reduces dust and delivers a more even finish across the entire bathroom floor. After grinding reaches your desired grit level, you apply a concrete densifier application that strengthens the surface and improves how the polish and sealer bond to the concrete. This densification step is non-negotiable for bathroom floors because it boosts durability in moisture-prone conditions.
Sealing for Water Resistance and Durability
Sealing comes last and requires choosing between penetrating sealers for protection or topical sealers for gloss. You apply sealers in thin, even coats with adequate drying time between layers.
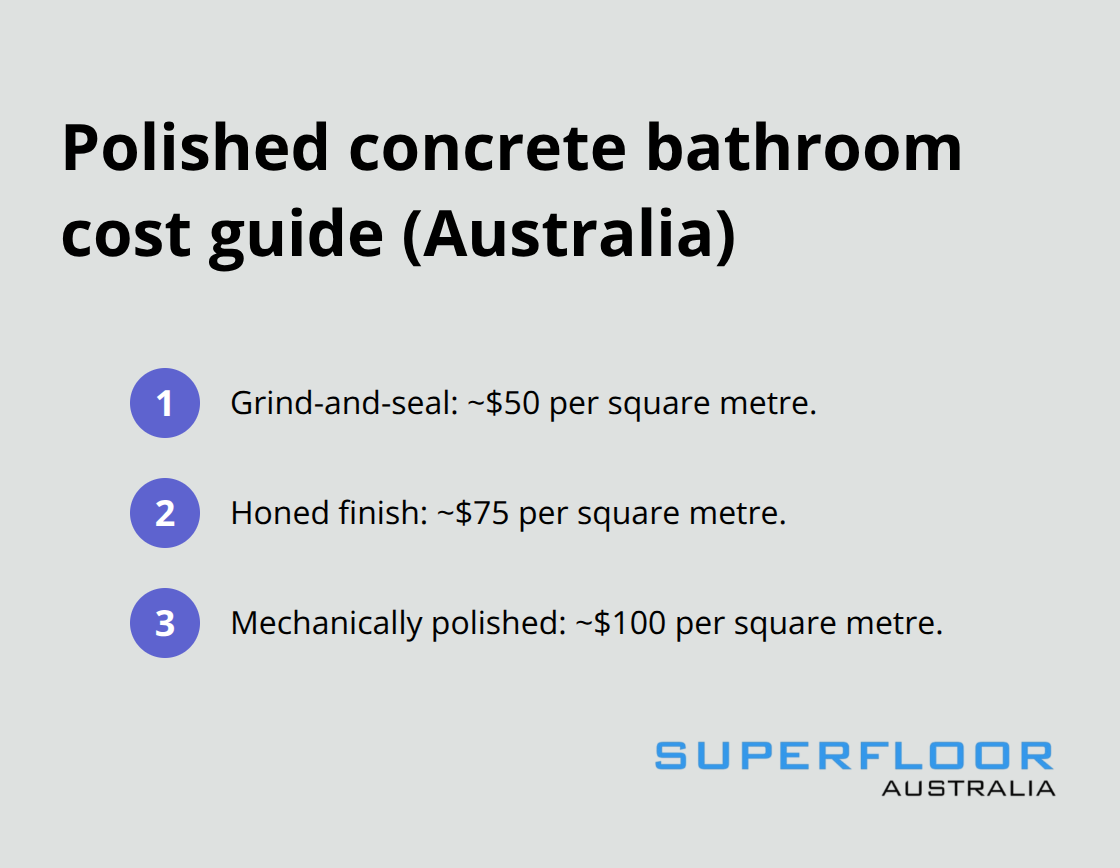
The three main methods cost differently: grind-and-seal runs around $50 per square metre, honed finishes average $75 per square metre, and mechanically polished floors reach $100 per square metre. Mechanically polished floors are highly durable and can withstand the moisture-rich environment of bathrooms, making them ideal for wet spaces. Smaller bathroom areas tend to cost more per square metre due to increased detail work around vanities and shower enclosures.
Choosing the Right Professional
Hiring a reputable concrete polishing company with references and a warranty protects your investment and ensures proper moisture management from start to finish. The right contractor understands bathroom-specific challenges and handles the entire process-from moisture testing through final sealing-with precision. Once your polished concrete floor is complete and sealed, maintaining that finish requires a straightforward approach that keeps your bathroom looking fresh for years to come.
Maintenance and Care Tips
Daily Cleaning Routines
Polished concrete bathrooms demand a different maintenance approach than tile or timber floors, but the effort stays minimal once you understand what works. Start with a dry mop to remove dust and debris, then follow with a pH-neutral cleaner and warm water.
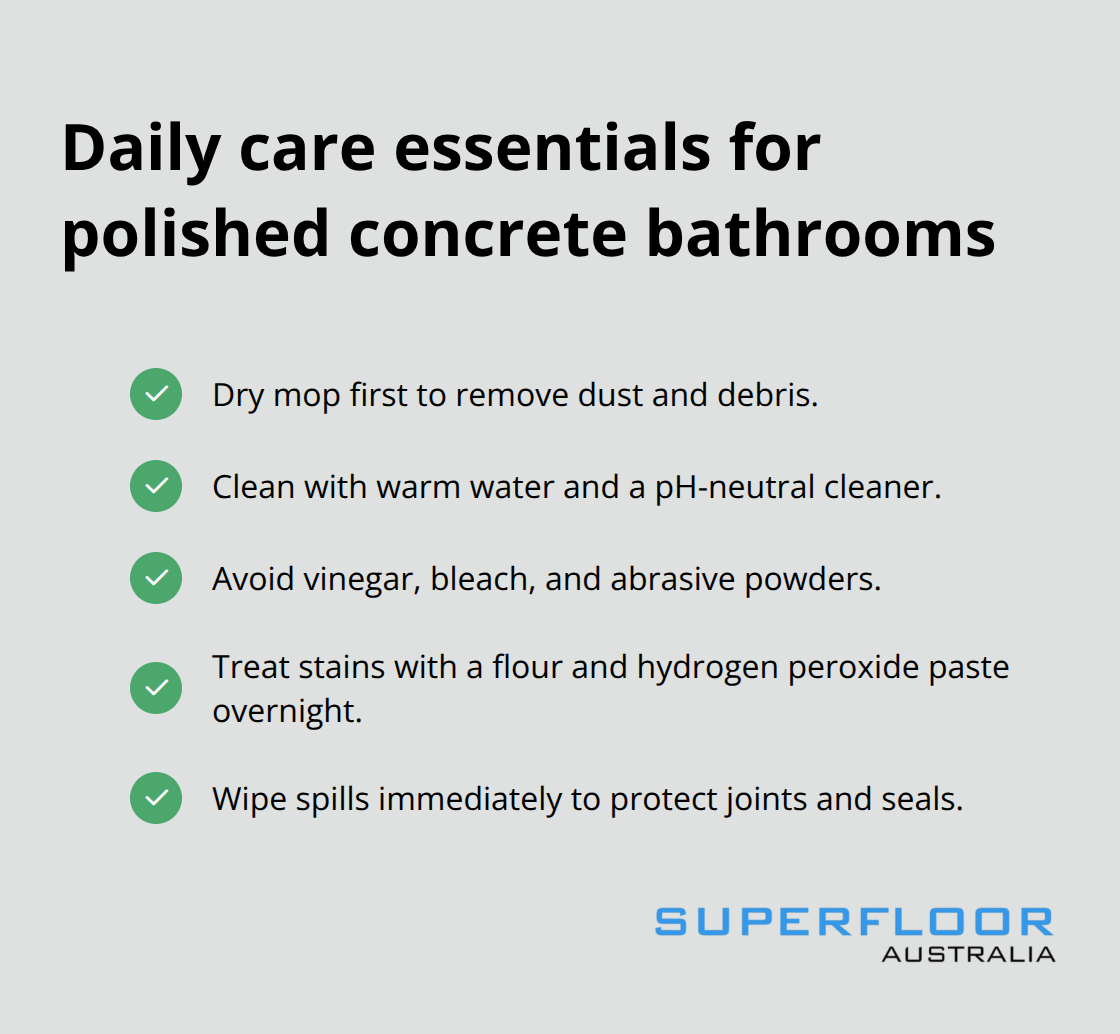
Acidic or harsh cleaners damage the polish and sealers, so avoid vinegar, bleach, and abrasive scrubbing powders entirely. For stubborn stains that resist mild detergent, a flour and hydrogen peroxide paste left overnight can be scrubbed away without harming the finish. Wipe up spills immediately because water sitting on the surface can penetrate joints and compromise the seal over time.
Protecting Your Floor from Damage
Place mats at entryways and near showers to trap moisture and dirt before they reach the polished floor. Furniture pads or felt under vanity stools and fixtures prevent scratching when items shift during use. Regular sweeping and damp mopping maintain shine while minimising wear, and this routine takes minutes rather than hours. These simple steps protect your investment and keep the bathroom looking fresh without demanding significant effort.
Understanding Longevity and Durability
Polished concrete bathrooms typically last 10 to 15 years with proper care, though grind-and-seal finishes may need reapplication depending on traffic and moisture exposure. Mechanically polished floors offer superior longevity because the multiple fine-grit polishing steps and densifier application create a harder surface that resists degradation better than honed alternatives. Concrete naturally resists frost and corrosion when sealed correctly, but moisture entering through joints remains the primary threat in wet environments.
Addressing Wear and Damage
Inspect joints quarterly and address any widening cracks before water penetrates beneath the surface. If the polish dulls from heavy use in high-traffic areas, professional refinishing can restore the original shine without a complete re-pour. The sealed concrete surface prevents water damage when maintained properly, which is why proper care and attention keep your polished concrete floor performing reliably. Concrete’s thermal mass also contributes to energy efficiency by regulating bathroom temperatures naturally. This durability combined with straightforward maintenance means your polished concrete bathroom investment performs reliably for years while requiring far less attention than other premium flooring materials.
Final Thoughts
Polished concrete bathrooms deliver durability that withstands moisture, a finish that resists stains and allergens, and maintenance routines that take minutes rather than hours. The material works across every design direction, from minimalist spa-like spaces to warm industrial aesthetics, because concrete adapts to your vision rather than dictating it. You gain practicality without sacrificing style.
The investment makes sense when you consider longevity. A mechanically polished floor lasts 10 to 15 years with straightforward care, and concrete naturally resists frost and corrosion when sealed properly. Tile grout stains and timber warps in humid bathrooms, so your polished concrete bathroom performs reliably while requiring far less attention than premium alternatives.
Surface preparation determines everything that follows, so this step cannot be rushed. We at Superfloor Australia deliver high-quality polished concrete bathrooms with precision preparation and expert craftsmanship tailored to your needs. Our sleek, high-gloss finishes resist dust, stains, and allergens-ideal for bathrooms where low maintenance matters.