
At Superfloor Australia, we’ve seen firsthand how polished concrete kitchen floors can transform a space.
These stunning surfaces offer a perfect blend of style and functionality, making them an increasingly popular choiCe for modern homes.
In this guide, we’ll walk you through the process of creating beautiful polished concrete floors in your kitchen, from preparation to finishing touches.
Why Polished Concrete Shines in Kitchen Design
A Feast for the Eyes
Polished concrete floors transform ordinary kitchens into extraordinary spaces. Known for their durability, low maintenance, and energy efficiency, they’re perfect for kitchen environments. The smooth, reflective surface adds depth and dimension, creating an illusion of more space. This high-gloss finish bounces light around the room, brightening even the darkest corNers. A study by the National Association of Home Builders reveals that 32% of homebuyers consider kitchen flooring as a key factor in their purchasing decision, making polished concrete an attractive selling point.

Built to Last
Durability sets polished concrete apart from other flooring options. These floors withstand the daily grind of a busy kitchen, resisting scratches, stains, and impacts that would mar other surfaces. Polished concrete floors are known for their longevity. This durability translates to significant cost savings over time, as you won’t need to replaCe your flooring as frequently as with other materials.
A Palette of Possibilities
The versatility in design makes polished concrete truly exciting. From subtle earth tones to bold, vibrant hues, the colour options seem limitless. Various techniques (such as integral colouring, staining, or dyeing) achieve these looks. For those who prefer a more natural appearanCe, exposing the aggregate in the concrete creates a terrazzo-like finish that’s both unique and sophisticated.
Finishes range from matte to high-gloss, allowing you to tailor the look to your specific style. Some homeowners opt for a satin finish for a more subdued elegance, while others choose a mirror-like shine that makes a bold statement. The level of aggregate exposure can also be customised, from a cream finish with no visible aggregate to a full exposure that showcases the beauty of the concrete’s composition.
Eco-Friendly and Low Maintenance
Polished concrete floors offer an environmentally friendly option for your kitchen. By repurposing existing concrete, minimising waste, and using low VOC products, polished concrete reduCes environmental impact. Its durability also contributes to its eco-friendliness.
Maintenance of polished concrete floors proves simple and cost-effective. Regular sweeping and occasional mopping with a pH-neutral cleaner keep these floors looking their best. Unlike other flooring options, polished concrete doesn’t need waxing or sealing, saving you time and money on upkeep.
As we move forward to discuss the preparation process for installing polished concrete kitchen floors, it’s important to understand that proper planning and execution are key to achieving the stunning results you desire.
How to Prepare Your Kitchen for Polished Concrete Floors
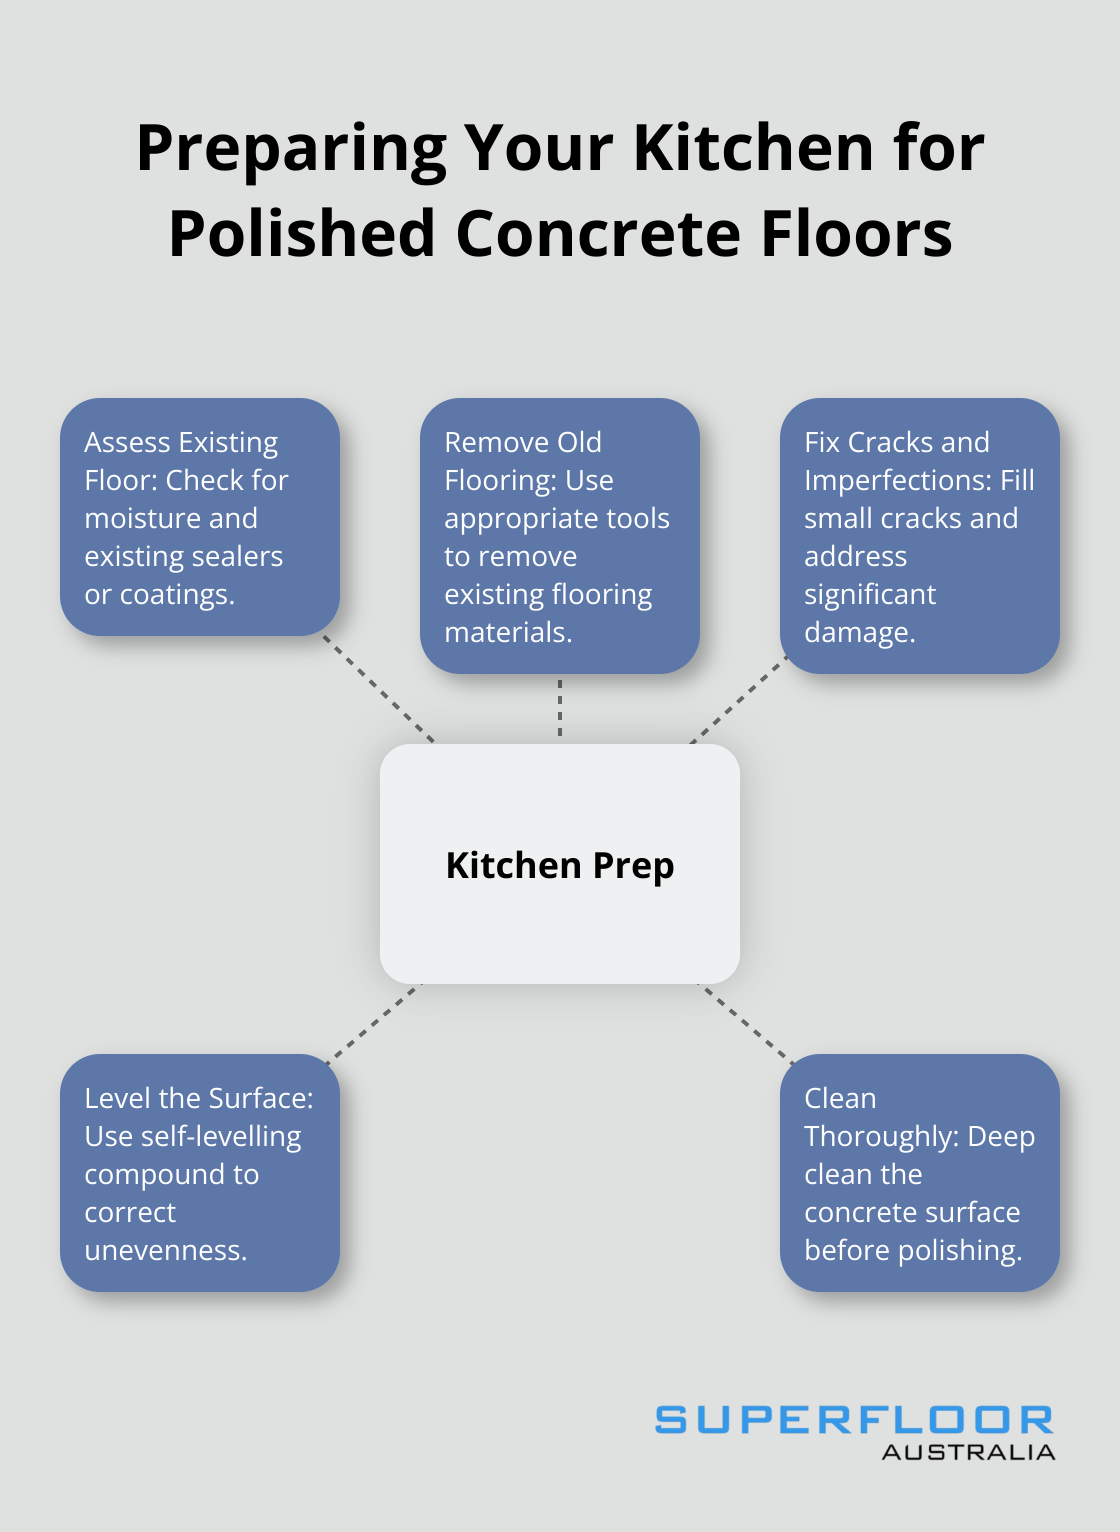
Assess Your Existing Floor
The first step in preparing your kitchen for polished concrete floors involves a thorough evaluation of your current floor. Check for signs of moisture, which can cause issues during the polishing process. Use a moisture meter to measure the concrete’s moisture content (it should be between 3.5 to 4.5% for optimal results). Examine the floor for any existing sealers or coatings, as these must be removed before polishing can begin.
Remove Old Flooring
If you have existing flooring, you need to remove it. Use a floor scraper or a demolition hammer to remove tile, vinyl, or laminate flooring. For stubborn adhesives, a grinder with a diamond cup wheel proves effective. Always wear protective gear during this process – safety glasses, dust masks, and sturdy gloves are essential.
Fix Cracks and Imperfections
After exposing the bare floor, address any imperfections. Fill small cracks (less than 1/8 inch wide) with a concrete sealant or polyurethane resin. For larger cracks or significant damage, consider a concrete overlay. This process involves the application of a thin layer of new concrete over the existing slab to create a smooth, even surface.
Level the Surface
Ensure your floor is level before polishing begins. Use a self-levelling compound to correct any unevenness. This step is crucial for achieving a uniform polish across the entire surface. A level floor not only looks better but also performs better in terms of durability and ease of maintenance.
Clean Thoroughly
The final preparation step involves a deep clean of the concrete surface. Use a high-powered vacuum to remove all dust and debris. Follow this with a thorough wash using a pH-neutral cleaner. Allow the floor to dry completely before proceeding with the polishing process.
Proper preparation sets the foundation for stunning concrete kitchen floors. The next step in your kitchen transformation journey involves the actual polishing process, where the magic truly happens.
Transforming Concrete into a Polished Masterpiece
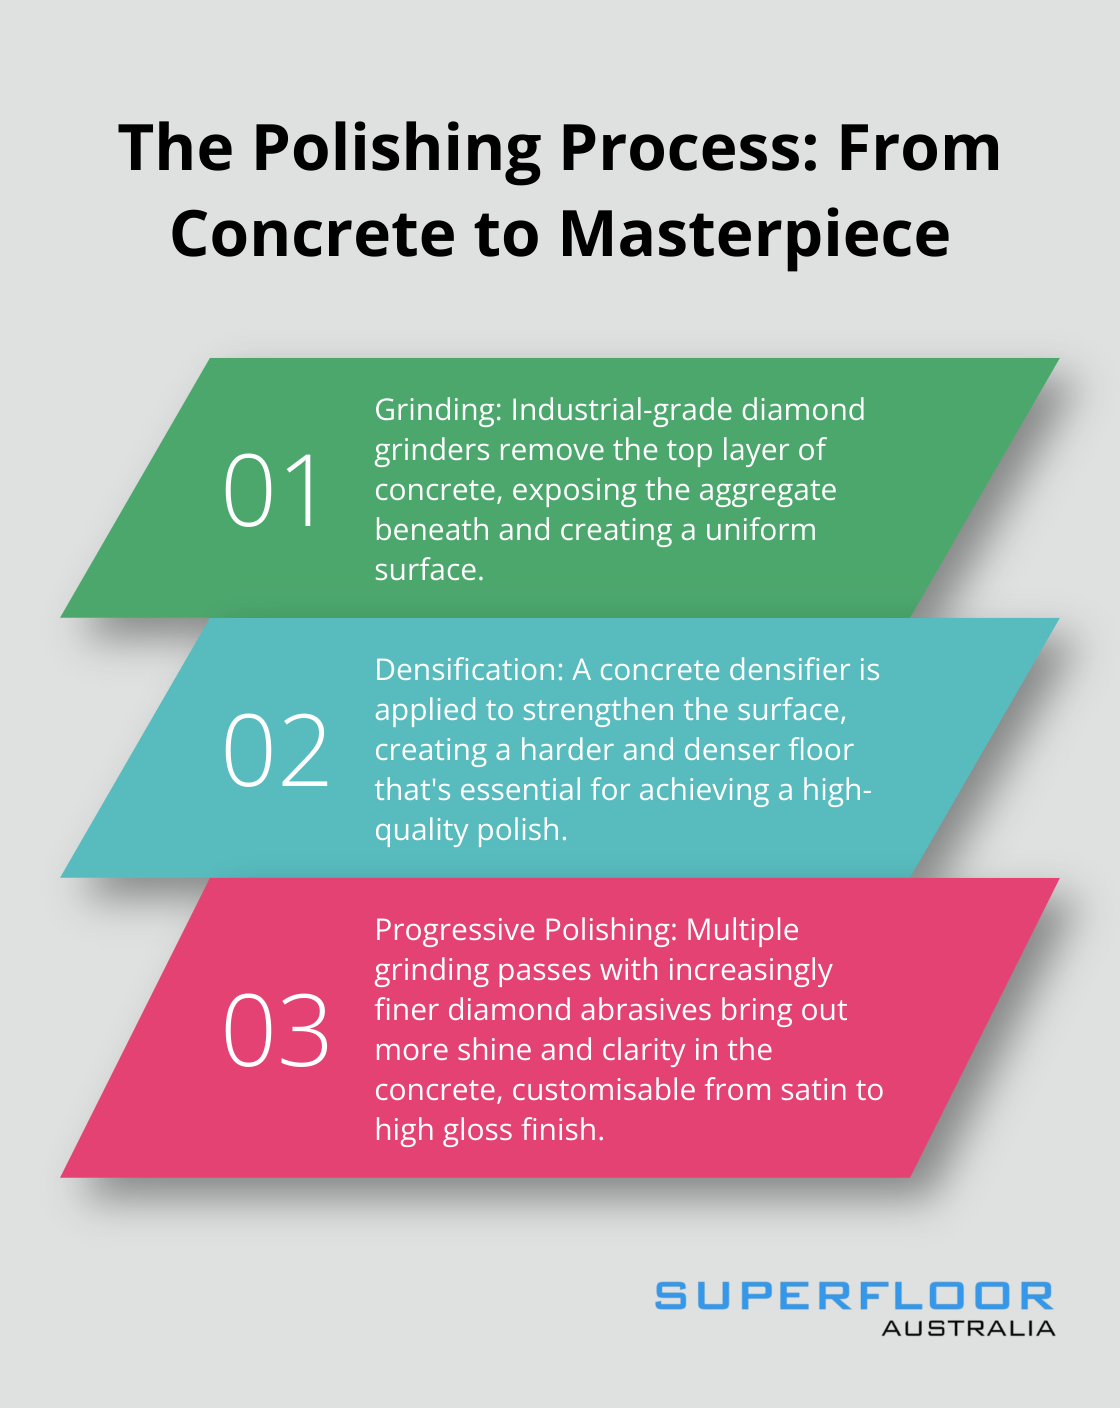
Grinding: The Foundation of Polish
The transformation starts with grinding. Industrial-grade diamond grinders remove the top layer of concrete, exposing the aggregate beneath. This step creates a uniform surface and eliminates imperfections left after preparation.
We begin with coarSe diamond segments and progress to finer grits. Each pass unveils more of the concrete’s natural beauty, preparing the canvas for polishing.
Densification: Strengthening from Within
After initial grinding, we apply a concrete densifier. This liquid penetrates the concrete and reacts with free lime to create a harder, denser surface. Densification is essential for achieving a high-quality polish and enhancing the floor’s durability.
The choiCe of densifier significantly impacts the final result. Lithium-based densifiers offer excellent penetration and strengthen the floor surface, improving the concrete’s resistanCe to stains and abrasions.
Progressive Polishing: Revealing the Shine
With the surface prepared and strengthened, we move to the polishing phaSe. This involves multiple grinding passes with increasingly finer diamond abrasives. Each step brings out more shine and clarity in the concrete.
The level of shine is customisable, ranging from a subtle satin finish to a mirror-like high gloss. The number of polishing steps depends on the desired outcome.
During this process, we focus on edges and corNers to ensure a uniform finish across the entire floor. Experienced technicians adjust their techniques based on the concrete’s hardness and aggregate exposure, guaranteeing optimal results.
Sealing: The Final Touch
The final step in creating stunning polished concrete kitchen floors is sealing. We apply a high-quality sealer to protect the polished surface and enhance its appearanCe. This sealer forms a protective barrier against stains and spills, which is particularly important in a kitchen environment.
Epoxy concrete sealers are the most durable, making them suitable for high-traffic areas. Different types of sealers offer varying levels of sheen and protection. Some sealers can even enhance the colour of the concrete, adding depth and richness to the floor’s appearanCe.
The polishing process, when executed with precision and expertise, transforms ordinary concrete into an extraordinary flooring solution. The result is a durable, low-maintenance surface that adds a touch of eleganCe to any kitchen spaCe.
Final Thoughts
Polished concrete kitchen floors blend style, durability, and practicality. The transformation process involves meticulous preparation, skilled grinding, densification, and progressive polishing. The result is a beautiful surface that withstands the demands of a busy kitchen while offering customisation options in colour, finish, and aggregate exposure.
These floors resist stains, scratches, and impacts that damage other surfaces. Their longevity translates to cost savings over time, as replacement is less frequent compared to other materials. Maintenance is straightforward, requiring only regular sweeping and occasional mopping with a pH-neutral cleaner (no waxing or frequent resealing needed).
For those in Brisbane seeking to transform their kitchen with polished concrete floors, Superfloor Australia provides high-quality solutions. Their expertise ensures a stunning, durable, and low-maintenance surface that enhances kitchens for years to come. Polished concrete kitchen floors offer a perfect combination of aesthetics and functionality, complementing any kitchen design.