Concrete floor grinding polishing transforms ordinary surfaces into durable, attractive floors that last decades. The process requires specific equipment, techniques, and safety measures to achieve professional results.
We at Superfloor Australia have refined these methods through years of experience. This guide covers every step from initial assessment to final polish.
Understanding Concrete Floor Preparation
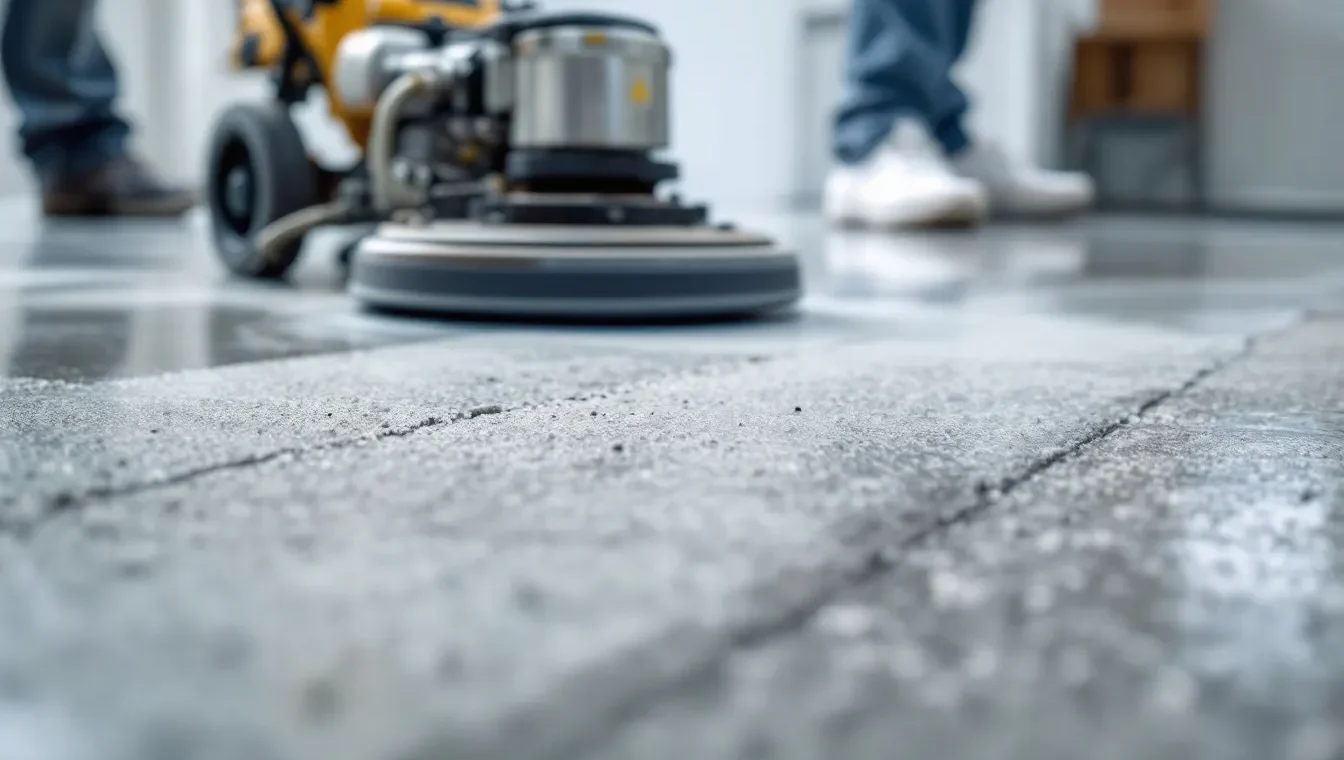
Proper floor preparation determines whether your concrete polishing project succeeds or fails spectacularly. Skip these steps and watch your investment crumble within months. The concrete surface must be completely clean, structurally sound, and free from contamination before any work begins.
Surface Assessment and Damage Evaluation
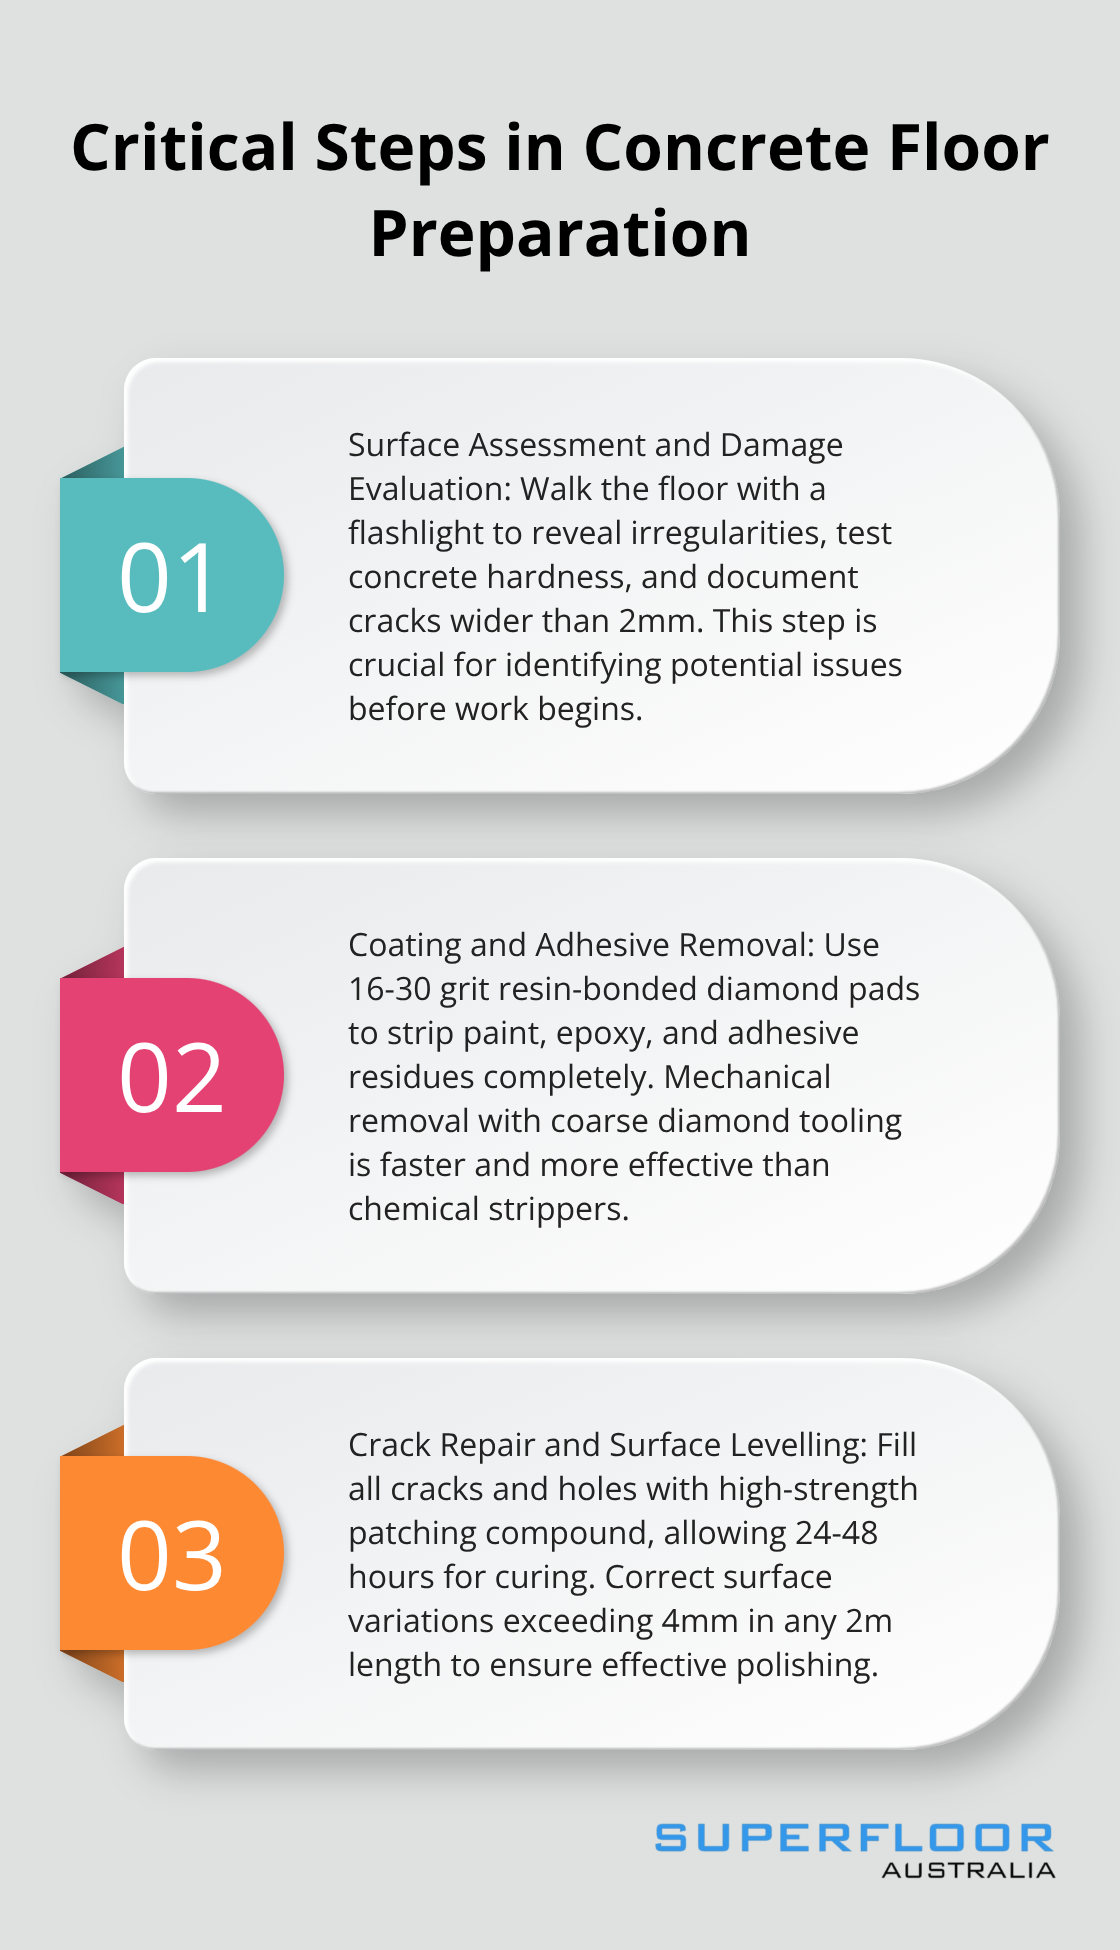
Walk the entire floor area with a flashlight held at a low angle to reveal surface irregularities, cracks, and oil stains that daylight might miss. Test concrete hardness with a coin scratch test – if a quarter easily scratches the surface, the concrete is too soft for mechanical polishing and needs chemical hardening first. Document all cracks wider than 2mm (these require immediate repair to prevent equipment damage and uneven results).
Coating and Adhesive Removal
Start coating removal with 16-30 grit resin-bonded diamond pads to strip paint, epoxy, and adhesive residues completely. Partial removal creates inconsistencies that show through the final polish as permanent shadows and colour variations.
Crack Repair and Surface Levelling
Fill all cracks and holes with high-strength patching compound that matches the concrete’s expansion properties. Standard concrete crack fillers fail under pressure, which creates weak spots that telegraph through the finished surface. Allow patch repairs to cure for 24-48 hours before you proceed with operations. Surface variations that exceed 4mm in any 2m length require correction before polishing can begin, as polishing pads cannot bridge these gaps effectively.
Once you complete these preparation steps, the concrete surface is ready for the systematic approach that transforms raw concrete into a polished masterpiece.
The Concrete Grinding Process
Professional concrete grinding demands precision equipment that matches your project’s specific requirements. Planetary grinders with multiple rotating heads outperform single-disc machines for large commercial spaces, covering 200-275 square metres per hour compared to just 50-100 square metres with standard equipment. Floorex Satellite diamond grinders have set industry standards since 1999, delivering over 1,000 service hours before major maintenance becomes necessary. The main transmission systems in quality grinders often exceed 15 years of operation, which makes equipment selection critical for long-term cost control.

Metal-Bonded Diamond Tooling Selection
Start with 30-40 grit metal-bonded diamond segments to remove the concrete cream layer and expose aggregate beneath. This aggressive first pass determines surface profile consistency – inconsistent initial work creates permanent shadows that show through every subsequent step. Progress methodically through 80, 120, and 200 grit stages, spending equal time on each level to avoid scratches that telegraph through the final polish. Never skip grit levels or rush this process, as each stage must completely remove scratches from the previous level before you advance.
Progressive Grit Stages for Optimal Results
Each grit transition requires complete scratch removal from the previous stage before you move forward. Operators who rush through 80-grit work find deep scratches appear in their 3,000-grit finish (costing thousands in rework). Maintain consistent overlap patterns and machine speed across the entire surface to prevent uneven wear patterns. Quality diamond segments cut consistently for 40-60 hours of operation before replacement becomes necessary, making segment selection as important as machine choice.
Dust Extraction Systems Save Time and Health
Integrate H-Class certified dust extraction systems that capture 99.995% of particles during operations. Wet work creates slurry disposal problems and extends drying times by 24-48 hours between stages, while dry methods with proper extraction maintain workspace cleanliness and speed project completion. Quality dust collectors maintain consistent suction across multiple heads, preventing dust accumulation that clogs diamond segments and reduces cutting efficiency. Operators who work without adequate dust control face serious silica exposure risks that cause permanent lung damage over time.
With the surface properly ground and prepared, the next phase transforms your mechanically prepared concrete into a polished masterpiece through chemical densification and progressive polishing techniques.
Polishing Techniques for Professional Results
Chemical densifiers transform ground concrete from porous material into dense, polishable surface that accepts high-gloss finishes. Apply silicate-based densifier immediately after you complete 200-grit work while concrete pores remain open and reactive. The densifier penetrates deep and chemically reacts with free lime in concrete to create calcium silicate hydrate gel that fills voids and increases surface hardness. Allow reaction time before water removes surface residue – operators who rush this step leave white haze that requires aggressive re-work to remove.
Chemical Densifier Application Methods
Professional contractors apply densifiers with low-pressure sprayers that deliver consistent coverage across the entire surface. The chemical must penetrate completely before surface dries, which typically takes 15-20 minutes in standard conditions. Temperature affects penetration rates significantly (hot surfaces reduce working time to 8-10 minutes while cold concrete extends it to 30+ minutes). Test small areas first to determine optimal application rates for your specific concrete mix and environmental conditions.
Resin-Bonded Diamond Progression Creates Mirror Finish
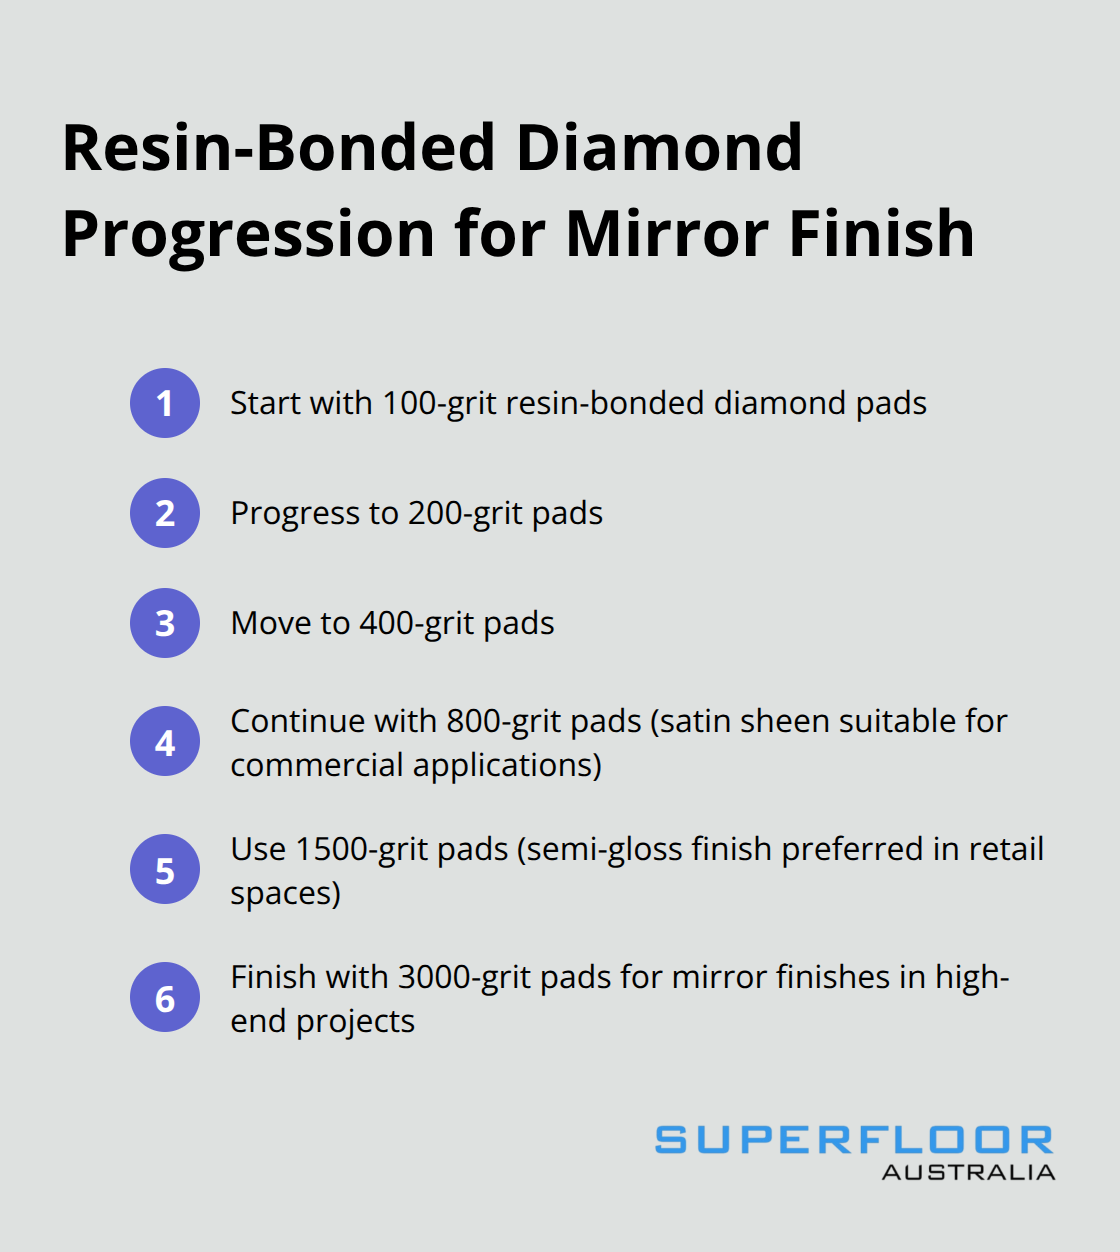
Switch to resin-bonded diamond pads after densifier application, starting with 100-grit and progress through 200, 400, 800, 1500, and 3000-grit stages. Each grit level requires 15-20 minutes per 100 square metres with consistent overlap patterns and machine pressure. The 800-grit stage typically produces satin sheen suitable for commercial applications, while 1500-grit delivers semi-gloss finish preferred in retail spaces. Only progress to 3000-grit for mirror finishes in high-end residential or hospitality projects where maximum light reflection justifies the additional cost and time investment.
Surface Testing Validates Polish Quality
Test gloss levels with digital glossmeter readings at 60-degree angles across multiple floor sections to verify consistency. Professional results require gloss readings within 5-unit variance across the entire surface – larger variations indicate inadequate technique. Perform water drop tests to verify densifier penetration – properly treated concrete absorbs water drops within 10-15 seconds, while untreated areas show immediate beading. Document these measurements as quality benchmarks and client deliverables that justify professional rates and demonstrate project completion standards.
Final Thoughts
Successful concrete floor grinding polishing requires methodical execution of each stage without shortcuts. Surface preparation determines 70% of your final results, while proper equipment selection and progressive grit stages create the foundation for professional outcomes. Chemical densifier application at the correct stage transforms porous concrete into dense, polishable material that accepts mirror finishes.
Maintenance demands regular dust mopping and machine cleaning every 6-12 months to preserve surface integrity. Resealing becomes necessary every 5-10 years for grind and seal finishes, while mechanically polished surfaces last significantly longer with minimal intervention. Water drop tests every two years verify densifier effectiveness and indicate when reapplication becomes necessary.
Professional installation makes financial sense for projects that exceed 200 square metres or when mirror finishes are required (equipment rental costs, material waste, and rework expenses often exceed professional rates for complex projects). We at Superfloor Australia deliver high-quality polished concrete floors in Brisbane with precision preparation and expert craftsmanship. Our team creates results that meet individual project requirements and stand the test of time.