At Superfloor Australia, we know that grinding and sealing concrete floors can transform any space into a stunning, durable surface.
This comprehensive guide will walk you through the entire process, from preparation to maintenance.
We’ll cover everything you need to know about choosing the right equipment, mastering grinding techniques, and selecting the perfect sealer for your project.
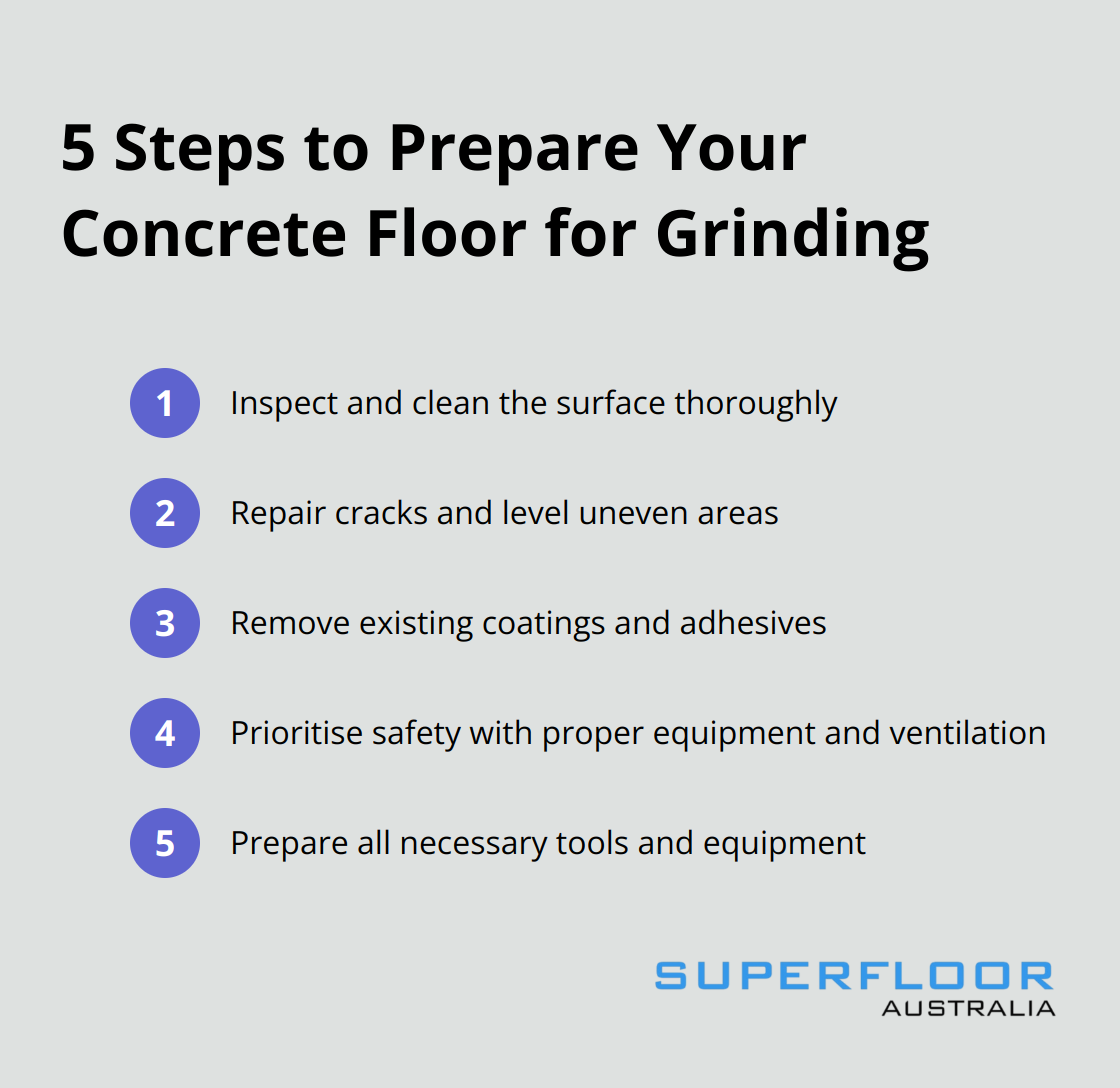
How to Prepare Your Concrete Floor for Grinding
Inspect and Clean the Surface
Start with a thorough assessment. Before beginning, the concrete surface is inspected for cracks, uneven areas, and existing coatings. Use a high-powered pressure washer to remove dirt, grime, and loose debris. For stubborn stains, apply a degreaser or concrete cleaner. Allow the floor to dry completely before proceeding.
Repair and Level
Fill any cracks or chips with an epoxy or concrete patch. For larger damaged areas, use a self-levelling compound. Self-levelling compound is typically used to prepare subfloors for floating floor installation, such as laminate, hybrid, engineered timber, and other types of flooring. After repairs dry, sand them down to ensure a smooth transition with the surrounding concrete.
Remove Existing Coatings
Old paint, sealers, or adhesives must be removed. Chemical strippers work effectively for most coatings (always test a small area first). For tougher materials like epoxy, use a floor grinder with a coarse diamond pad. This process takes time but ensures an even grind later.
Prioritize Safety
Set up industrial fans to keep air circulating and reduce dust. Wear a respirator mask, safety goggles, and ear protection. Don protective clothing (long sleeves and pants) to shield your skin from concrete dust. Wet grinding methods effectively reduce the amount of silica dust that becomes airborne when milling or grinding silica containing materials.
Prepare Equipment and Tools
Gather all necessary tools and equipment before starting. This includes your chosen grinding machine, diamond pads of various grits, dust collection system, and personal protective equipment. Check that all equipment functions properly and have spare parts on hand to avoid delays.
Proper concrete floor preparation sets the foundation for a successful grinding process. The next step involves selecting the right grinding equipment and understanding different grit levels to achieve your desired finish.
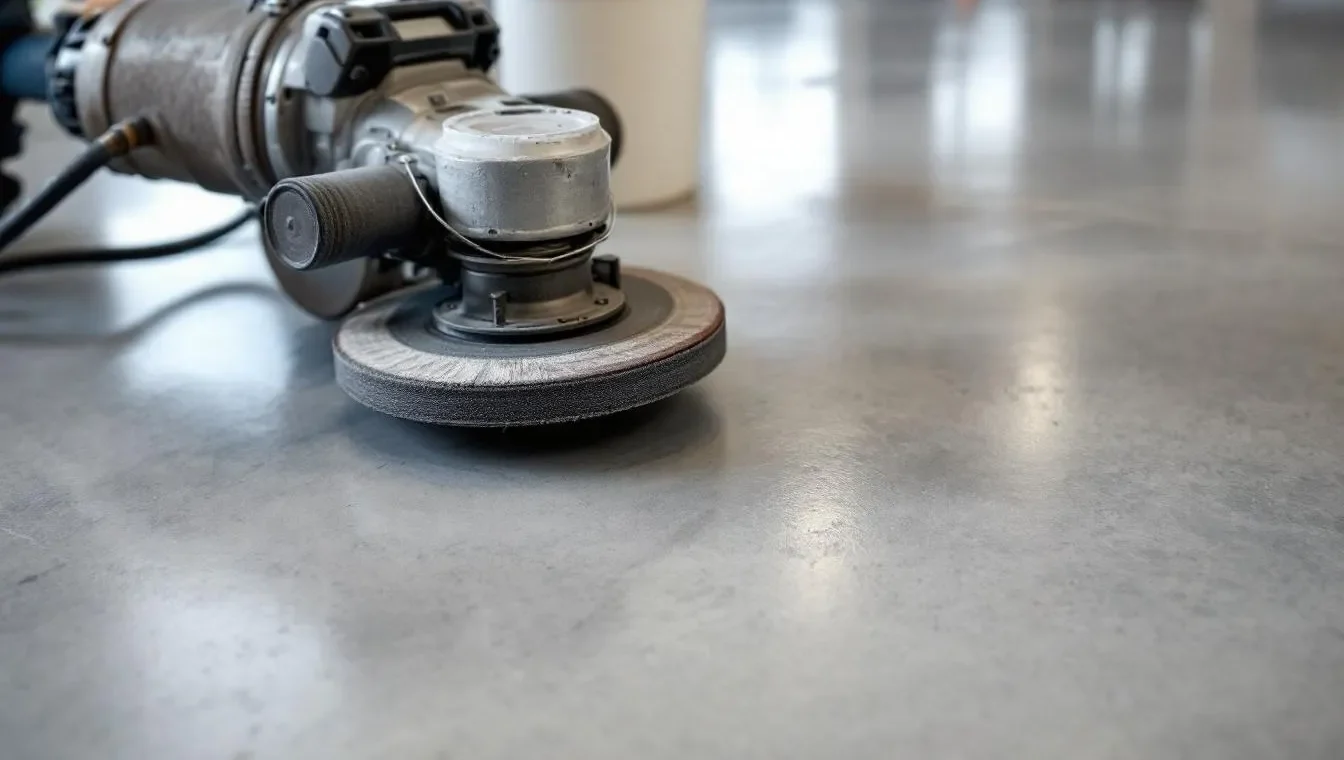
How to Grind Concrete Floors Like a Pro
Selecting the Perfect Grinding Machine
The heart of any concrete grinding project is the machine itself. For most residential and small commercial jobs, a walk-behind grinder with a 32-inch disc works best. These machines typically weigh between 300 to 500 pounds, providing enough downward pressure for effective grinding without being unwieldy.
For larger industrial spaces, ride-on grinders offer increased productivity. These machines can cover up to 1000 square feet per hour (compared to 400-600 square feet for walk-behind models).
When you choose a grinder, consider the power source. Electric grinders are quieter and don’t produce emissions, making them suitable for indoor use. Propane-powered grinders offer more mobility but require proper ventilation.
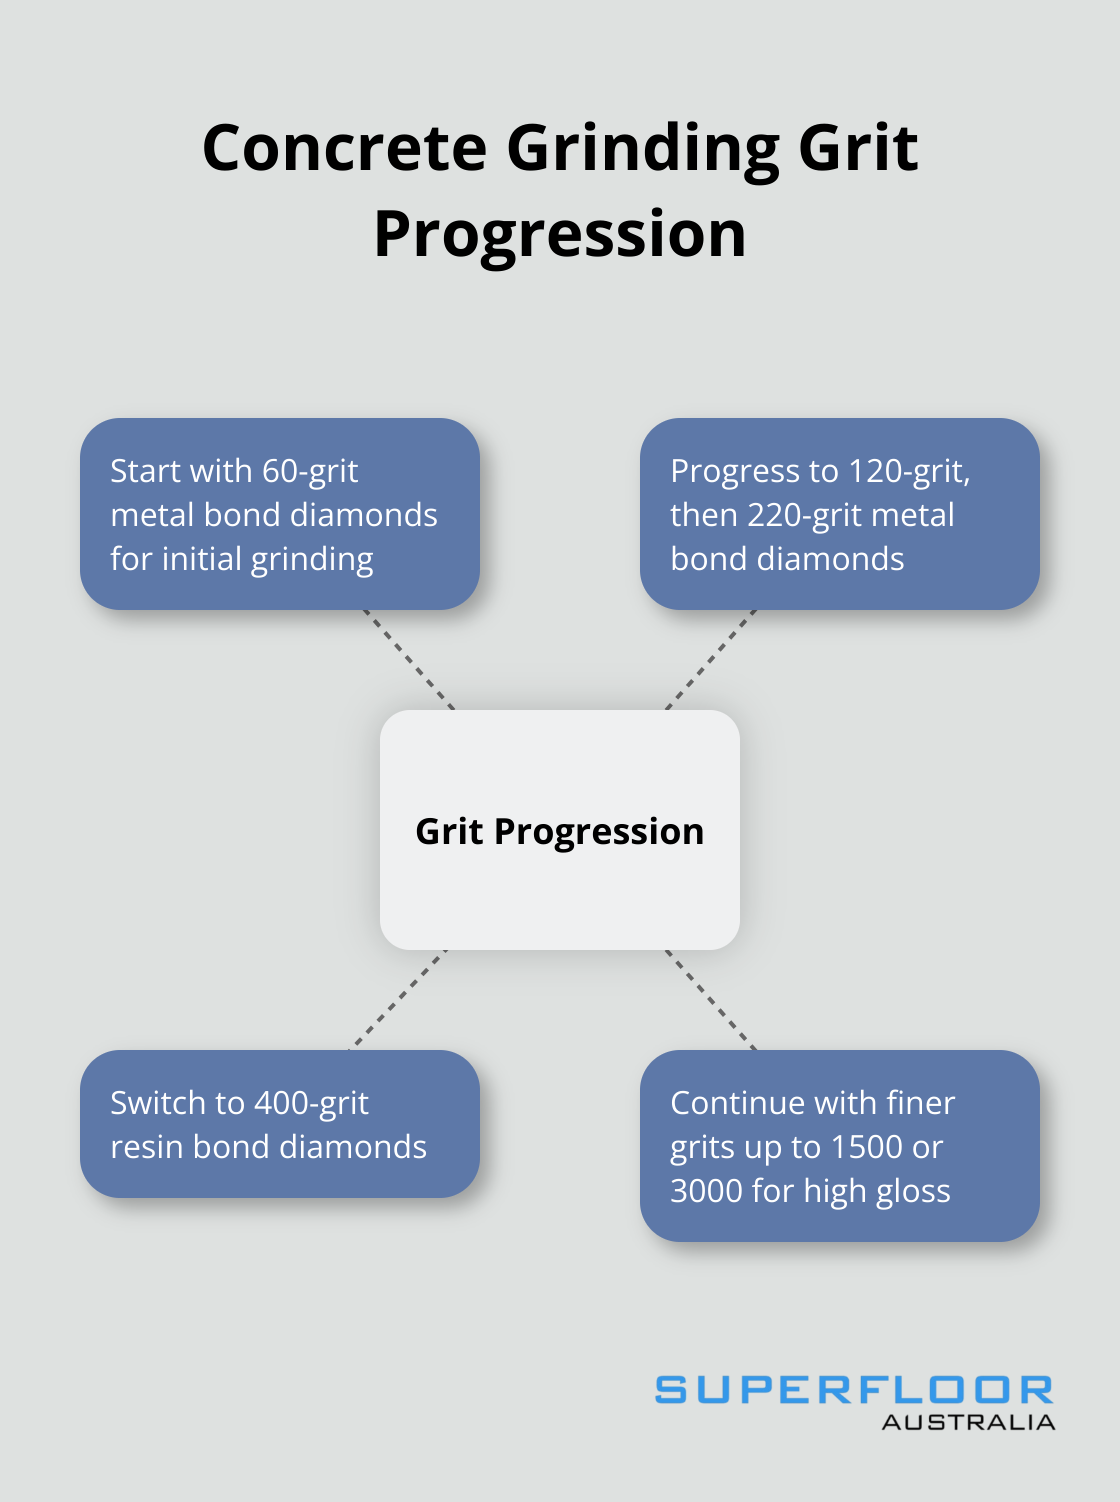
Mastering the Grit Progression
Successful concrete grinding relies on a methodical progression through different grit levels. Polishing usually begins with around a 100-grit to 200-grit diamond, and finishes with an 800-grit or 1500-grit diamond.
Progress through 60, 120, and 220-grit metal bond diamonds to refine the surface. Each pass removes the scratches left by the previous grit. After the metal bonds, switch to resin bond diamonds, starting at 400-grit and working up to 1500 or 3000-grit for a high-gloss finish.
Perfecting Your Grinding Technique
Start grinding in straight, overlapping lines across the floor. Make sure to use a light, back-and-forth motion, and to apply gentle pressure to avoid damaging the surface. Move slowly, and work in small areas.
After you complete one pass in one direction, make a second pass perpendicular to the first. This cross-hatch pattern ensures even grinding and helps identify any areas you might have missed.
Between each grit change, thoroughly vacuum the floor to remove all dust and debris. Any leftover particles can scratch the surface during the next pass.
Tackling Edges and Corners
Edges and corners require special attention. Use a hand-held edge grinder with the same grit progression as your main grinder. Work carefully along walls and in corners, matching the level of grind to the main floor area.
For extremely tight spaces, diamond hand pads can be used. While this method is labour-intensive, it ensures a consistent finish across the entire floor.
Grinding concrete creates a lot of dust (always wear appropriate personal protective equipment, including a respirator, safety glasses, and hearing protection). Proper dust collection systems are essential for maintaining air quality and visibility during the grinding process.
Now that you’ve mastered these grinding techniques, it’s time to move on to the sealing process. This next step will protect and enhance your newly ground concrete floor, bringing out its full potential.
How to Seal Your Ground Concrete Floor
Selecting the Appropriate Sealer
The choice of sealer is critical for your concrete floor’s longevity. For indoor residential floors, water-based acrylic sealers offer easy application, quick drying times, and good stain resistance. Commercial or high-traffic areas benefit from epoxy or polyurethane sealers, which provide superior durability and chemical resistance.
Water-based sealers are often favoured for their more natural, matte finish and are easier to apply than solvent-based counterparts.
Application Methods
Before applying any sealer, clean and dry the floor thoroughly. Remove any remaining dust particles with a microfibre mop.
For water-based sealers, use a pump sprayer or roller. Apply thin, even coats in small sections. Avoid over-application to prevent bubbling or peeling.
Polyurethane sealers can be applied using sprayer techniques or roller application, depending on the size and texture of the surface.
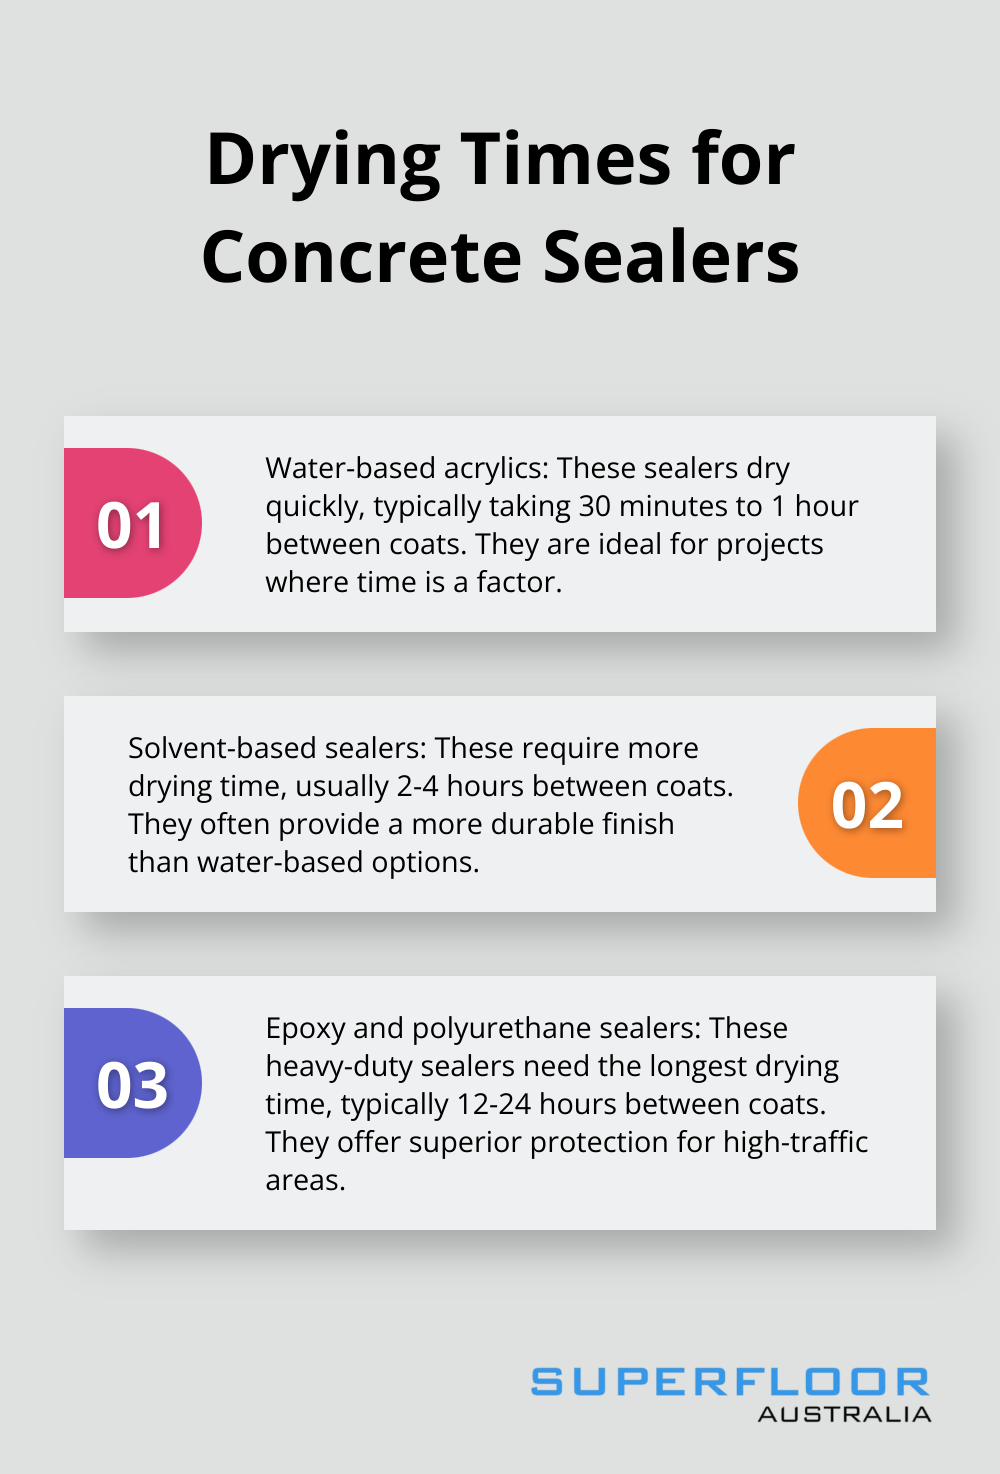
Drying and Curing Process
Most sealers require at least two coats for optimal protection. Allow each coat to dry completely before applying the next. Drying times vary:
- Water-based acrylics: 30 minutes to 1 hour between coats
- Solvent-based sealers: 2-4 hours between coats
- Epoxy and polyurethane: 12-24 hours between coats
Full curing takes longer. Light foot traffic is often possible after 24 hours, but wait at least 72 hours before placing furniture or allowing vehicle traffic.
Maintenance of Sealed Floors
To preserve your sealed concrete floor’s appearance:
- Sweep or dust mop daily to prevent abrasive particles from scratching the surface.
- Clean spills immediately to prevent staining.
- Use pH-neutral cleaners for regular mopping. Avoid harsh cleaning products such as ammonia, citrus, bleach, vinegar, or pine cleaners.
- Apply a fresh coat of sealer every 2-3 years, or as needed based on wear.
Proper sealing not only enhances the appearance of your ground concrete floor but also significantly extends its lifespan. Follow these guidelines to achieve a professional-grade finish that will impress for years to come.
Final Thoughts
Grinding and sealing concrete floors transforms spaces, offering durability and modern aesthetics. The process involves thorough preparation, meticulous grinding, and careful sealing, resulting in a stunning finish that resists stains and chemicals. These floors improve indoor air quality by eliminating dust and allergens often trapped in other flooring materials.
Regular maintenance preserves the beauty of ground and sealed concrete floors. Daily sweeping prevents scratches, while prompt cleaning of spills safeguards against staining. Using pH-neutral cleaners for routine mopping protects the sealer, and periodic resealing (typically every few years) maintains the floor’s protective barrier.
Superfloor Australia offers expert concrete grinding and sealing services in Brisbane. Their team’s precision ensures a high-quality finish that enhances both aesthetics and functionality. Whether for residential, commercial, or industrial applications, their polished concrete solutions provide long-lasting beauty and performance.