At Superfloor Australia, we know that a durable outdoor concrete floor can transform any exterior space.
Installing a concrete floor outdoors requires careful planning and execution to ensure longevity and functionality.
This guide will walk you through the essential steps to create a robust and attractive outdoor concrete surface that withstands the elements.
How to Prepare Your Site for Outdoor Concrete Flooring
At Superfloor Australia, we understand that proper site preparation forms the bedrock of a successful outdoor concrete floor installation. This essential step ensures your new surface will remain stable, level, and durable for years to come.
Assess Ground Conditions
Start by evaluating the soil type and stability. We recommend soil testing to determine the best approach for your specific ground conditions. Various tests can be performed, including Atterberg Limits Test, Specific Gravity Test, Moisture Content Test, and Dry Density Test. These tests will guide your preparation strategy and help you avoid potential issues in the future.
Clear and Level the Area
After assessing the ground, clear and level the site. Remove all vegetation, including roots, as decomposing organic matter can cause settling. Use an excavator or shovel to remove the topsoil layer.
Next, grade the area to achieve a slight slope away from buildings for proper water runoff. A slope of about 1/4 inch per foot usually suffices. Use a long level for precision – even small discrepancies can lead to water pooling or uneven concrete thickness.
After grading, compact the soil using a plate compactor. Make several passes over the entire area to ensure uniform compaction. This step prevents future settling and cracking of your concrete floor.
For levelling concrete, techniques like mudjacking (also known as slabjacking) can be used. This method involves pumping a mixture of water, soil, and cement under the slab to lift and level it.
Install Proper Drainage Systems
Effective drainage prolongs the life of your outdoor concrete floor. Without it, water can accumulate beneath the slab, leading to erosion, settling, and potential structural damage.
Install a perimeter drain around the concrete area. This typically involves digging a trench, laying perforated pipe, and backfilling with gravel. The pipe should lead to a suitable drainage point away from the concrete and any structures.
For larger areas or locations with poor natural drainage, consider installing a French drain system beneath the concrete. This involves creating a network of gravel-filled trenches with perforated pipes to channel water away from the site.
The design and installation of subsoil drainage systems should take into account the nature of the soil and the anticipated water level, quantity and movement.
Add a Stable Base Layer
Once you’ve addressed drainage, add a stable base layer. This layer provides additional support and helps distribute the weight of the concrete evenly.
Spread a layer of crushed stone or gravel (about 4-6 inches thick) over the entire area. Use a plate compactor to compact this layer thoroughly. This base not only adds stability but also improves drainage beneath the concrete slab.
With your site properly prepared, you’re ready to move on to the next crucial step: choosing the right concrete mix for your outdoor flooring project. The type of mix you select will significantly impact the durability and appearance of your finished concrete floor.
Choosing the Right Concrete Mix for Outdoor Flooring
At Superfloor Australia, we understand that selecting the appropriate concrete mix is essential for creating a durable outdoor floor. The mix you choose will determine how well your floor withstands weather, foot traffic, and other outdoor challenges.
Understanding Concrete Strength Ratings
Concrete strength is measured in megapascals (MPa) or pounds per square inch (psi). For outdoor flooring, we recommend a minimum strength of 32 MPa (4,500 psi). This strength ensures your floor can handle heavy loads and resist cracking.
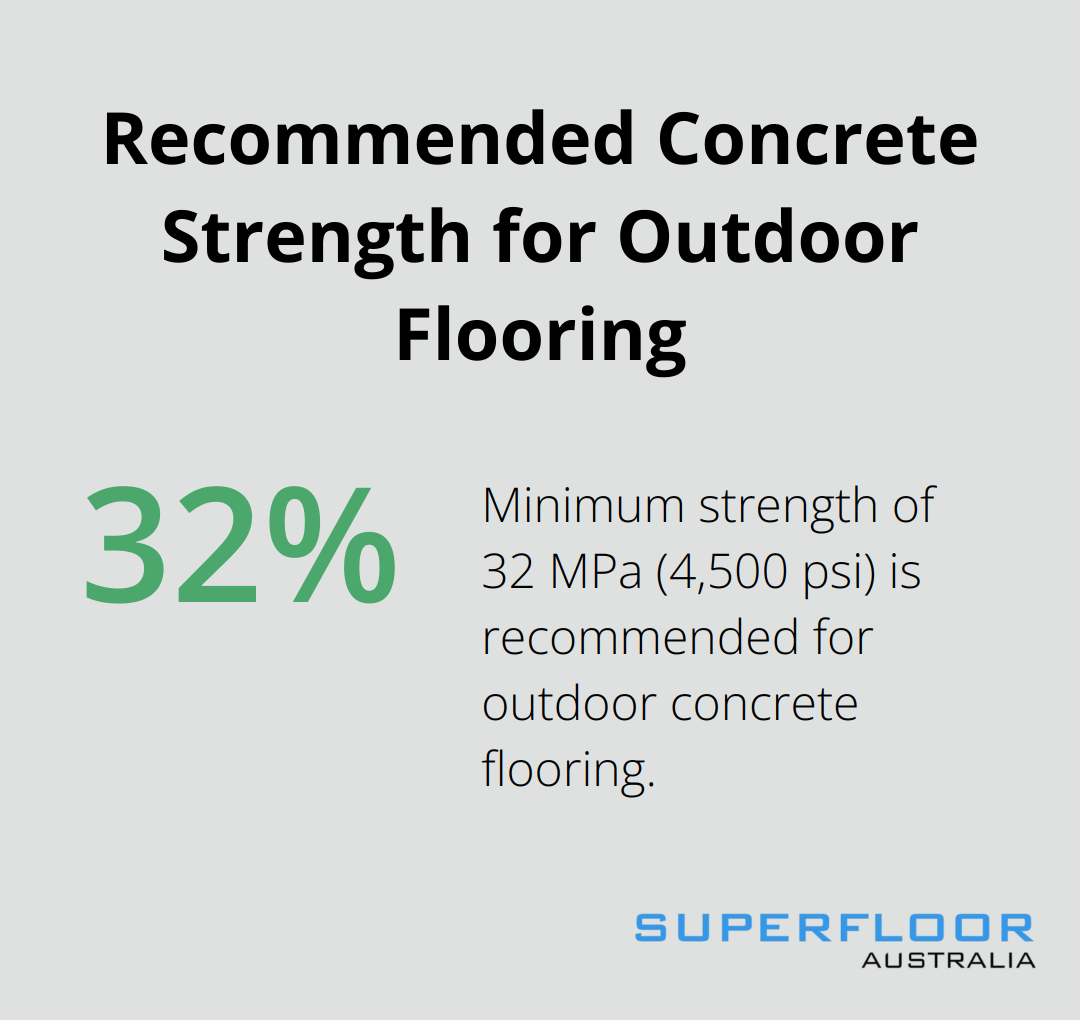
The Australian Standard AS 3600-2018 specifies different concrete grades based on their compressive strength. For outdoor applications, N32 or N40 grade concrete often proves excellent. These grades offer superior durability and weather resistance.
Selecting Weather-Resistant Additives
To enhance your concrete’s durability against harsh weather conditions, consider incorporating specific additives:
- Air-entraining agents: These create tiny air bubbles in the concrete, allowing it to expand and contract during freeze-thaw cycles without cracking.
- Water-reducing admixtures: These improve concrete workability while reducing the water-cement ratio, resulting in stronger, more durable concrete.
- Silica fume: This ultrafine powder increases concrete density and reduces permeability, making it more resistant to water and chemical penetration.
Exploring Decorative Options
While functionality is important, aesthetics shouldn’t be overlooked. Here are some ways to enhance the appearance of your outdoor concrete floor:
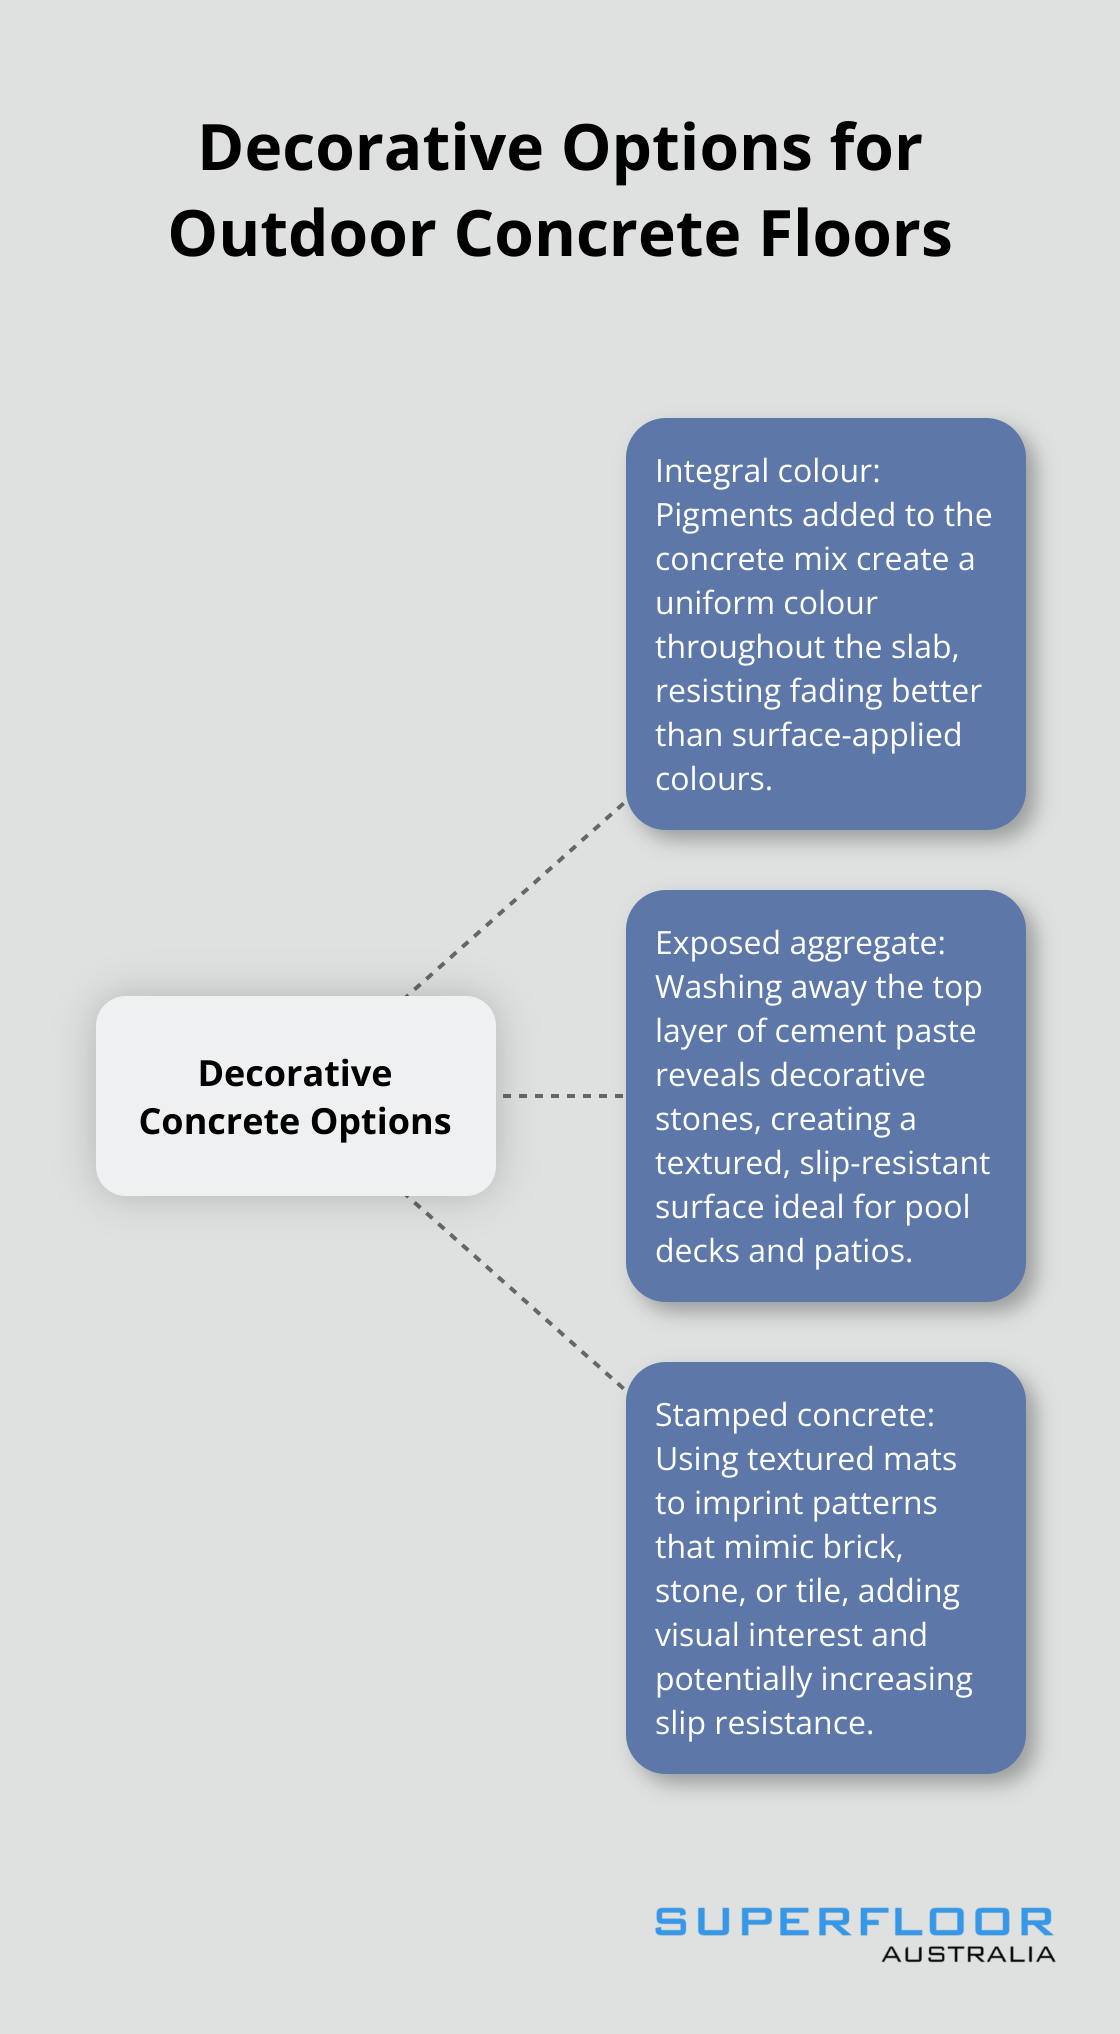
- Integral colour: Adding pigments to the concrete mix creates a uniform colour throughout the slab. This option resists fading better than surface-applied colours.
- Exposed aggregate: Washing away the top layer of cement paste reveals the decorative stones in the concrete mix. This creates a textured, slip-resistant surface (ideal for pool decks and patios).
- Stamped concrete: Using textured mats, we can imprint patterns that mimic brick, stone, or tile. This technique adds visual interest and can increase slip resistance.
When choosing decorative options, consider how they’ll affect the concrete’s performance. For instance, darker colours absorb more heat, which could make the surface uncomfortable in direct sunlight.
The right concrete mix forms just one part of creating a successful outdoor floor. The next section will cover proper installation techniques, which are equally important for ensuring your floor’s longevity and performance.
How to Install Your Outdoor Concrete Floor
At Superfloor Australia, we have extensive experience in installing durable outdoor concrete floors. Our process ensures longevity and aesthetic appeal, even in challenging outdoor environments.
Form and Reinforce the Slab
Start by constructing sturdy formwork using 2×4 timber or metal forms. These forms should be level and securely staked to prevent bulging when you pour the concrete. For curved edges, use flexible hardboard.
Next, add reinforcement. We typically use 6×6 10/10 welded wire mesh, placed on “chairs” to keep it centred in the slab. For heavier loads, consider #3 or #4 rebar in a grid pattern. The Australian Standard AS 3600 provides comprehensive guidelines for the design, detailing, construction, and testing of concrete structures, including slabs.
Pour and Finish the Concrete
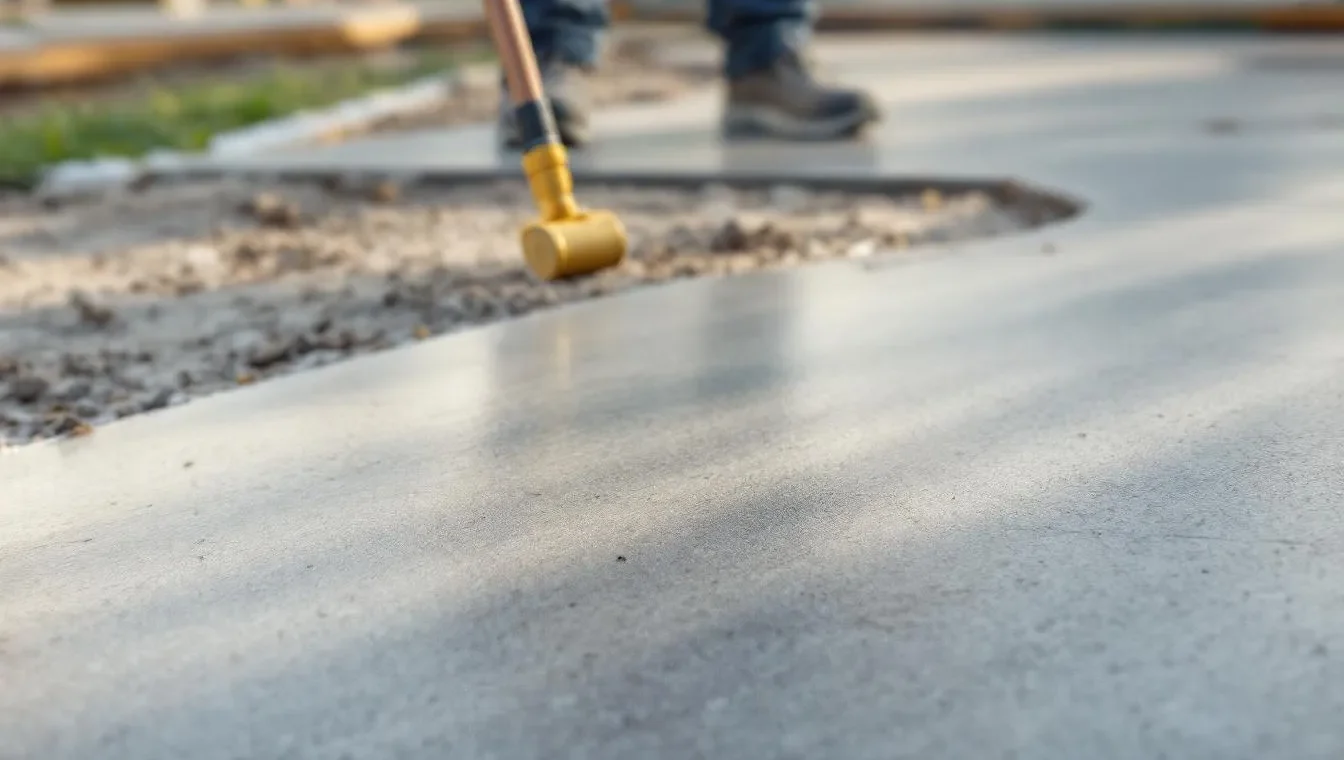
On pour day, ensure your concrete mix has the right consistency – not too wet, not too dry. A slump test can help determine this. The test starts with consolidating a sample of fresh concrete into a mould shaped as the frustum of a cone. Pour the concrete in sections, and use a screed board to level it off.
Once poured, use a bull float to smooth the surface and embed larger aggregates. Wait for the bleed water to evaporate before you proceed with finishing techniques. For a smooth finish, use a steel trowel. For slip resistance, try a broom finish or exposed aggregate.
Cure and Seal the Surface
Proper curing is essential for strength development. Keep the concrete moist for at least seven days using wet burlap or a curing compound.
Once cured, apply a high-quality sealer to protect against stains and moisture. For outdoor use, we recommend a penetrating sealer rather than a surface film-forming sealer, as it allows the concrete to breathe. Epoxy concrete sealers are extremely durable and work well indoors, particularly in high traffic areas.
Consider Professional Installation
While DIY installation is possible, professional installation often yields superior results (especially for large or complex projects). Professional installers bring years of expertise to every outdoor concrete floor installation, ensuring a durable and beautiful result that will stand the test of time.
Maintain Your Outdoor Concrete Floor
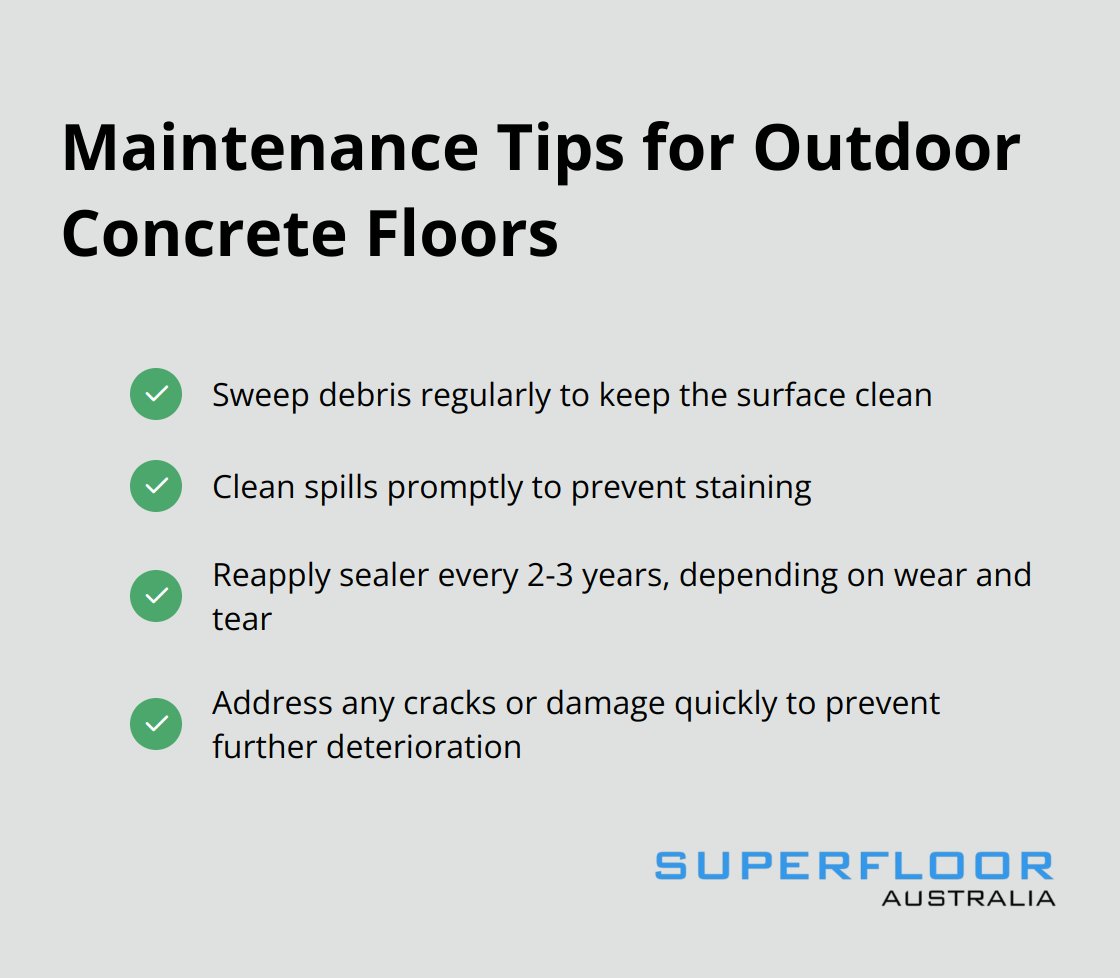
Regular maintenance will extend the life of your outdoor concrete floor. Sweep debris regularly and clean spills promptly. Reapply sealer as needed (typically every 2-3 years, depending on wear and tear). Address any cracks or damage quickly to prevent further deterioration.
Final Thoughts
Installing a durable concrete floor outdoors requires careful planning and precise execution. We at Superfloor Australia have outlined the key steps to achieve a long-lasting and attractive outdoor concrete surface. Professional expertise proves invaluable for larger or complex installations, ensuring superior results in durability, functionality, and aesthetic appeal.
A well-installed outdoor concrete floor offers numerous benefits, including stability, weather resistance, and customisation options. It provides a level surface that withstands heavy foot traffic and varying weather conditions. The versatility of concrete allows for unique outdoor spaces through colours, textures, and finishes (complementing any property grille).
We at Superfloor Australia bring extensive experience to every project. Our team ensures that your outdoor concrete floor meets and exceeds expectations. With proper installation and maintenance, an outdoor concrete floor can last for decades, making it a cost-effective solution for both residential and commercial properties.