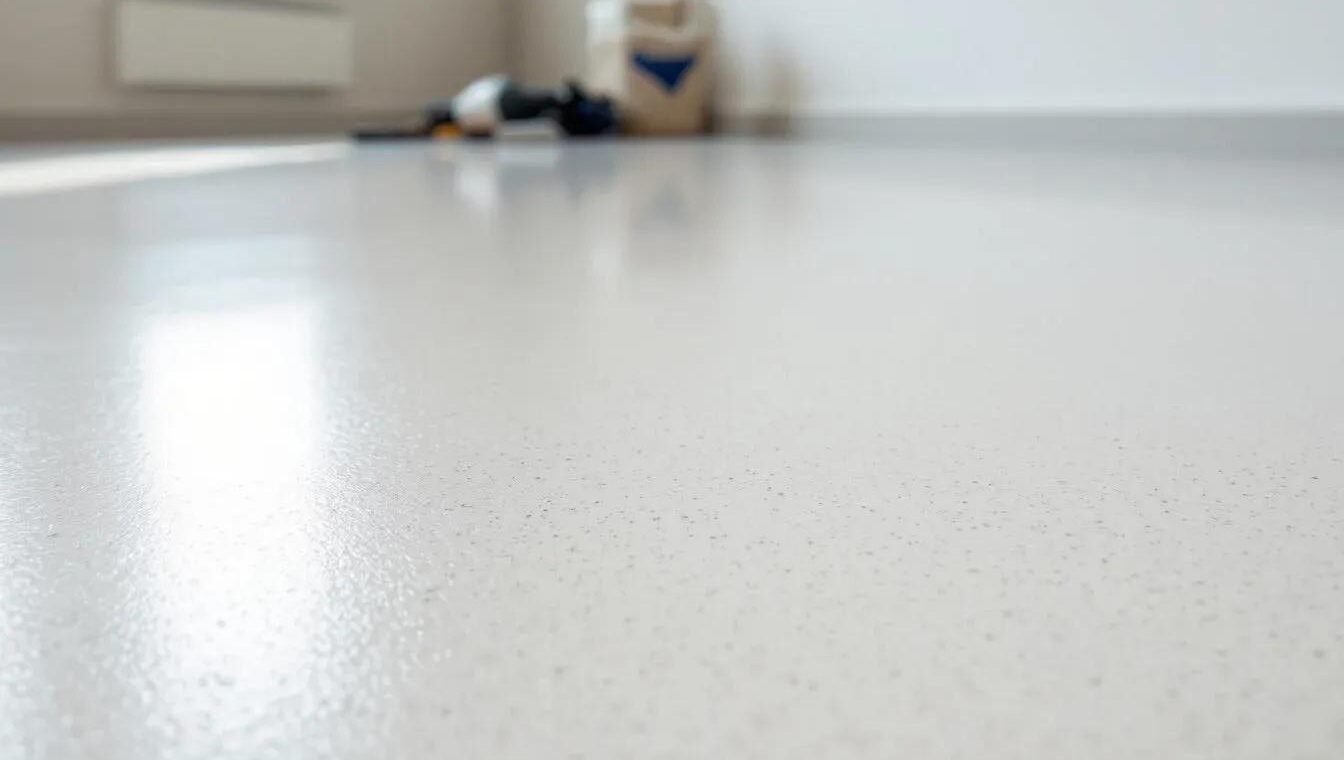
Polished white concrete flooring transforms any space with its sleek, modern appearance and exceptional durability. This premium flooring option delivers both style and functionality for residential and commercial properties.
We at Superfloor Australia have perfected the installation process through years of hands-on experience. The right techniques and preparation steps make the difference between a mediocre result and a stunning floor that lasts decades.
Preparing Your Space for Polished White Concrete
Evaluating Your Current Floor Foundation
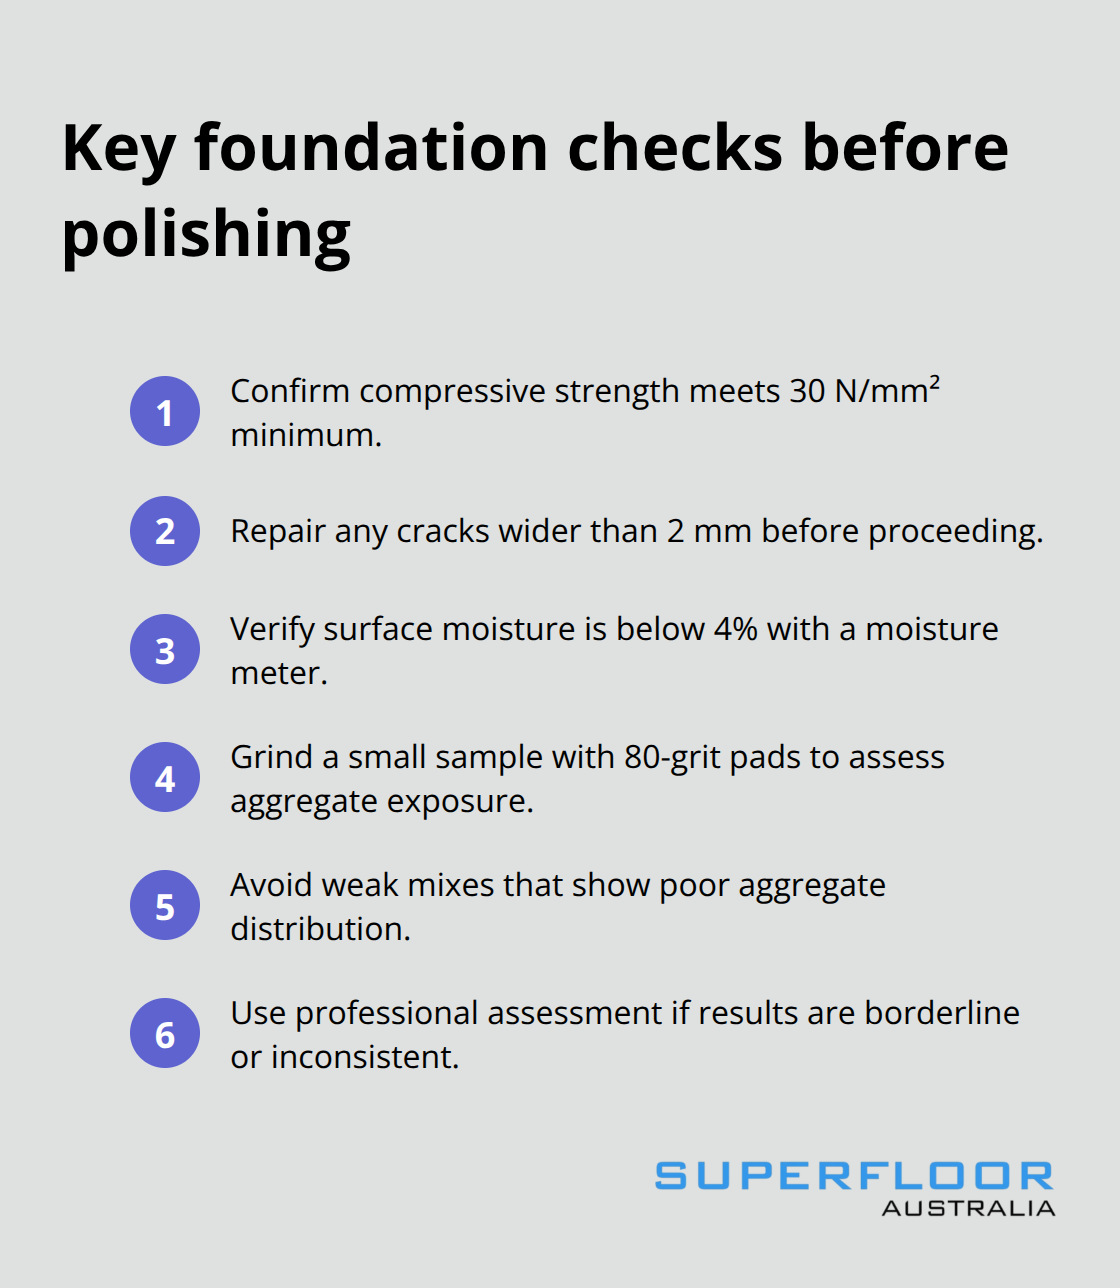
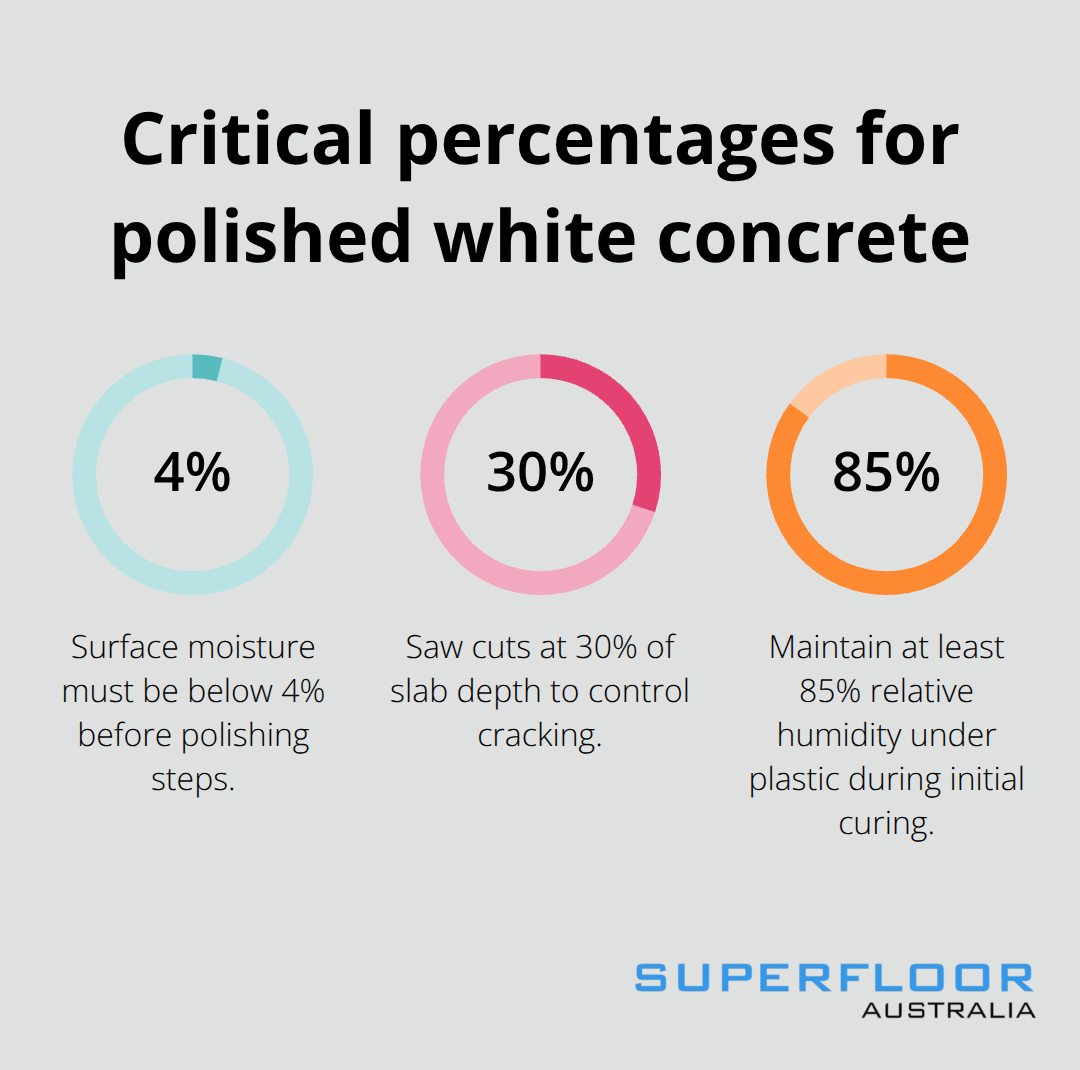
Start with a thorough concrete strength assessment that targets 30N/mm² minimum for optimal polish results. Floors below this threshold produce poor finishes and waste your investment. Check for existing cracks wider than 2mm, as these require professional repair before you proceed. Surface moisture levels must stay below 4% when you use a concrete moisture meter. Test aggregate visibility by grinding a small sample area with 80-grit diamond pads. Poor aggregate distribution indicates unsuitable concrete that won’t achieve the desired white polished appearance.
Complete Material Removal and Surface Preparation
Strip all existing materials down to bare concrete with mechanical scrapers for adhesive residue. Chemical strippers damage concrete porosity and compromise sealer adhesion later. Remove all furniture and fixtures from the area. Vacuum all debris with industrial equipment rated for concrete dust (HEPA filtration recommended). Fill chips and holes with high-strength compound that matches your concrete’s compressive strength. Allow 48-hour cure time for repairs before you begin the next phase. Surface contamination from oils or paints requires degreasing with alkaline cleaners, followed by acid etching to restore proper pH levels between 9-13.
Safety Equipment and Ventilation Requirements
Install exhaust fans capable of 6-8 air changes per hour to manage silica dust exposure below OSHA limits of 50 micrograms per cubic metre. Position intake vents opposite exhaust points for cross-ventilation throughout the workspace. Workers need N95 respirators minimum, with P100 filters preferred for extended sessions. Safety goggles, hearing protection rated for 85+ decibels, and cut-resistant gloves prevent common injuries. Seal adjacent rooms with plastic sheeting and negative air pressure machines. Earth leakage circuit breakers protect against electrical hazards from wet operations.
With your space properly prepared and safety measures in place, you can now focus on the technical aspects of mixing and pouring the white concrete base that forms the foundation of your polished floor.
Step-by-Step Installation Process
White Concrete Mix Preparation
White concrete demands precise ratios to achieve consistent colour and strength. Use white Portland cement with a water-to-cement ratio for optimal polish results. Add white aggregates, like crushed marble or quartz at 40% of total volume. Mix for exactly 3 minutes after all ingredients combine to prevent separation. Temperature control matters – keep concrete between 10-25°C during mix and placement phases. Source your quarry within 45 minutes of the site to prevent premature set. Test slump consistency at 75-100mm for proper workability without aggregate separation.
Concrete Placement and Initial Finishing
Pour concrete in 150mm lifts with flat shovels rather than rakes that disturb aggregate patterns. Vibrate immediately after placement with 25mm amplitude vibrators to eliminate air pockets that create surface blemishes. Power float when bleed water disappears (typically 2-4 hours after placement depending on ambient conditions). Hand-trowel edges and corners where machines cannot reach. Control crack formation with saw cuts at 30% surface depth within 6-18 hours of placement.
Diamond Grinding and Polish Sequence
Start with diamond resin pads to remove surface imperfections and expose aggregate. Progress through 80, 150, 400, 800, 1500, and 3000-grit sequences without skips. Apply concrete densifier after 400-grit to close pores and enable high-gloss finish. Each grit level requires complete coverage with 50% overlap between passes. Maintain consistent machine speed at 175 RPM for residential grinders. Wet polish produces superior results but requires proper drainage systems. Dry polish generates less mess but needs industrial vacuum systems for dust control.
Final Sealer Application
Apply penetrating sealers after final polish while concrete temperature stays below 27°C. Acrylic sealers provide 5-year protection cycles while polyurethane systems last 10-15 years in residential applications. Use microfibre applicators for even coverage at 150 square metres per litre rates. Allow 24-hour cure time before foot traffic and 72 hours before furniture placement. Two-coat systems deliver superior durability – apply second coat perpendicular to first direction.
Even with perfect installation techniques, several challenges can arise during the process that require specific solutions to maintain quality standards.
Common Installation Challenges and Solutions
Crack Prevention and Surface Quality Control
White concrete floors crack within the first 72 hours if you skip proper control measures. Install crack inducers at 3-metre intervals to direct cracks away from high-visibility areas. Polypropylene fibres at 600 grams per cubic metre reduce random cracks and enhance overall performance of concrete reinforcement. Keep concrete temperature below 32°C during placement with shade cloths or mist systems. Rapid temperature changes create thermal stress that produces hairline cracks visible after polish completion. Cover fresh concrete with plastic sheets for 48 hours to maintain moisture levels above 85% relative humidity. Workers who walk on wet concrete displace aggregate and create blank spots that appear as discoloured patches in the final finish.
Dust Management During Polish Operations
Industrial vacuum systems with HEPA filtration are classified as L, M or H-class machines for hazardous dust extraction during dry polish work. Position vacuum hoses within 300mm of polish heads for maximum dust capture efficiency. Wet polish eliminates airborne particles but requires floor drains and water recovery systems that add $15-20 per square metre to project costs. Change vacuum filters every 4 hours of operation to maintain suction power above 150 CFM. Seal doorways with plastic sheets and maintain negative air pressure of 0.02 inches water column to prevent dust movement. Workers exposed to crystalline silica above 50 micrograms per cubic metre face serious lung damage within 10 years of exposure.
Colour Uniformity Across Large Installations
White concrete shows colour variations more than grey alternatives due to cement composition differences between batches. Order all white cement from single production runs to maintain consistent colour temperature. Mix identical aggregate ratios within 2% tolerance across all batches with digital scales rather than volume measurements (avoid manual estimation methods). Apply densifier at uniform rates considering that concrete quality, porosity, job site conditions, temperature and relative humidity affect coverage rates. Polish direction affects light reflection – maintain consistent patterns with overlap passes in the same direction. Temperature variations above 5°C between concrete sections create different cure rates that produce visible colour bands after final polish.
Final Thoughts
Polished white concrete flooring installation takes 7-10 days from preparation to final cure, with material costs between $50-100 per square metre based on finish quality. Professional installation adds $30-50 per square metre but prevents costly mistakes that damage expensive white cement. Complex projects with large areas, underfloor heating, or structural concerns need professional expertise rather than DIY approaches.
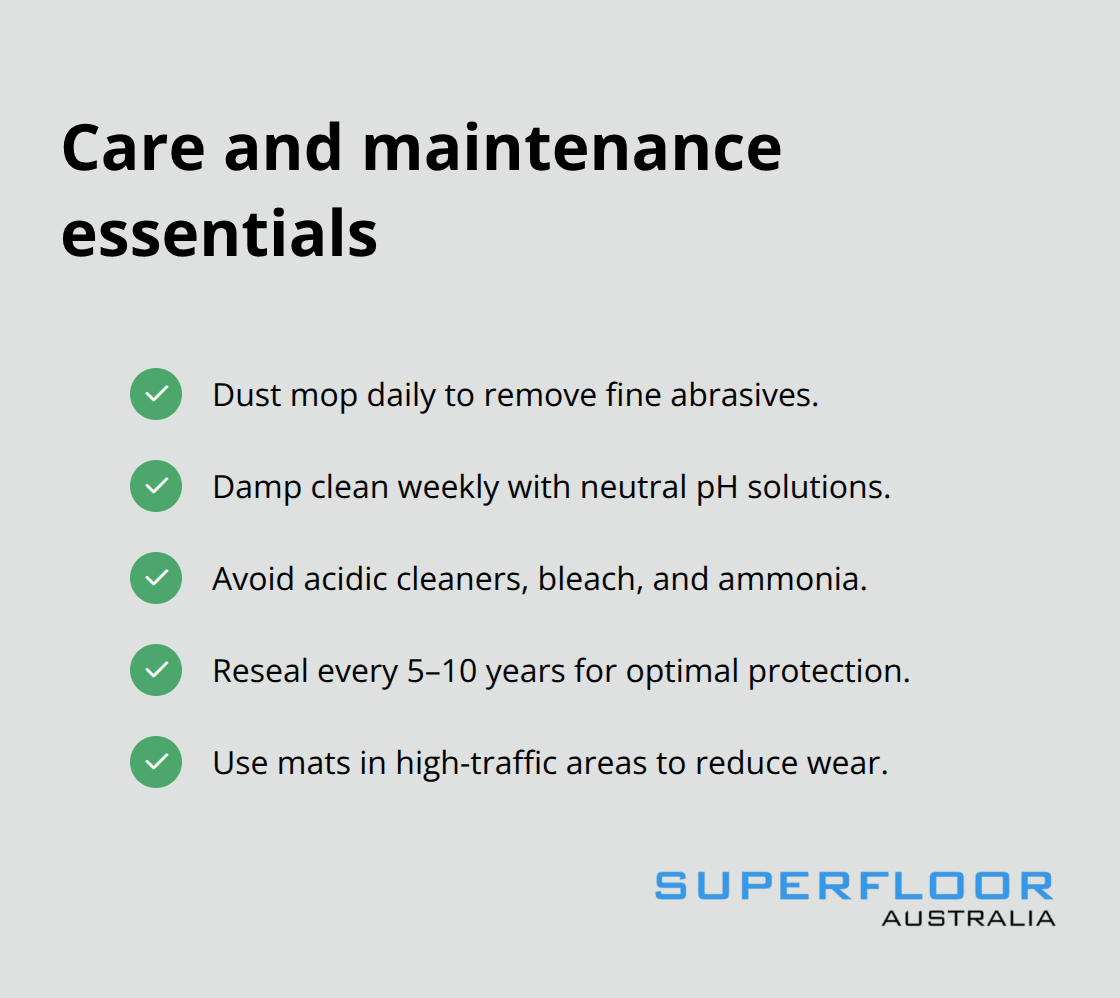
Daily dust mopping and weekly damp cleaning with neutral pH solutions extend floor life beyond 20 years. Acidic cleaners, bleach, or ammonia permanently damage the polished surface and void warranties. Resealing every 5-10 years maintains optimal protection and appearance (especially in high-traffic commercial spaces).
DIY installations work best for small residential spaces under 50 square metres with existing quality concrete. Temperature control, dust management, and colour consistency become exponentially harder on larger projects. We at Superfloor Australia specialise in polished concrete solutions that transform residential and commercial spaces with expert craftsmanship and proven techniques.