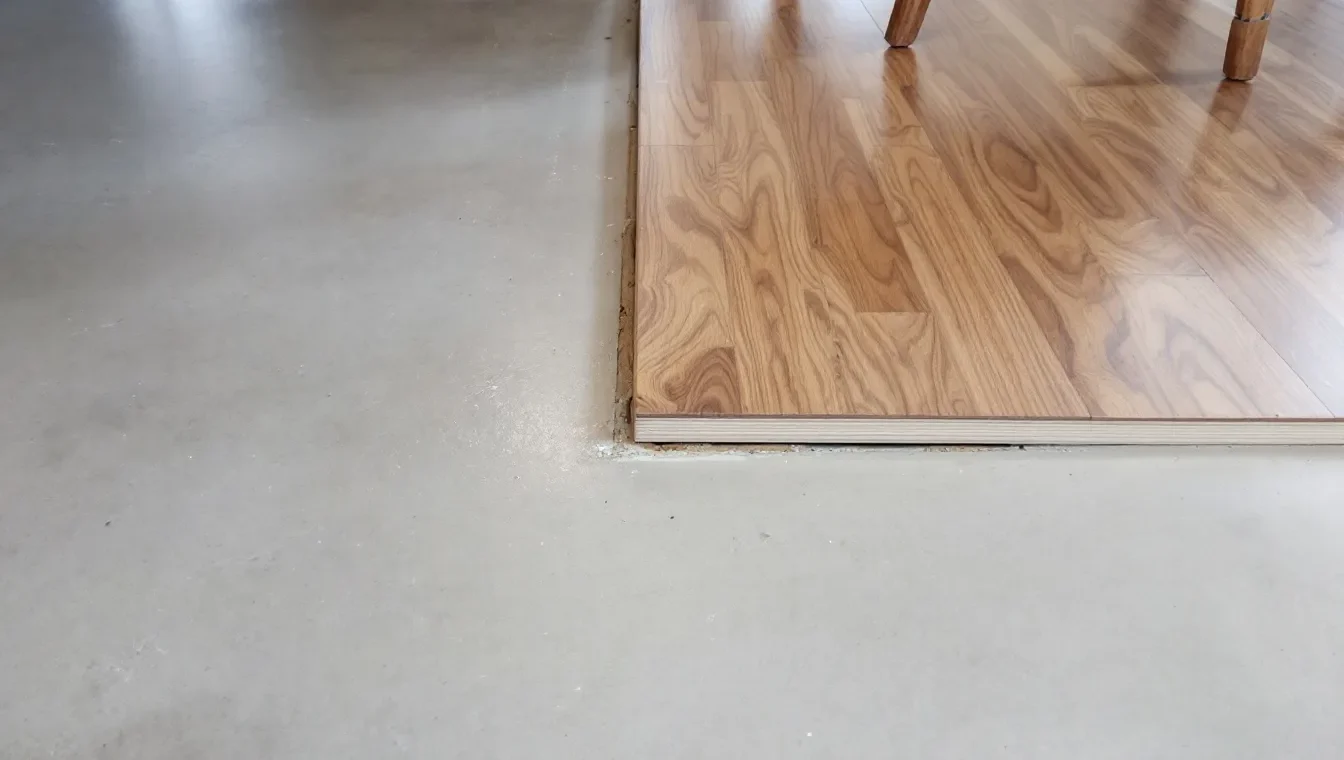
Installing timber floors on concrete requires careful planning and the right techniques. Many homeowners face challenges with moisture control and surface preparation that can lead to costly repairs later.
We at Superfloor Australia have seen these issues firsthand and know the proper methods make all the difference. This guide covers the essential steps to achieve a professional installation that lasts for decades.
What Makes Concrete Ready for Timber Installation
S
Testing Moisture Content Accurately
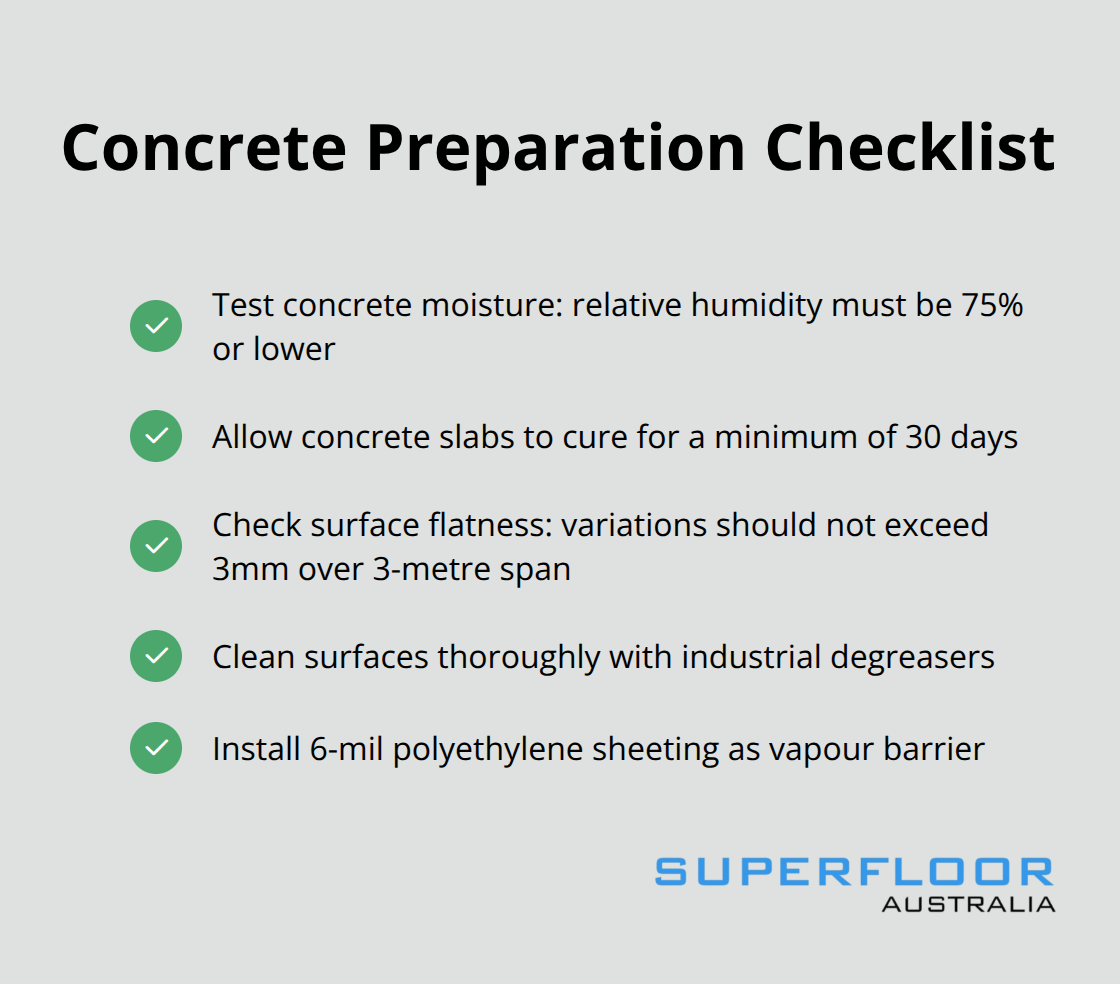
Concrete moisture testing determines installation success or failure. Use a concrete moisture meter to measure levels, requiring relative humidity of 75% or lower before you start any timber installation. The National Wood Flooring Association requires concrete slabs to cure for minimum 30 days, as newer slabs retain excessive moisture that damages timber floors. Test multiple areas across the slab, particularly near walls and centre points where moisture levels vary significantly. Calcium chloride tests provide reliable 72-hour moisture emission readings, while relative humidity probes offer instant measurements at different slab depths (typically 20%, 40%, and 60% of slab thickness).
Surface Preparation Standards
Clean concrete surfaces thoroughly with industrial degreasers to remove oil stains, paint residues, and construction debris that prevent proper adhesion. Check flatness with a 3-metre straight edge, mark variations that exceed 3mm over any 3-metre span. Self-levelling compounds correct these irregularities, with polymer-modified versions that provide superior bond strength. Grind down high spots with concrete grinders rather than fill low areas exclusively, as this process creates better mechanical adhesion for subsequent layers.
Moisture Barrier Installation Requirements
Install 6-mil polyethylene sheeting as vapour barriers on concrete slabs at or below grade level. Overlap seams by 150mm minimum and seal with waterproof tape to prevent moisture penetration. QEP 2mm White Laminate Floor Underlay provides additional moisture protection while it offers sound dampening benefits. Position vapour barriers directly over cleaned concrete before you install timber strips or plywood subfloor systems.
Subfloor System Preparation
Sleeper systems with 42x28mm Merbau strips spaced 450mm apart create stable foundations when you secure them with Liquid Nails adhesive plus masonry screws for maximum hold power. Pre-drill holes in harder timber species to avoid splits during screw installation (particularly important with dense hardwoods). These preparation steps set the foundation for the specific installation method you choose next.
Which Installation Method Works Best
Floating Installation for Maximum Flexibility
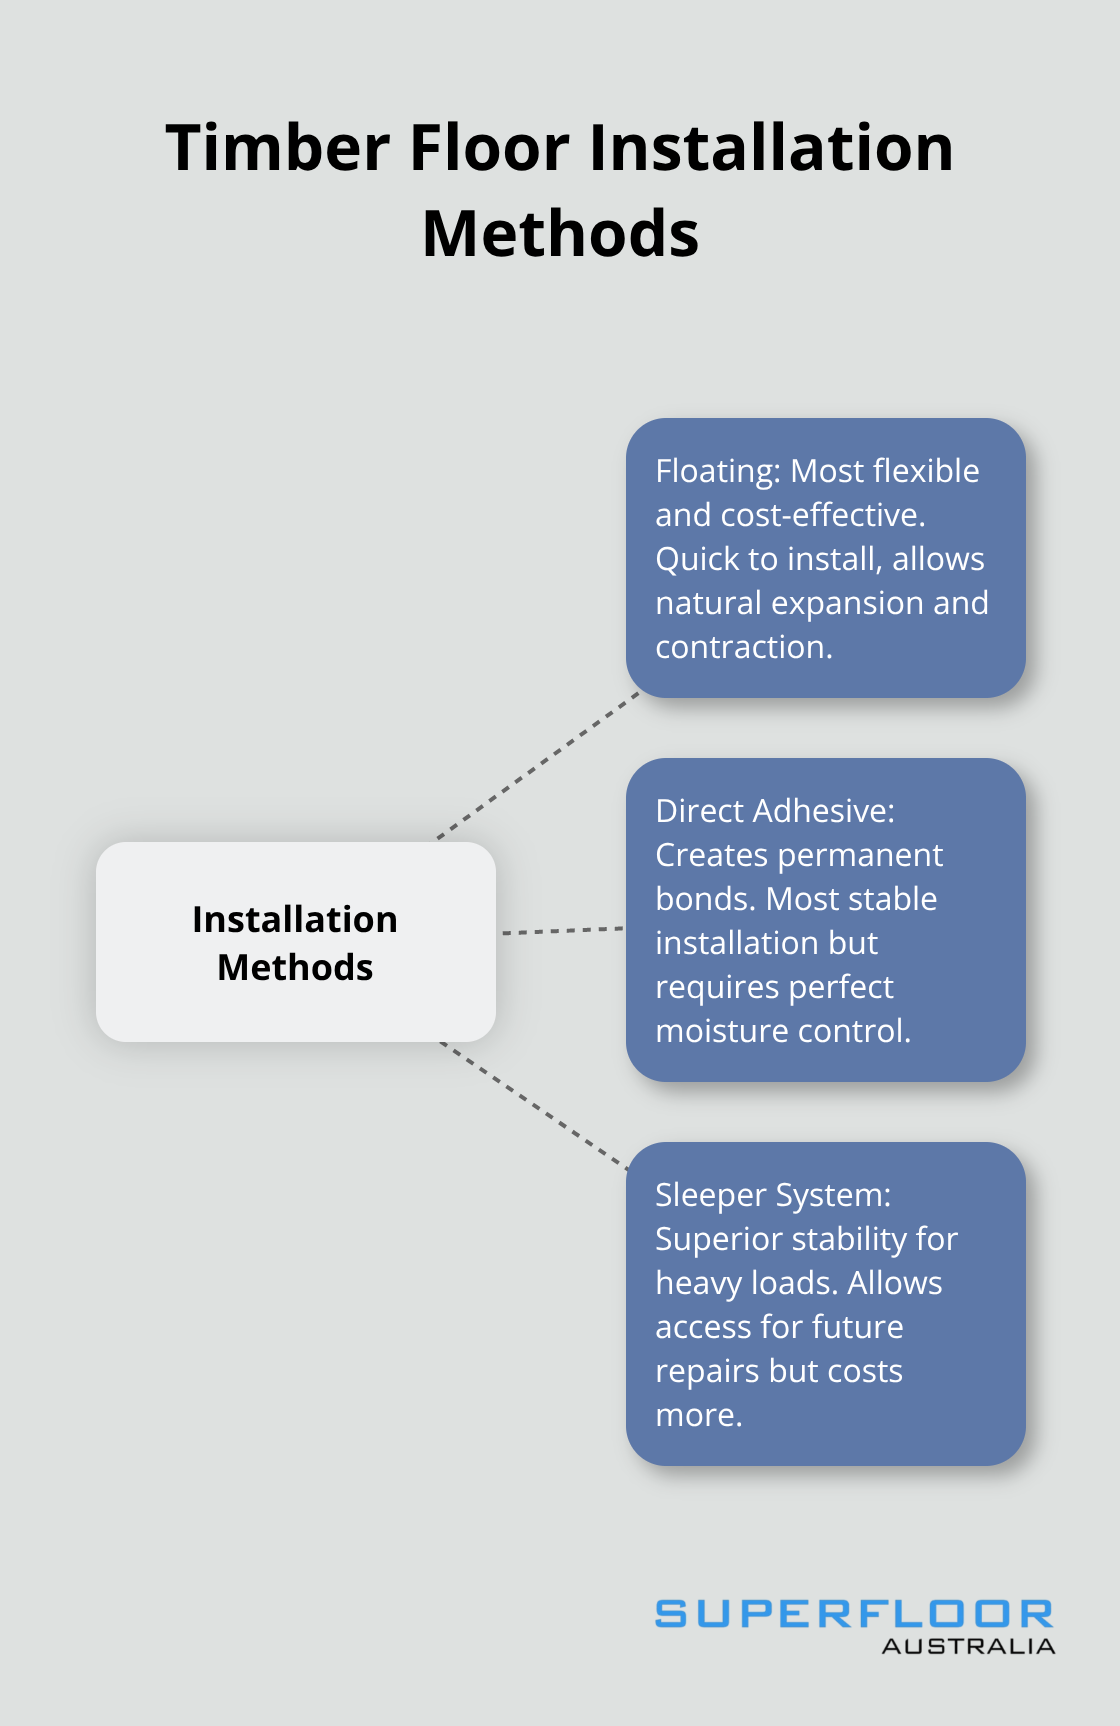
Floating timber floors offer the most forgiving installation approach over concrete surfaces. This method allows planks to expand and contract naturally without attachment to the concrete substrate. Install foam underlay directly over your moisture barrier, then click-lock planks together row by row. Floating installations provide cost benefits compared to glue-down methods according to industry guidance. Maintain 10mm expansion gaps around all perimeters and fixed objects like columns or vents. Floating systems work exceptionally well with engineered timber, which handles moisture variations better than solid hardwood. The installation typically takes half the time of traditional nail-down approaches while it provides excellent acoustic properties through quality underlay materials.
Direct Adhesive Application Process
Glue-down installation creates permanent bonds between timber and concrete with polyurethane adhesives. Apply adhesive with notched trowels in 1-metre sections, work systematically across the room to maintain consistent coverage. Polyurethane adhesives work best for wood flooring applications compared to water-based alternatives. The key lies in trowel selection – 3mm V-notch trowels work best for engineered planks under 15mm thickness, while 6mm square-notch trowels suit thicker solid timber. Work time ranges from 15-20 minutes (depending on temperature and humidity levels). Roll installed planks with 45kg weighted rollers within 30 minutes to achieve maximum adhesive transfer. This method provides the most stable installation but requires perfect moisture control since any future moisture issues become permanent problems that require complete floor replacement.
Sleeper System Construction Standards
Nail-down installations over sleeper systems create traditional solid timber floors with superior longevity. Space 42x28mm treated pine sleepers 450mm on centre, secure each with construction adhesive plus 75mm masonry screws every 600mm. Install 19mm moisture-resistant plywood over sleepers before you nail down your timber planks. This system raises floor height by approximately 60mm but allows access for future repairs (particularly valuable for maintenance). Pre-drill all screw holes to prevent timber splits, particularly important with dense hardwoods like Ironbark or Spotted Gum. The sleeper method costs more than floating installations but delivers superior stability for heavy furniture loads and high-traffic commercial applications.
Each method presents distinct advantages depending on your specific concrete conditions and performance requirements, which directly impacts how you address the challenges that commonly arise during installation.
What Problems Will You Face During Installation
Moisture Control Beyond Initial Tests
Seasonal humidity changes create ongoing moisture challenges that initial tests cannot predict. Australian Bureau of Meteorology data shows humidity levels vary significantly between seasons, which causes timber movement even after proper initial moisture control. Install dehumidifiers in work areas when relative humidity exceeds 60% and run them continuously for 48 hours before timber delivery.
Concrete slabs under 60 days old contain too much moisture and release moisture for up to 12 months after workers pour them (particularly problematic in Brisbane’s subtropical climate where moisture issues persist year-round). Monitor slab moisture weekly during the first month after installation with pin-type moisture meters at multiple depth levels. Moisture vapour transfer from concrete slabs creates ongoing challenges that require proper timber flooring systems to manage effectively.
Vapour barriers fail when installers skip proper seam seals – use butyl tape rather than standard duct tape for permanent moisture protection.
Surface Irregularities and Structural Solutions
Concrete flatness problems extend beyond simple compound applications. Structural settlement creates ongoing movement that destroys timber installations within 2-3 years. Check for active settlement with laser levels at multiple points and monitor for 72 hours minimum before installation begins.
Self-levelling compounds only work on stable substrates – moving concrete requires structural intervention first. Grinders create dust contamination that prevents proper adhesive bonds, so vacuum thoroughly with HEPA filters between passes.
Temperature differences between concrete and timber cause expansion mismatches. Concrete expands 12 micrometres per metre per degree Celsius while timber moves 3-5 times more. Pre-condition work areas to final occupancy temperatures for minimum 5 days and maintain consistent 18-22°C throughout installation and cure periods.
Expansion and Contraction Management
Timber naturally expands and contracts with climate changes, which creates gaps or buckling when installers fail to accommodate this movement. Australian hardwoods like Blackbutt are strong and durable timber species that require proper expansion allowances, while engineered products show less movement but still require proper gap allowances.
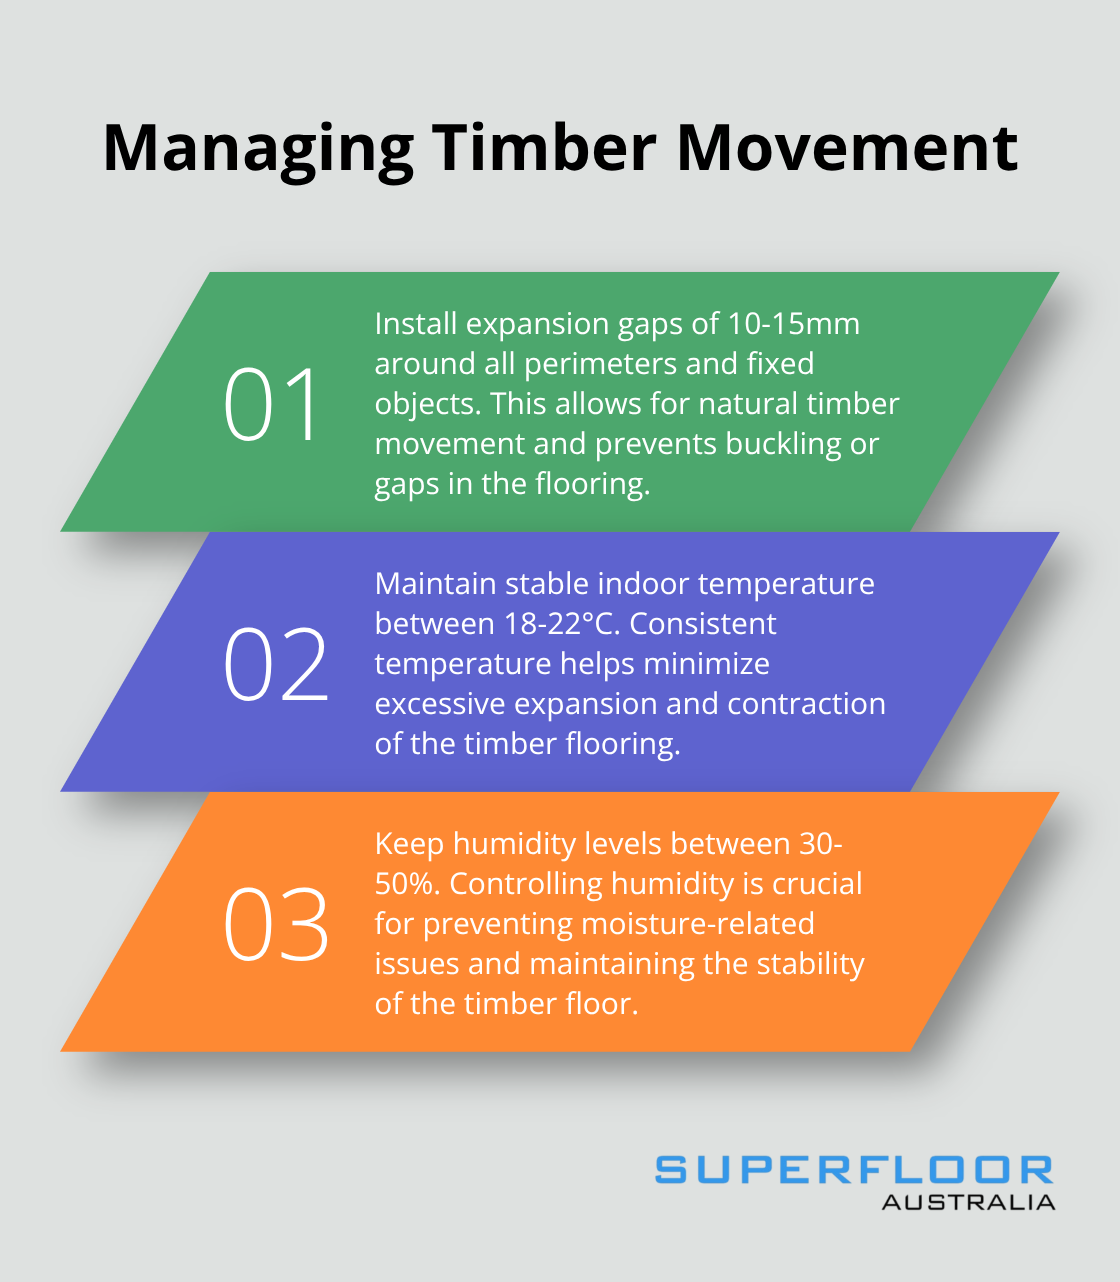
Install expansion gaps of 10-15mm around all perimeters and fixed objects. Use transition strips at doorways and room changes to allow independent movement between sections. Temperature swings of 10°C can cause 2-3mm movement in 3-metre plank lengths, so maintain stable indoor conditions during and after installation.
Final Thoughts
Timber floors on concrete demand precise moisture control, surface preparation, and proper installation techniques. Three critical steps determine success: accurate moisture tests with readings below 75% relative humidity, thorough surface preparation within 3mm tolerances, and selection of the right installation method for your specific conditions. Moisture management remains the most important factor throughout the entire process.
Concrete slabs need minimum 30 days to cure properly, and continuous humidity checks prevent costly failures. Proper vapour barriers and expansion gaps accommodate natural timber movement while they protect your investment. Long-term performance depends on stable indoor conditions between 18-22°C and 30-50% humidity (with regular checks for gaps or buckling that indicate moisture problems).
We at Superfloor Australia understand these complexities from years of experience with concrete surfaces. Professional installation reduces risks significantly and provides warranties that protect against future problems. Our team at Superfloor Australia delivers expert preparation and craftsmanship for lasting results in Brisbane homes and commercial spaces.