At Superfloor Australia, we know that polishing concrete table tops can transform ordinary surfaces into stunning focal points.
This guide will walk you through the process of achieving a flawless finish on your concrete table top.
From preparation to the final touches, we’ll cover everything you need to know to create a polished concrete masterpiece.
How to Prepare Your Concrete Table Top
Surface Cleaning: The First Step
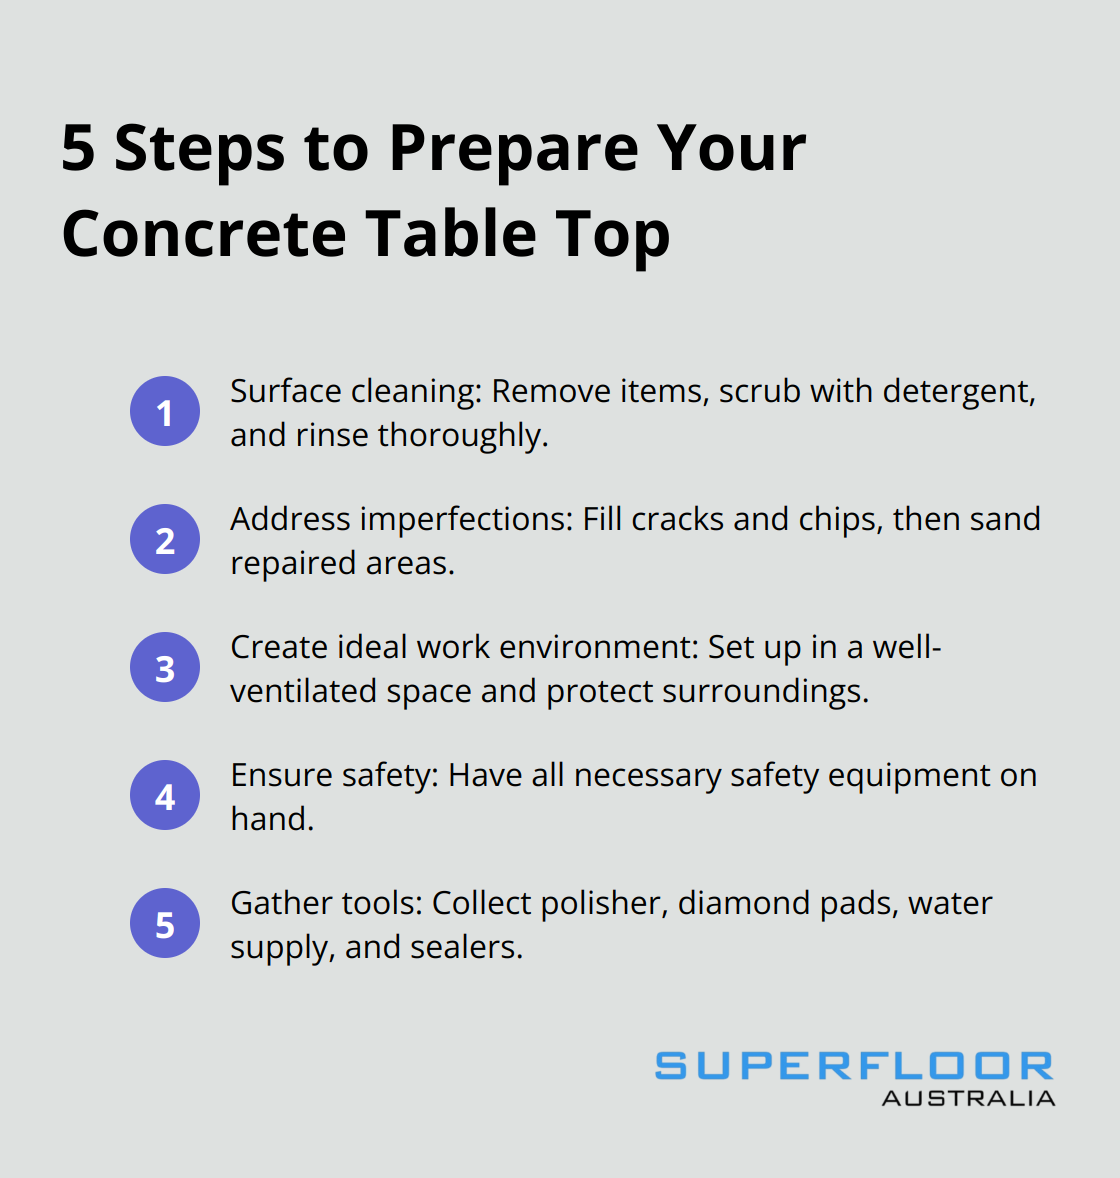
Remove all items from the table top. Use a mild detergent and warm water to scrub the surface. Pay extra attention to stains or stubborn dirt. For tougher grime, a degreaser might be necessary. Rinse thoroughly and allow the surface to dry completely. This step prevents contaminants from interfering with the polishing process.
Addressing Imperfections
Inspect the surface for cracks, chips, or holes. Fill small imperfections with a concrete patching compound. For larger cracks, use epoxy fillers. After applying the filler, sand the repaired areas flush with the surrounding surface. This creates a smooth canvas for polishing.
Creating an Ideal Work Environment
Set up your work area in a well-ventilated space. If you’re working indoors, open windows and use fans to circulate air. Proper ventilation is important when working with concrete dust and chemical sealers (which can produce strong fumes). Cover nearby surfaces and floors with drop cloths or plastic sheeting to protect them from dust and potential spills.
Safety First
Ensure you have all necessary safety equipment on hand. This includes safety glasses, dust masks, and gloves. A proper workspace setup not only protects you but also contributes to a better final product. (Safety should never be an afterthought in concrete polishing!)
Gathering Your Tools
Collect all the tools you’ll need for the polishing process. This includes your polisher, diamond pads of various grits, water supply for wet polishing, and any sealers or enhancers you plan to use. Having everything ready will streamline your workflow and prevent interruptions.
The preparation phase sets the foundation for a stunning polished finish. With your concrete table top clean, repaired, and your workspace ready, you’re now set to begin the exciting process of transforming your surface through polishing.
How to Polish Your Concrete Table Top
Start with Coarse Grit
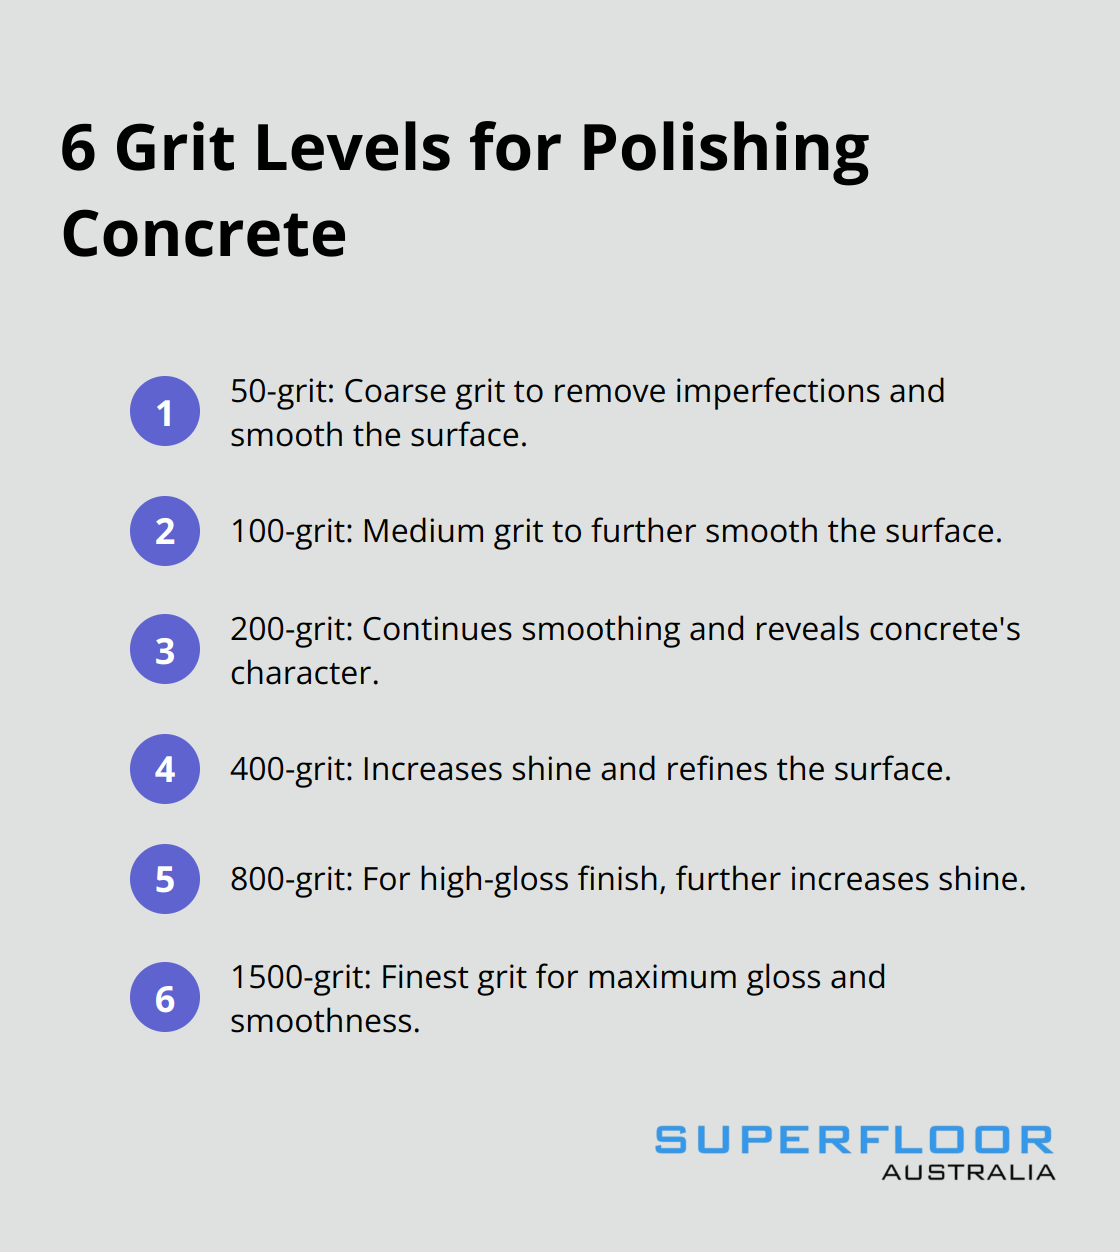
Begin the polishing process with a 50-grit diamond pad. This coarse grit removes remaining imperfections and smooths the surface. Work in small, overlapping circles and apply even pressure. Take your time with this step-it lays the foundation for a uniform finish.
Progress Through Medium Grits
Switch to a 100-grit pad after the initial pass. This medium grit further smooths the surface and starts to reveal the concrete’s natural beauty. Follow with 200-grit, then 400-grit pads. Each progression unveils more of the concrete’s character and increases the shine. (The transformation at this stage can be quite remarkable!)
Fine-Tune the Finish
For a high-gloss finish, continue with 800-grit and 1500-grit pads. Higher grits produce a finer polish. This process can take several hours, depending on your table top’s size. Avoid rushing through grits to prevent an uneven finish.
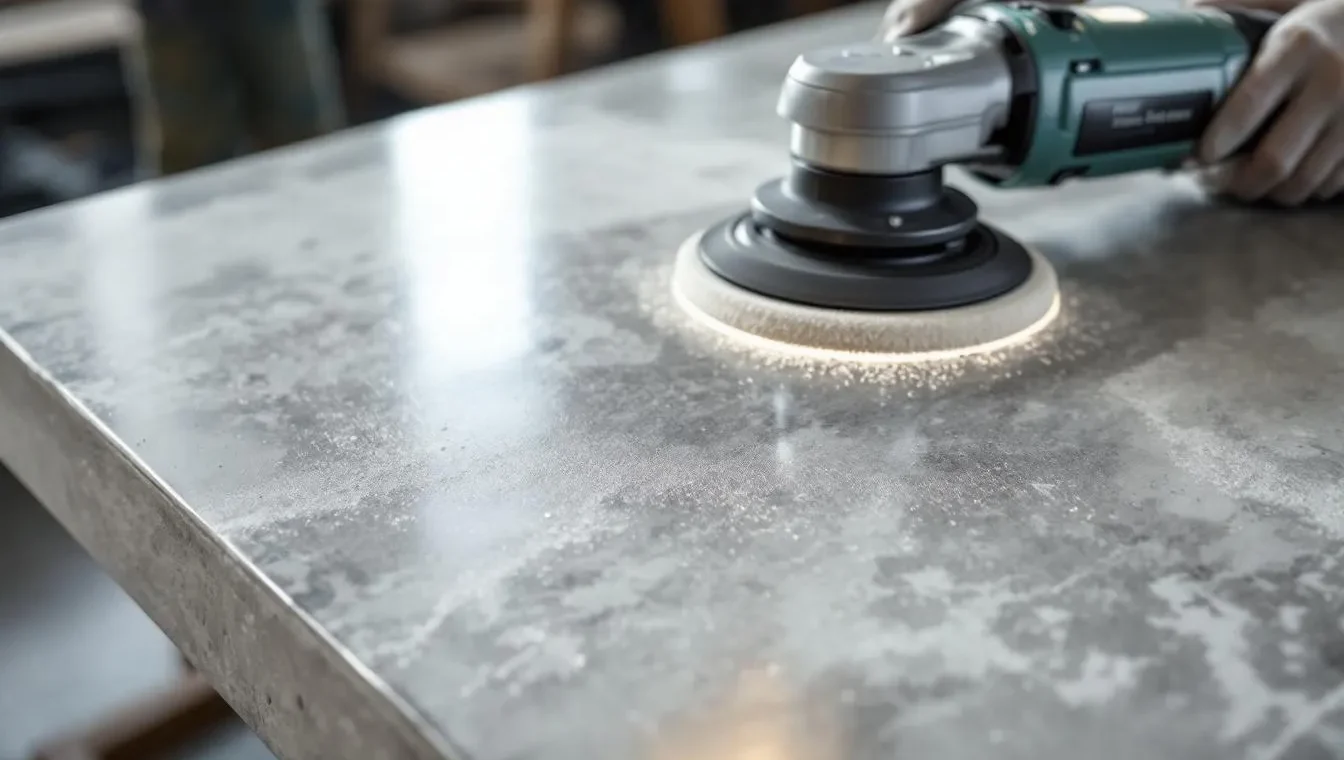
Use Wet Polishing Technique
Use water throughout the polishing process to control dust and cool the polishing pads. This wet polishing technique offers a dust-free environment and significantly reduces the risk of crystalline silica exposure. Apply water sparingly-you want the surface damp, not flooded. A spray bottle works well for smaller projects, while larger surfaces might require a continuous water feed system.
Monitor Your Progress
Regularly check your work as you polish. Look for any missed spots or inconsistencies in the finish. Good lighting is essential for this step. (You might be surprised at what you can spot with a bright, angled light!)
The polishing process transforms your concrete table top from a dull, rough surface into a smooth, light-reflecting masterpiece. Patience and consistency are key. Now that your surface is polished to perfection, it’s time to protect and enhance your work with sealers and finishes.
Sealing Your Polished Concrete Table Top
Choosing the Right Sealer
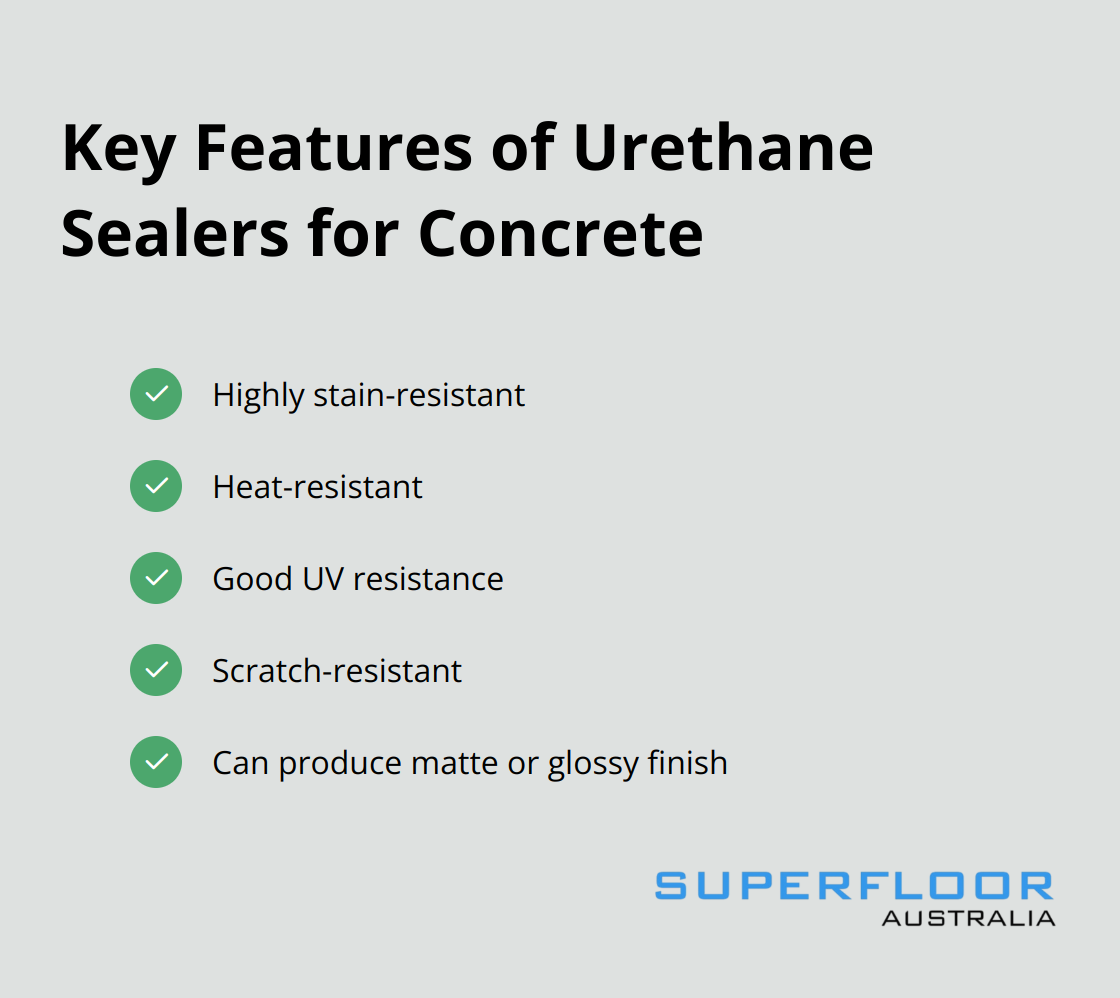
The selection of a sealer can significantly impact your polished concrete finish. We recommend a penetrating sealer for table tops. This type of sealer bonds with the concrete at a molecular level, providing superior protection without altering the surface appearance. Urethanes are very stain-resistant and heat-resistant, provide good UV resistance, and are scratch-resistant. They can produce a matte or glossy finish.
Look for a sealer with high stain resistance and UV protection. Brands such as Ghostshield and Prosoco offer excellent options for polished concrete. Always check the manufacturer’s specifications to ensure compatibility with your concrete type and desired finish.
Application Techniques for Best Results
Before you apply the sealer, make sure your polished surface is completely clean and dry. Any residue or moisture can interfere with the sealer’s bonding process. Use a microfibre applicator pad for even distribution. Start from one corner and work your way across the surface in smooth, overlapping strokes.
Apply thin, even coats instead of one thick layer. This method prevents pooling and ensures uniform coverage. You might need two or three coats for optimal protection, depending on the sealer. Follow the manufacturer’s instructions regarding the number of coats and drying time between applications.
Curing Time and Final Steps
Patience plays a key role when it comes to curing time. Most sealers require at least 24 hours to dry completely, but some may need up to 72 hours for full curing. During this time, keep the surface free from any contact with water or other liquids.
After the final coat has cured, buff the surface lightly with a clean microfibre cloth to remove any residue and enhance the shine. This step brings out the full beauty of your polished concrete, revealing a depth and lustre that will make your table top truly stunning.
Maintenance Tips
To maintain the beauty of your sealed concrete table top, clean it regularly with a pH-neutral cleaner. Avoid harsh chemicals or abrasive cleaning tools that could damage the sealer. Try to address spills promptly to prevent staining. Some sealers require resealing every year or so, while others are good for the life of the concrete. Follow the manufacturer’s recommendations for reapplication to maintain optimal protection.
Final Thoughts
Polishing a concrete table top transforms an ordinary surface into a stunning focal point. The process requires meticulous preparation, progressive grinding with diamond pads, and the application of a protective sealer. This methodical approach ensures a smooth, glossy surface that showcases the unique character of the concrete. (You’ll be amazed at the difference each step makes!)
A well-polished concrete surface enhances durability, increases stain resistance, and simplifies maintenance. The reflective surface brightens spaces, while the smooth finish provides easy cleaning and hygiene. Regular cleaning with pH-neutral products and prompt attention to spills will preserve its beauty for years to come.
For those who seek expertise in concrete polishing, Superfloor Australia offers top-tier services for residential and commercial projects in Brisbane. Their skilled team delivers high-quality polished concrete flooring that combines beauty with practicality. With proper care, your polished concrete table top will remain a stunning centrepiece, blending durability with sophisticated style.