At Superfloor Australia, we know that polishing an existing concrete floor can transform your space.
This process breathes new life into old surfaces, creating a sleek, durable, and low-maintenance flooring solution.
Our guide will walk you through the steps of assessing your floor, preparing it for polishing, and achieving that perfect shine.
Is Your Floor Ready for Polishing?
Examining Surface Imperfections
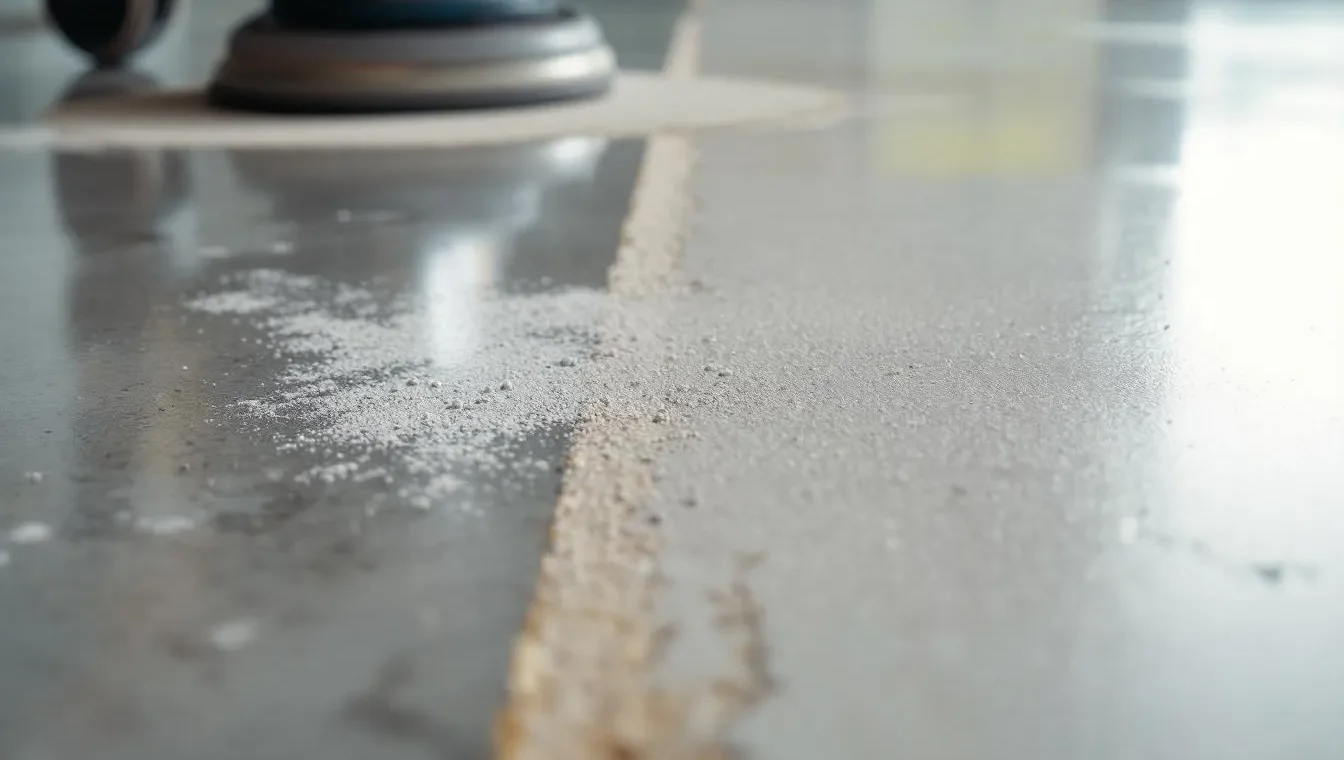
We start the assessment process by looking for visible damages on your concrete floor. Our team searches for cracks, chips, or uneven areas. These flaws can impact the final look of your polished concrete. Small cracks (less than 1/4 inch wide) often allow for filling during polishing. Larger cracks or extensive damage, however, may require more substantial repairs before we begin the polishing process.
Checking Floor Flatness
A level surface is key to achieving an even polish. We use a straightedge to identify any high or low spots on your floor. Industry standards suggest that a floor should not deviate more than 1/8 inch over a 10-foot span. If your floor doesn’t meet this standard, we might need to grind or level it before polishing can commence.
Determining Concrete Hardness
The strength of your concrete plays a vital role in the polishing process. We employ a Mohs hardness test to measure the concrete’s strength. For optimal polishing results, your floor should have a compressive strength of between 3000 and 4000 psi for a standard residential concrete driveway or garage floor slab. Softer concrete might need additional treatments or may not suit high-gloss finishes.
Identifying Previous Treatments
Existing sealers or coatings on your floor can interfere with the polishing process. We must remove these before we proceed. A simple water drop test helps us identify such treatments: if water beads up on the surface, the surface may need additional preparation. In these cases, we’ll need to strip these coatings before we can start polishing.
Planning the Polishing Process
After we complete our assessment, we create a tailored plan for your floor. This plan takes into account all the factors we’ve examined (surface condition, flatness, hardness, and existing treatments). It outlines the steps we’ll take to prepare your floor and achieve the best possible polished finish.
With a thorough assessment complete, we can move on to the next crucial step: preparing your concrete floor for polishing. This preparation phase ensures that we address any issues discovered during our evaluation, setting the stage for a stunning, long-lasting polished concrete floor.
How We Prepare Your Concrete Floor
Deep Cleaning for a Fresh Start
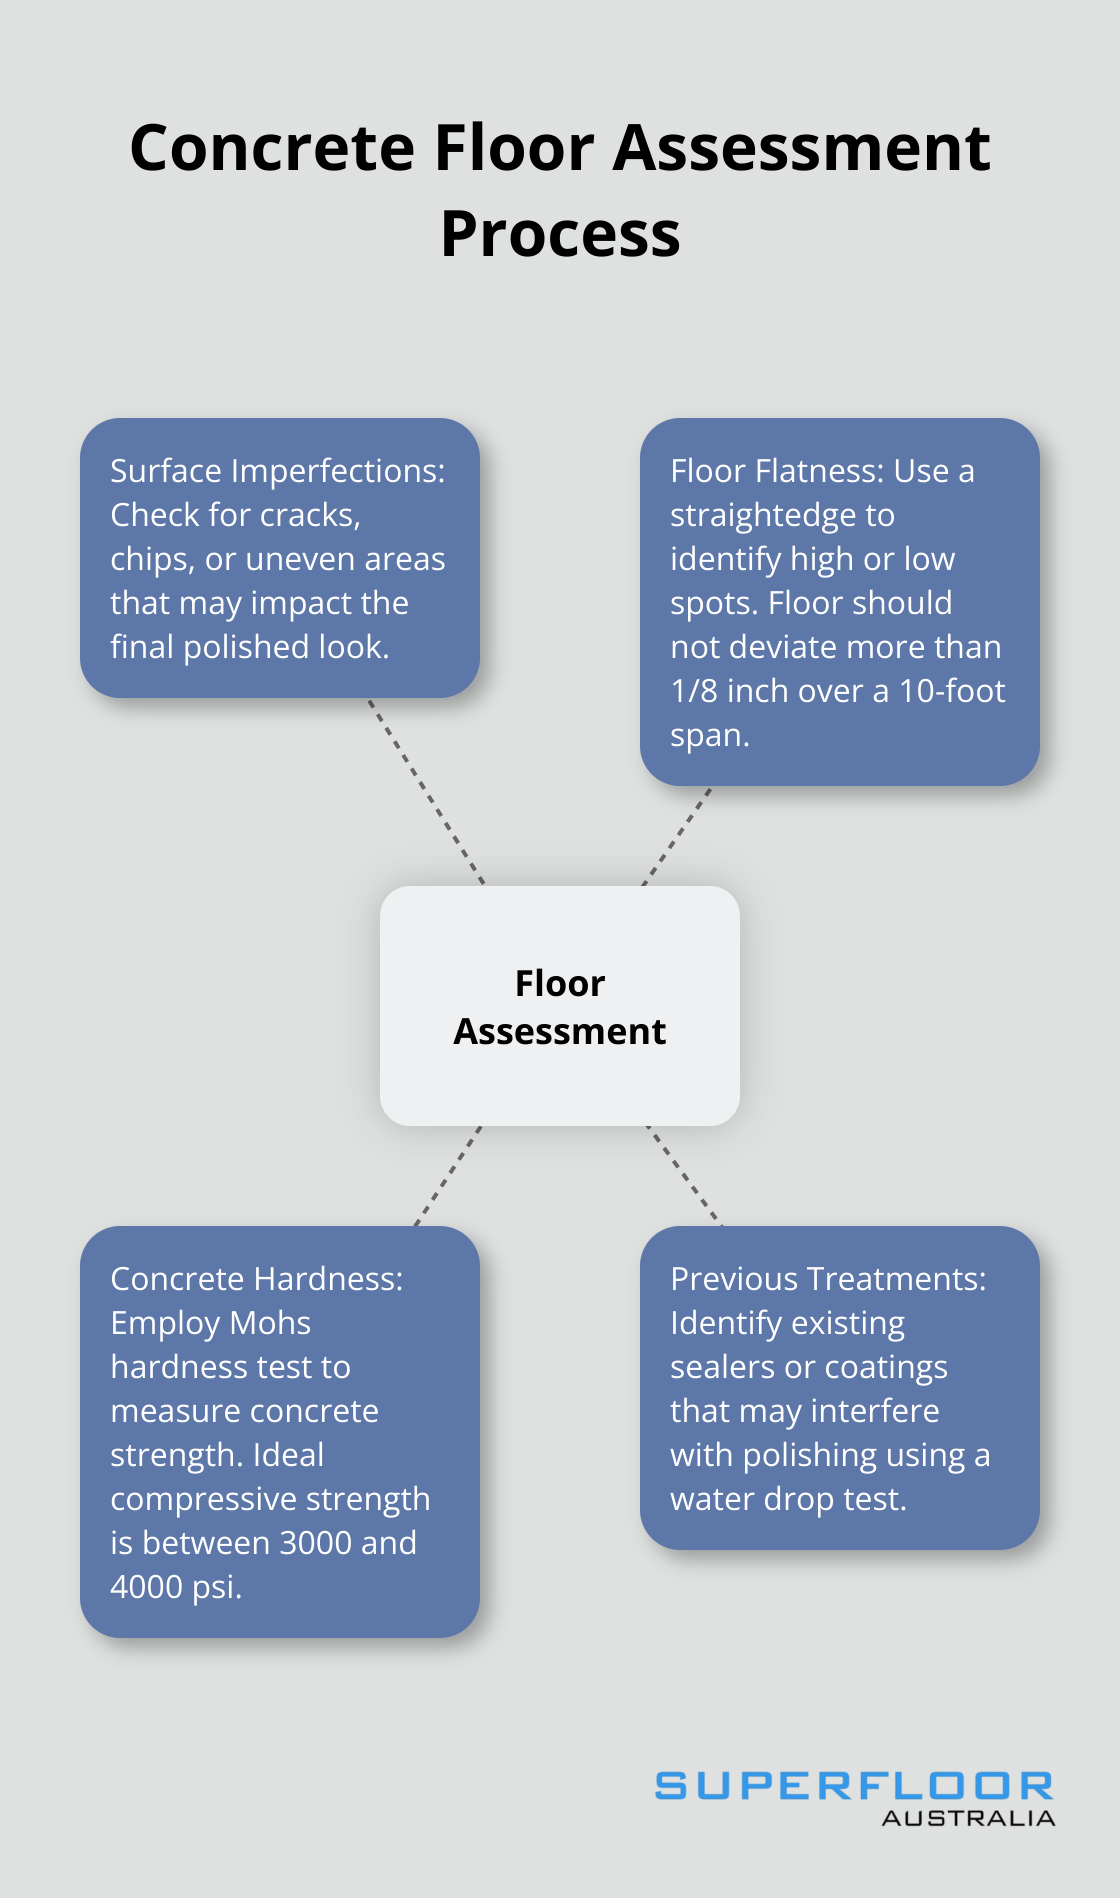
At Superfloor Australia, we start the preparation process with a thorough clean of your concrete surface. Our industrial-grade cleaning equipment removes years of built-up dirt, grime, and stains. For stubborn marks, we use specialised cleaning solutions that break down oils and other contaminants without damaging the concrete. This deep clean improves the floor’s appearance and allows for better adhesion of repair materials and sealants.
Addressing Cracks and Damages
We then tackle any cracks or damages in your concrete. For hairline cracks (less than 1/8 inch wide), we apply a high-quality epoxy filler that matches the colour of your concrete. Larger cracks or chips require a more robust solution. We often use a two-part epoxy mixed with concrete dust from your floor to ensure a perfect colour match. This method repairs the damage and strengthens the area, which prevents future issues.
Stripping Away Old Coatings
Many existing concrete floors have old sealers or coatings that we must remove before polishing. We use a combination of chemical strippers and mechanical grinding to remove these layers. Our diamond-tipped grinding tools effectively remove stubborn coatings while also levelling out minor surface imperfections. This process exposes the raw concrete, which allows us to achieve a uniform polish across the entire floor.
Creating the Perfect Canvas
The final step in our preparation process involves the use of progressively finer grinding discs to smooth out the concrete surface. This process is simpler than concrete polishing, which involves more steps using progressively finer grits of diamond tooling until achieving the desired gloss. This approach ensures that when we begin the actual polishing process, we work with the best possible surface.
Our attention to detail during this phase allows us to consistently deliver outstanding results for our clients. With the floor now properly prepared, we can move on to the exciting process of polishing your concrete to achieve that perfect shine you’ve been dreaming of.
How We Transform Your Concrete Floor
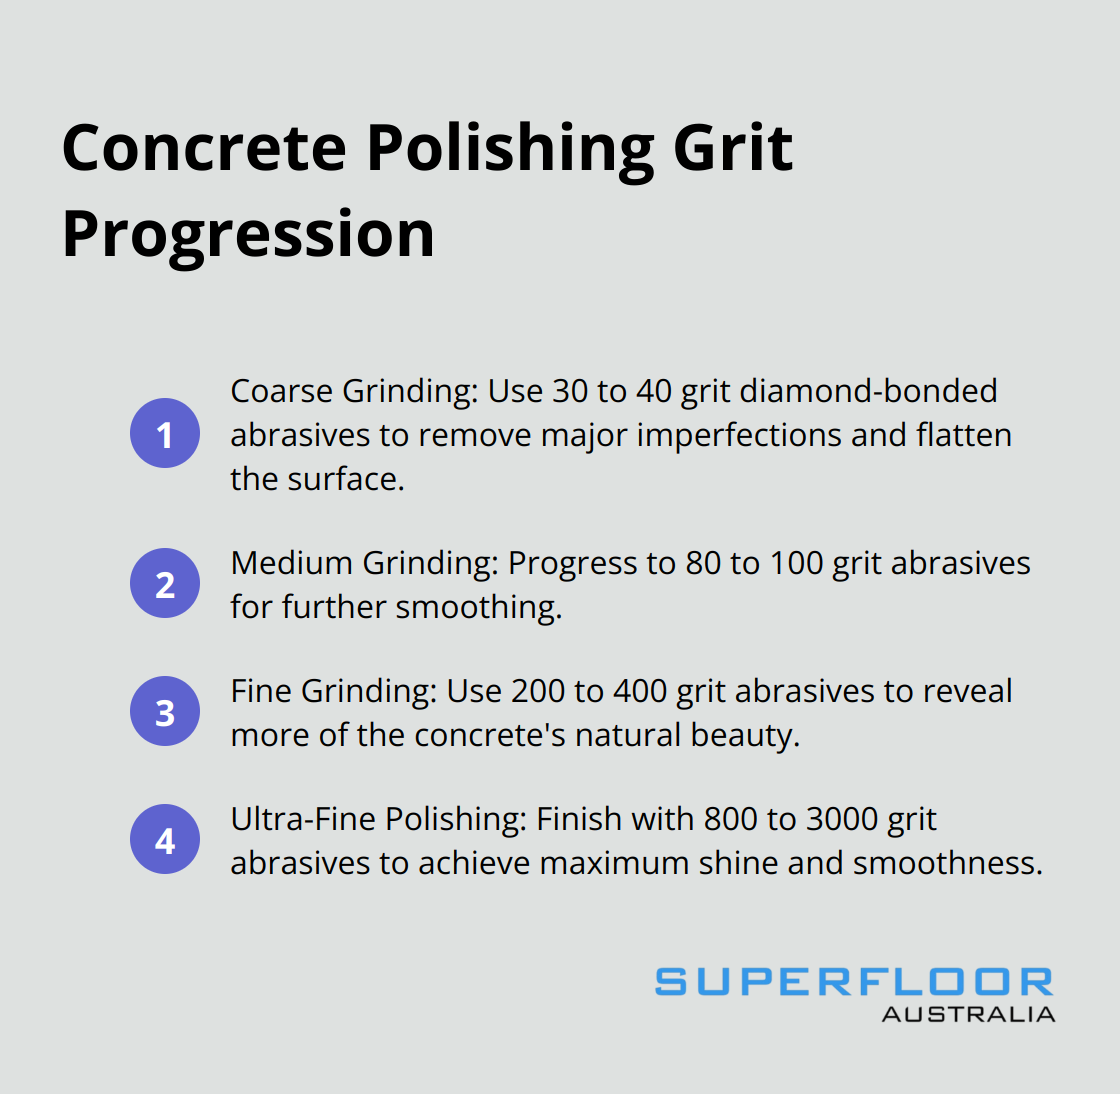
Grinding for Smoothness
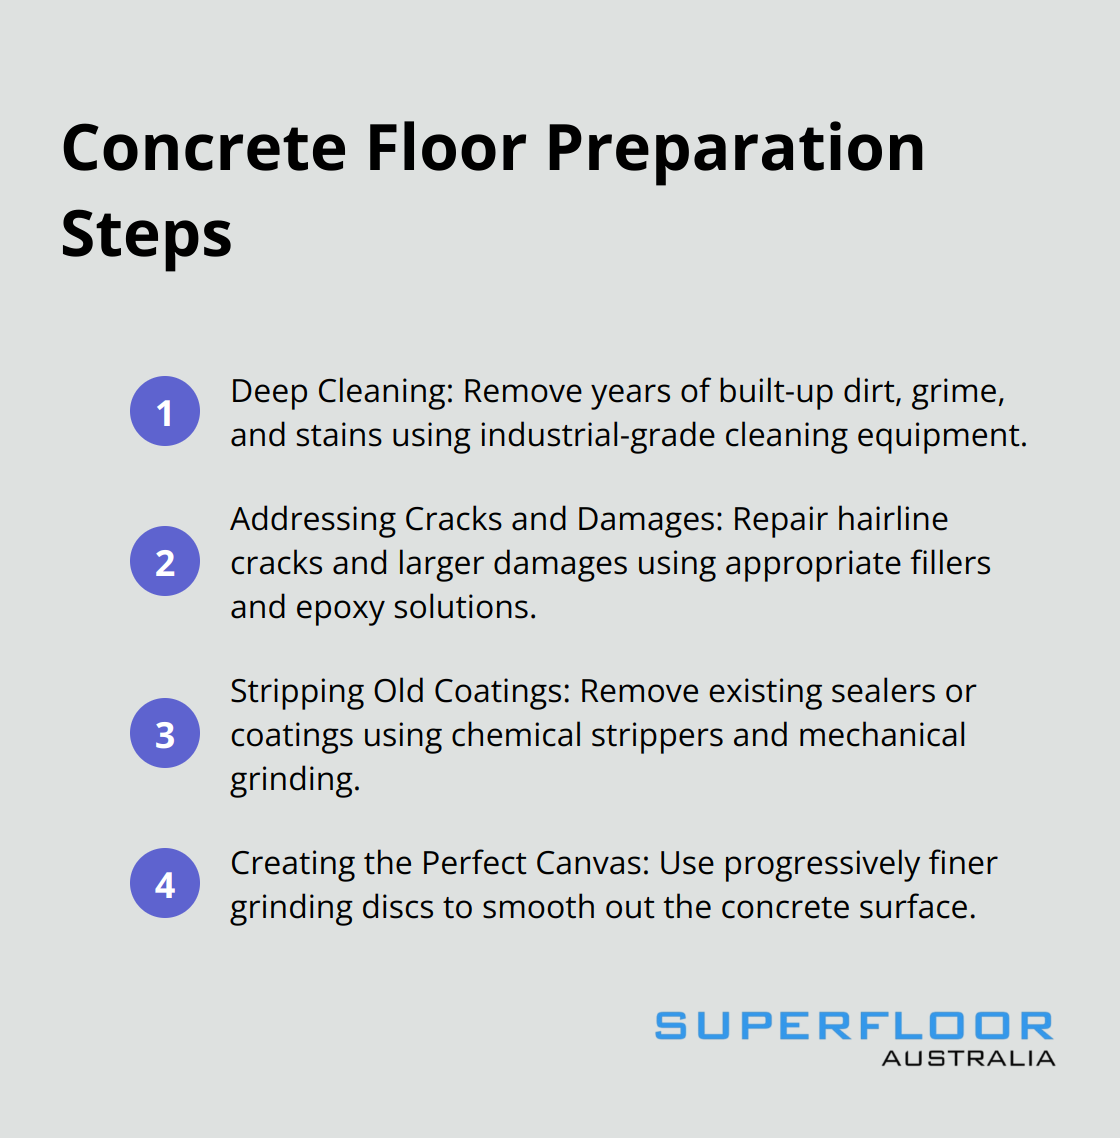
We start our transformation process with coarse diamond-bonded abrasives (typically 30 to 40 grit). These remove major imperfections and flatten the surface. We then progress through medium (80 to 100 grit) and fine (200 to 400 grit) abrasives. Each pass reveals more of the concrete’s natural beauty. This multi-step grinding process takes several hours, depending on the floor’s size and condition.
Hardening the Surface
After initial grinding, we apply a chemical densifier. This liquid penetrates the concrete and reacts with free lime to create a harder, denser surface. We use lithium-based densifiers for their quick reaction time and minimal residue. The densifier is typically applied with a weed sprayer and followed by a microfibre mop to even out the application.
Achieving the Perfect Shine
The final polishing stage uses ultra-fine diamond abrasives, ranging from 800 to 3000 grit. This step brings out the floor’s maximum shine and smoothness. We can achieve different levels of gloss, from satin to high-gloss, based on your preference. For extra gloss, we use a high-speed burnisher.
Sealing for Protection
To protect your newly polished floor, we apply a penetrating sealer. This sealer guards against stains and enhances the concrete’s natural colour. We recommend a silicate-based sealer for its durability. The sealing process takes about 2-3 hours, including application and drying time.
Professional Expertise Matters
Our meticulous approach ensures a stunning, long-lasting result. While DIY polishing kits exist, they often fall short of professional results. Industrial-grade equipment and years of experience allow professionals to achieve a level of quality that’s hard to match with consumer-grade tools.
Concrete polishing requires precise control of equipment and an understanding of concrete’s properties. That’s why many companies (including Superfloor Australia) invest in ongoing training for their technicians to stay at the forefront of polishing techniques.
Final Thoughts
Polishing an existing concrete floor transforms your space into a durable and visually stunning surface. At Superfloor Australia, we guide you through the process, from assessment to achieving that perfect shine. Our meticulous approach ensures outstanding results that stand the test of time.
Polished concrete floors offer numerous benefits, including durability, stain resistance, and eco-friendliness. They reflect light, brighten rooms, and potentially reduce energy costs. Regular dust mopping and occasional damp mopping with a pH-neutral cleaner will keep your floor looking its best (avoid harsh chemicals or abrasive cleaning tools).
While DIY kits exist, professional polishing yields superior results. Our team at Superfloor Australia combines expertise and industrial-grade equipment to deliver exceptional polished concrete floors. We strive to ensure that your floor not only looks beautiful but also provides long-lasting performance.