At Superfloor Australia, we’ve seen a growing interest in do-it-yourself concrete floor polishing. Many homeowners are eager to transform their dull concrete surfaces into stunning, glossy floors.
This guide will walk you through the process, from understanding the basics to achieving a professional-looking finish. We’ll cover everything you need to know to tackle this project on your own.
What Is Concrete Polishing?
The Transformation Process
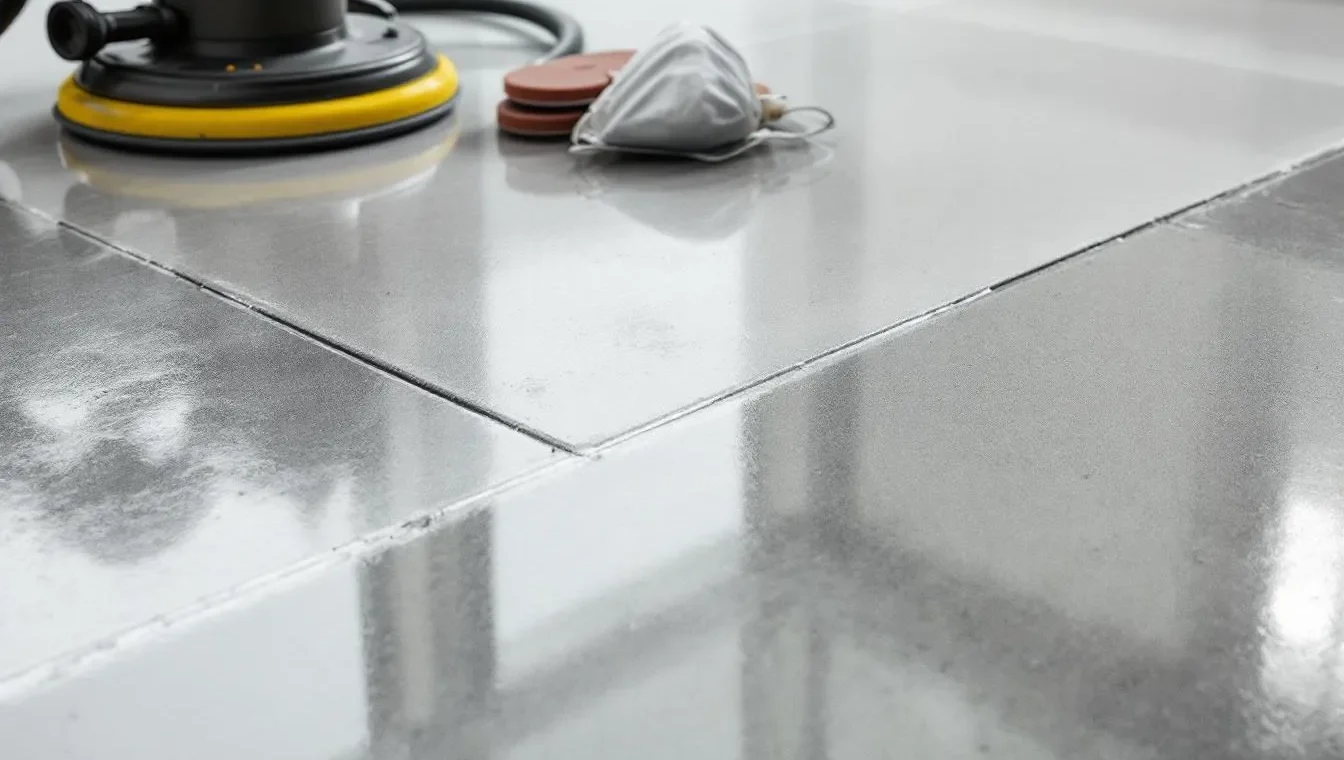
Concrete polishing transforms ordinary concrete floors into smooth, glossy surfaces. This method enhances the aesthetic appeal of concrete and improves its durability and functionality. The process begins with the use of coarse diamond segments bonded in a metallic matrix. These segments are coarse enough to remove minor pits, blemishes, and other imperfections in the concrete surface. As polishing progresses, finer grits create a smoother finish. The final steps use ultra-fine abrasives to produce a high-gloss surface that reflects light beautifully.
A key aspect of concrete polishing involves the application of a chemical hardener (also known as a densifier). This substance penetrates the concrete, fills in the pores, and increases its density. The result is a harder, more durable surface that resists stains and abrasions.
Advantages of Polished Concrete
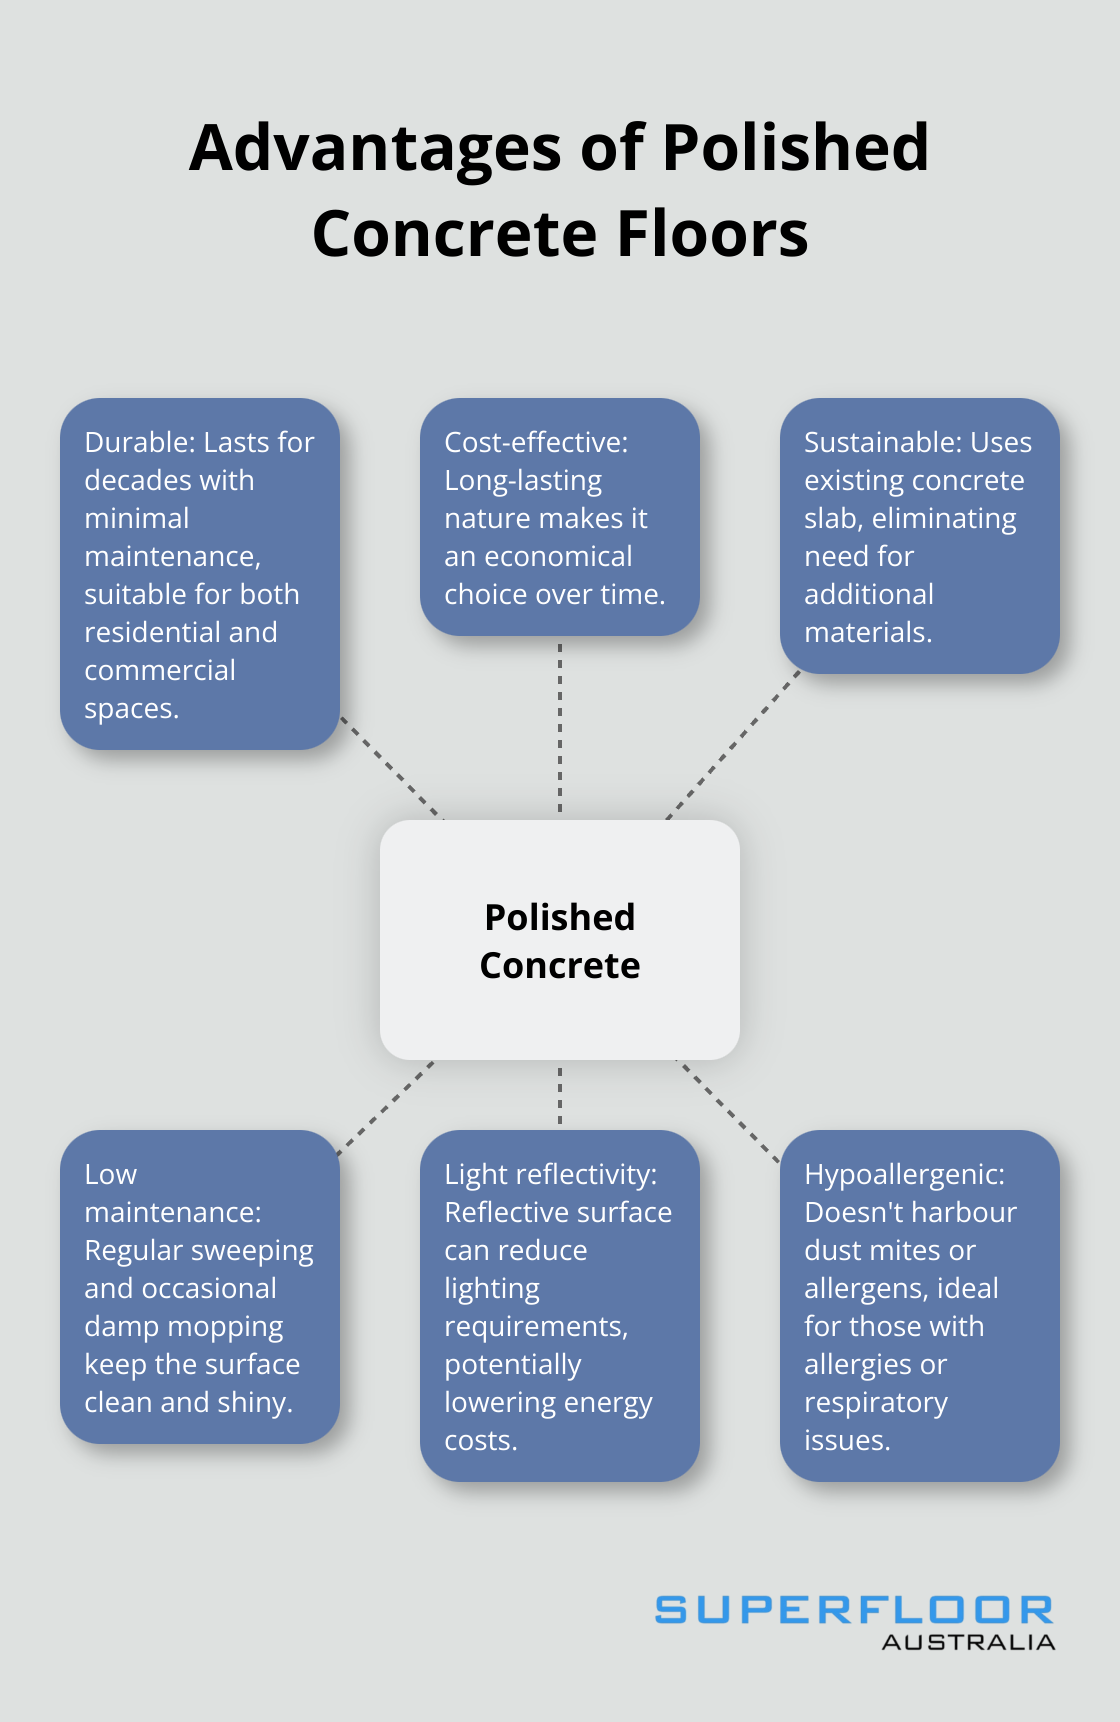
Polished concrete floors offer numerous benefits over traditional flooring options. They last for decades with minimal maintenance, making them a cost-effective choice for both residential and commercial spaces. From an environmental perspective, polished concrete is sustainable. It uses the existing concrete slab, which eliminates the need for additional materials. Its reflective surface can reduce lighting requirements, potentially lowering energy costs. Polished concrete floors offer high light reflectivity, reducing the need for overhead lighting and contributing to energy efficiency in homes.
Maintenance of polished concrete floors is straight-forward. Regular sweeping and occasional damp mopping keep the surface clean and shiny. Unlike carpet or wood, polished concrete doesn’t harbour dust mites or allergens, which makes it an excellent choice for those with allergies or respiratory issues.
Tools for DIY Polishing
For those who consider a DIY concrete polishing project, the right tools are essential. A concrete grinder is the primary piece of equipment you’ll need. These come in various sizes (walk-behind models for larger areas and hand-held versions for smaller spaces or edges).
Diamond abrasive pads are another vital component. These pads come in different grits, typically ranging from 30 to 3000. You’ll need a selection of these to progress from rough grinding to fine polishing.
A quality concrete densifier strengthens the surface. Additionally, you’ll need safety equipment such as dust masks, eye protection, and ear defenders. Don’t forget a reliable vacuum system to manage dust during the process.
Professional vs. DIY Polishing
While DIY concrete polishing is possible, it requires skill and patience. The process is labour-intensive and time-consuming. For those who seek professional results without the hassle, expert services (like those offered by Superfloor Australia in Brisbane) ensure a high-quality finish tailored to individual needs.
As we move `forward, let’s explore how to prepare the concrete surface for polishing. This step is critical to achieve the best possible results in your concrete polishing project.
How to Prepare Your Concrete Floor for Polishing
Proper preparation sets the foundation for successful concrete polishing. This chapter outlines the essential steps to prepare your concrete floor for a stunning, polished finish.
Thorough Cleaning and Inspection
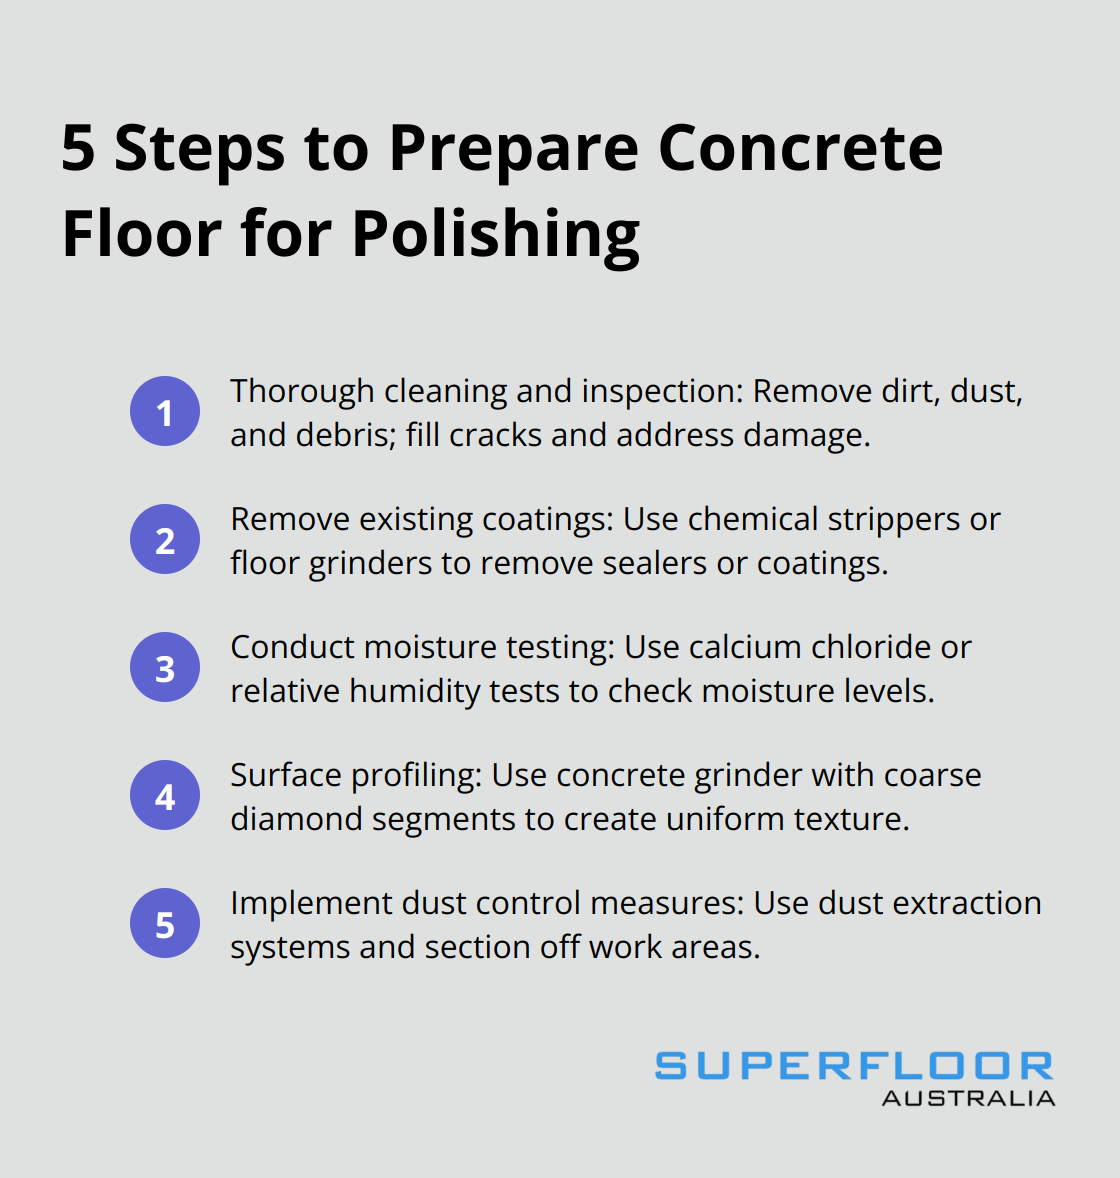
Start with a deep clean of the concrete surface. Use a heavy-duty vacuum cleaner to remove all dirt, dust, and debris. For stubborn stains or grease spots, apply a degreaser or concrete cleaner. Scrub the floor with a stiff-bristled brush to dislodge any embedded dirt.
After cleaning, inspect the floor for cracks, chips, or other damage. Fill small cracks with a concrete patching compound. For larger cracks or extensive damage, consider professional assistance. Address these issues before polishing to ensure a smooth, uniform finish.
Removing Existing Coatings
If your concrete floor has an existing sealer or coating, remove it before polishing. Apply a chemical stripper designed for concrete according to the manufacturer’s instructions. Let it sit for 15-30 minutes, then scrape it off. Citrus and soy-based strippers that use natural esters and oils to break down the sealer are available and have little impact on the environment.
For stubborn coatings, use a floor grinder with a coarse diamond pad. This method effectively removes thick or resistant coatings. Always wear appropriate safety gear (including a respirator) when using chemical strippers or grinding equipment.
Moisture Testing
Moisture in concrete can cause significant problems during and after polishing. Conduct a moisture test using either a calcium chloride test or a relative humidity test (available at most hardware stores).
For a calcium chloride test, place the test kit on the floor and leave it for 72 hours. If the results show more than 3 pounds of moisture per 1,000 square feet in 24 hours, your floor might not suit polishing without additional moisture mitigation steps.
A relative humidity test involves drilling a small hole in the concrete and inserting a probe. If the relative humidity exceeds 75%, address the moisture issue before proceeding with polishing.
Surface Profiling
Surface profiling creates the ideal texture for polishing. Use a concrete grinder with coarse diamond segments to remove any surface irregularities and create a uniform profile. This step also helps to open up the pores of the concrete, allowing for better penetration of densifiers and sealers later in the process. Equipment options for surface profiling include scarifiers, shavers, and shot blasters.
Dust Control Measures
Implement effective dust control measures during the preparation process. Use a high-quality dust extraction system connected to your grinding equipment. This not only improves air quality but also enhances visibility during work. Consider using plastic sheeting to section off the work area from the rest of the space, especially in residential settings.
With these preparation steps complete, your concrete floor is ready for the polishing process. The next chapter will guide you through the step-by-step polishing procedure, transforming your prepared surface into a gleaming, durable floor.
How to Polish Concrete Floors
Initial Grinding
Start with a 40-grit metal-bonded diamond for initial grinding. This removes any remaining imperfections and creates a level surface. Work in overlapping passes across the entire floor to ensure even coverage. After the first pass, vacuum the floor thoroughly to remove all dust and debris. Inspect the surface for any missed spots or unevenness. If necessary, repeat the process with the same grit until you achieve a uniform surface.
Applying Densifier
Once you complete the initial grinding, apply a concrete densifier. This liquid penetrates the concrete, fills in pores, and increases the floor’s strength. Apply densifier after stain or dye application has been completed, and after the 200-grit resin-bond diamond polishing step. Pour the densifier directly onto the floor and spread it evenly with a microfibre mop. Allow it to soak in for at least 30 minutes (or as directed by the manufacturer).
After the densifier dries, use a 100-grit diamond pad to remove any residue and further smooth the surface. This step helps to work the densifier deeper into the concrete.
Progressive Polishing
Now comes the heart of the polishing process. You’ll gradually work through finer grits of diamond pads, each one refining the surface further. A typical progression might be 200, 400, 800, and 1500 grit. With each grit change, vacuum the floor thoroughly and wipe it down with a damp mop to remove all dust.
Start by cleaning the floor thoroughly. Use a pH-neutral cleaner designed for polished concrete and a microfibre mop to remove all dirt and debris. This step is crucial for achieving the best results in the polishing process.

Final Touches
After you reach your desired level of polish, protect your hard work. Apply a stain guard or concrete sealer to enhance the shine and provide additional protection against stains and wear. Use a pump sprayer or microfibre mop to apply the product evenly, following the manufacturer’s instructions for drying times and number of coats.
A high-quality sealer can extend the life of your polished concrete floor by several years (making it a worthwhile investment). Patience is key throughout this process. Rushing any step can lead to subpar results. If at any point you feel overwhelmed or unsatisfied with the results, consult with professionals. While DIY concrete polishing is possible, achieving a truly flawless finish often requires the expertise and specialised equipment of experienced contractors.
Final Thoughts
Do-it-yourself concrete floor polishing can transform your space, but it requires attention to detail and time investment. Success depends on thorough preparation, methodical polishing, and proper application of densifier and sealer. Professional assistance might be necessary for complex layouts or specialised finishes.
At Superfloor Australia, we offer expert polished concrete flooring services in Brisbane. Our team can deliver high-quality results tailored to your specific needs. We provide stunning, long-lasting polished concrete floors for both residential and commercial spaces.
Polished concrete floors add value and elegance to any property. They are durable, low-maintenance, and can enhance your space for years to come. Whether you choose to tackle the project yourself or enlist professional help, the end result will be a beautiful, resilient floor.