At Superfloor Australia, we know that polishing concrete steps can transform your outdoor spaces. This guide will walk you through the process, from preparation to finishing touches.
We’ll cover essential steps like cleaning, repairing, and sealing, as well as the actual polishing techniques. By the end, you’ll have the knowledge to create stunning, durable concrete steps that enhance your property’s appeal.
How to Prepare Concrete Steps for Polishing
Preparing concrete steps for polishing lays the groundwork for a stunning finish. This phase is essential for achieving optimal results. Here’s how to get your concrete steps ready for their transformation:
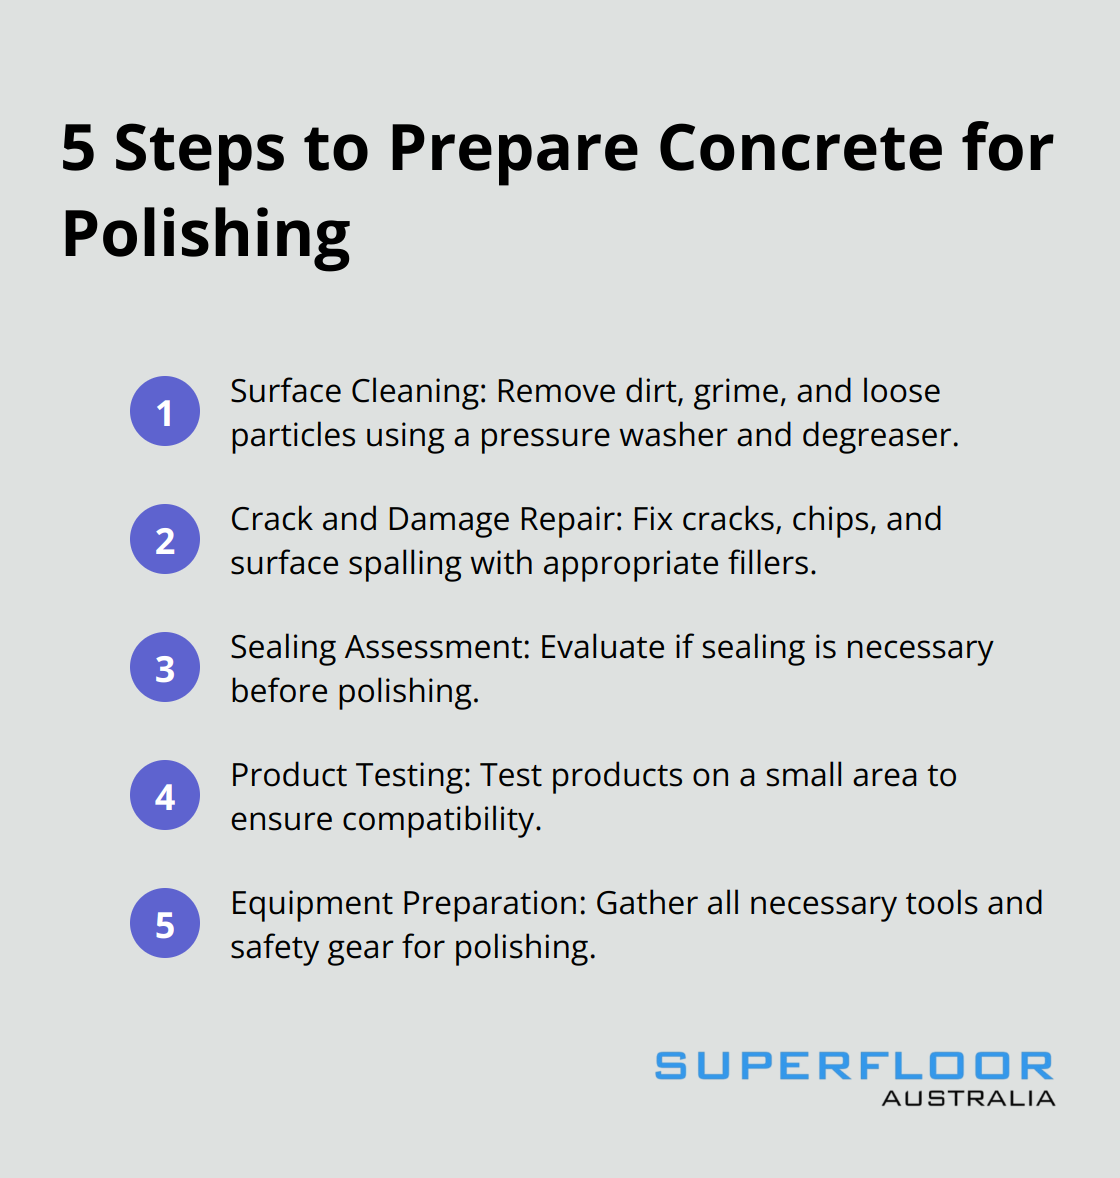
Surface Cleaning
Remove all dirt, grime, and loose particles from your concrete steps. Use a pressure washer to eliminate stubborn stains and debris. For oil or grease spots, apply a degreaser and scrub with a stiff-bristled brush. Rinse the surface thoroughly and allow it to dry completely. A clean surface ensures uniform polishing and prevents contaminants from interfering with the process.
Crack and Damage Repair
Inspect your steps for cracks, chips, or surface spalling. For small or shallow chips, divots and spalls, use cement-based patching mixtures. For larger damages, consider using epoxy fillers. Use a diamond grinder to level out uneven areas before filling, which will ensure a smooth surface for polishing.
Sealing Assessment
Evaluate if your concrete steps need sealing before polishing. Apply a penetrating sealer to new concrete or steps that haven’t been sealed recently. This will protect against moisture and stains. However, if you plan to use a densifier during the polishing process, sealing may not be necessary. (Most outdoor steps benefit from sealing to enhance durability and ease maintenance.)
Product Testing
Test any products on a small, inconspicuous area first to ensure compatibility with your concrete. This step prevents potential issues that could arise from using incompatible products on your entire staircase.
Equipment Preparation
Gather all necessary tools and equipment for the polishing process. This includes grinding tools, polishing pads of various grits, safety gear (goggles, dust masks, gloves), and any chemicals you plan to use. Having everything ready will streamline the polishing process and prevent interruptions.
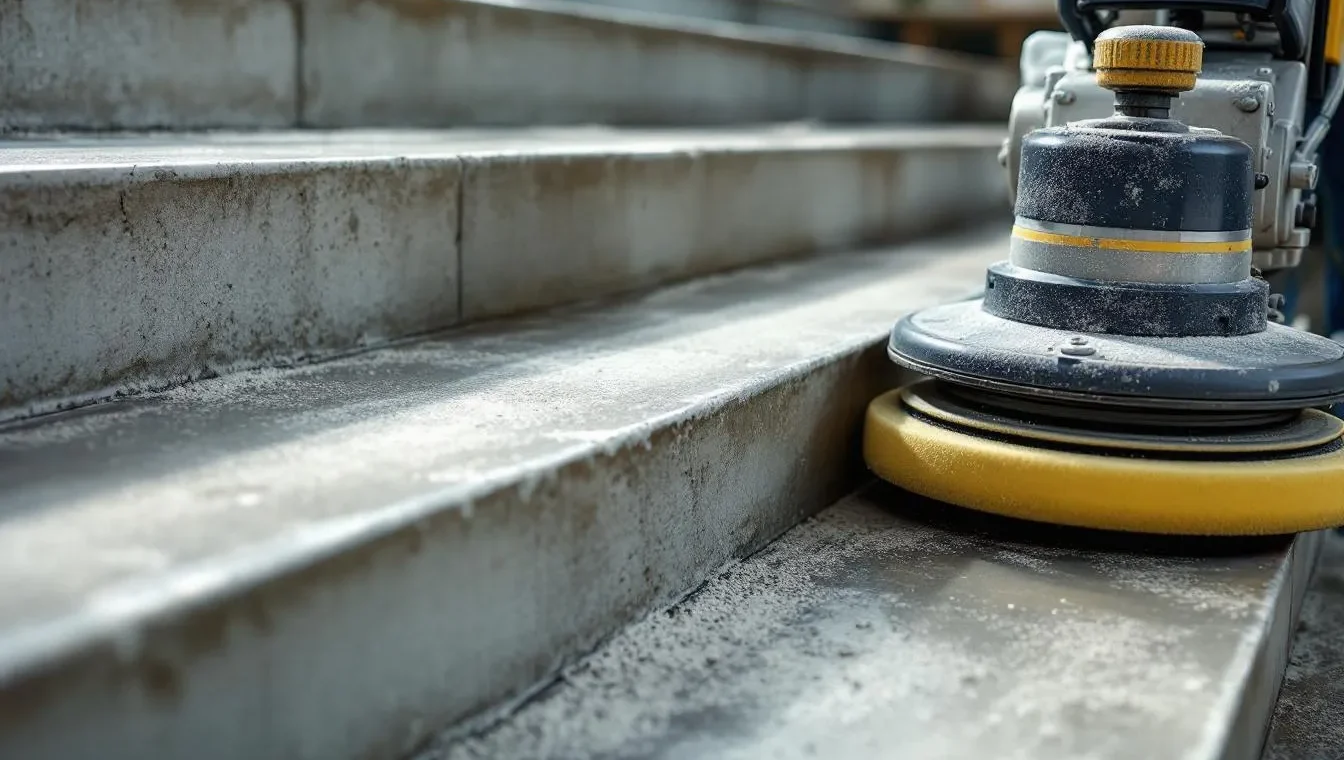
The next step in transforming your concrete steps involves the actual polishing process. This is where the real magic happens, turning your ordinary concrete into a smooth, glossy surface.
Mastering the Concrete Polishing Process
Selecting the Right Tools
The success of your polishing project hinges on your choice of equipment. For most residential steps, a handheld grinder with a 4 to 5-inch diameter works well. Larger projects might require walk-behind grinders. Your grinder should have variable speed control and a dust shroud for cleaner, more efficient work.
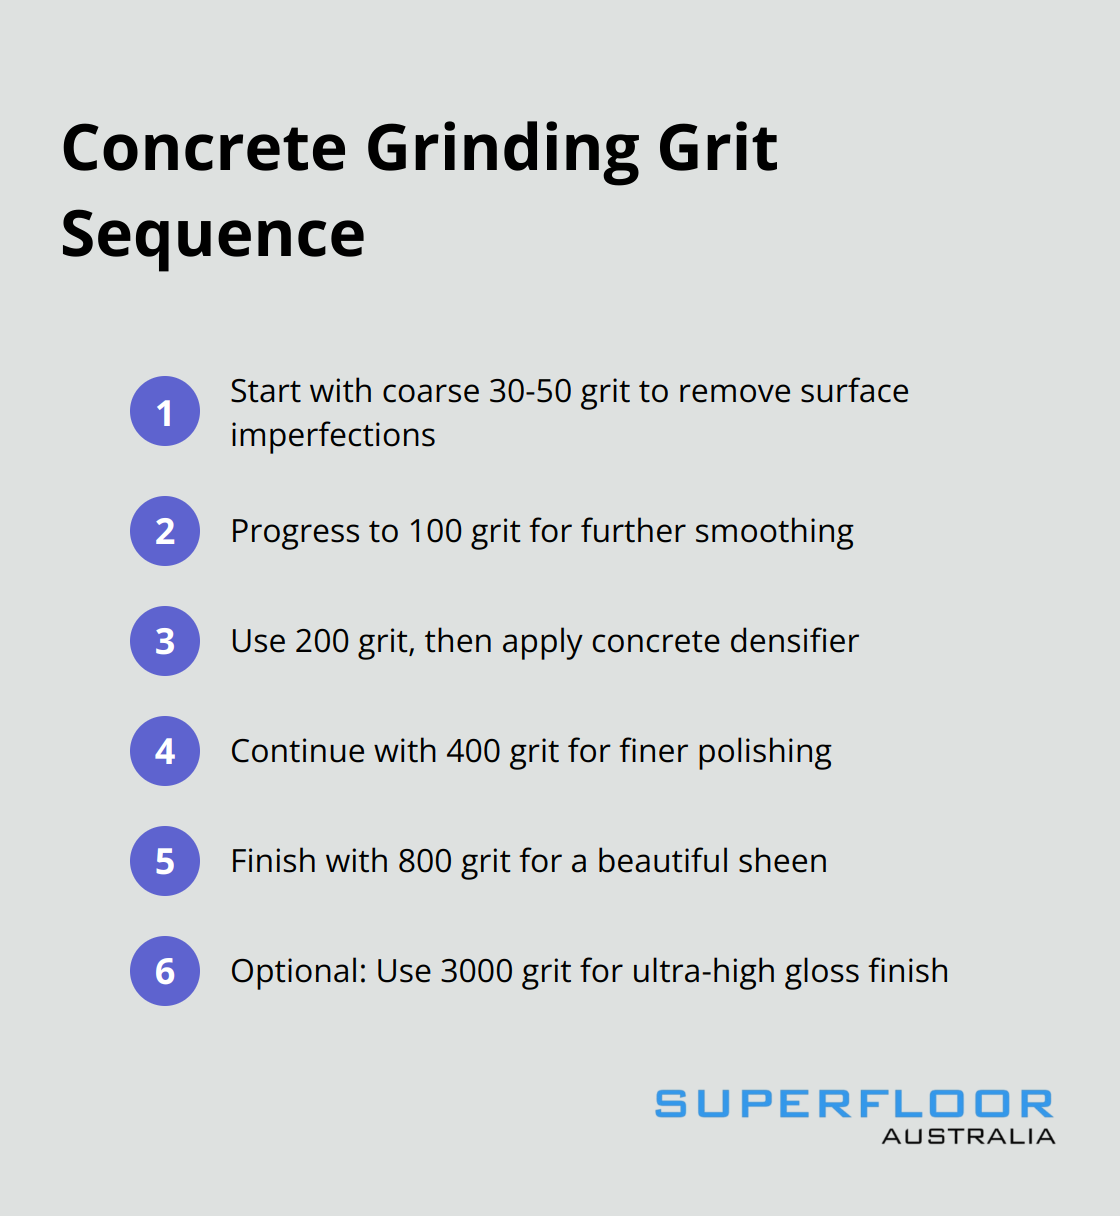
The Grinding Journey
Begin with a coarse diamond grinding pad (typically 30 to 50 grit). This initial grind removes minor surface imperfections and opens up the concrete’s pores. Work in small, overlapping sections, and maintain consistent pressure and speed.
Progress to finer grits. A common sequence includes 50, 100, 200, 400, and 800 grit. Each pass reveals more of the concrete’s natural beauty. The number of passes depends on your desired finish – matte, satin, or high-gloss. (Some professionals even go up to 3000 grit for an ultra-high gloss finish.)
Densifier Application
After the initial grinding stages (usually around 200 grit), apply a concrete densifier. This chemical solution penetrates the concrete and increases surface density by sealing pores. Apply the densifier evenly and follow the manufacturer’s instructions for drying time. This step creates a harder, denser surface.
Fine-Tuning the Finish
Once the densifier cures, continue with finer grit pads. The higher the grit number, the more reflective your finish will be. For outdoor steps, try stopping at 800 or 1500 grit to maintain some slip resistance while still achieving a beautiful sheen.
Polishing Techniques
Develop a consistent technique as you polish. Move the grinder in a steady, overlapping pattern to ensure even coverage. Pay extra attention to edges and corners, which often require more work. (Use smaller hand tools for these hard-to-reach areas if necessary.)
Polishing concrete transforms ordinary surfaces into stunning features. This process involves numerous steps, including “sanding down” the concrete until the surface is very smooth. The process requires patience and precision, but the results are worth the effort. As you move to the final stages, you’ll see your steps take on a whole new level of beauty and durability.
Perfecting Your Polished Concrete Steps
Ultra-Fine Polishing
To achieve a mirror-like finish, use ultra-fine grit pads. Start with 1500 grit and progress to 3000 grit for outdoor steps. This process smooths out remaining imperfections and brings out the full lustre of your concrete. Work in small, overlapping sections to ensure even coverage.
Protective Coating Application
After polishing, protect your work with a clear concrete sealer or polyurethane finish. This step shields outdoor steps against UV rays, moisture, and everyday wear. Use a microfibre applicator to spread the coating evenly. Start at the top of the steps and work your way down, applying thin, even coats. Most coatings require at least two layers for optimal protection.
Curing Time
Allow sufficient curing time for both the polish and protective coating. While some products may feel dry within hours, full curing can take up to 72 hours. Keep foot traffic off the steps and protect them from moisture during this period. Proper curing extends the life of polished concrete significantly.
Final Inspection
Conduct a thorough inspection of your polished steps once the curing process completes. Check for any missed spots or imperfections. Address these areas promptly to ensure a uniform finish. Pay extra attention to edges and corners, as these areas often require additional care.
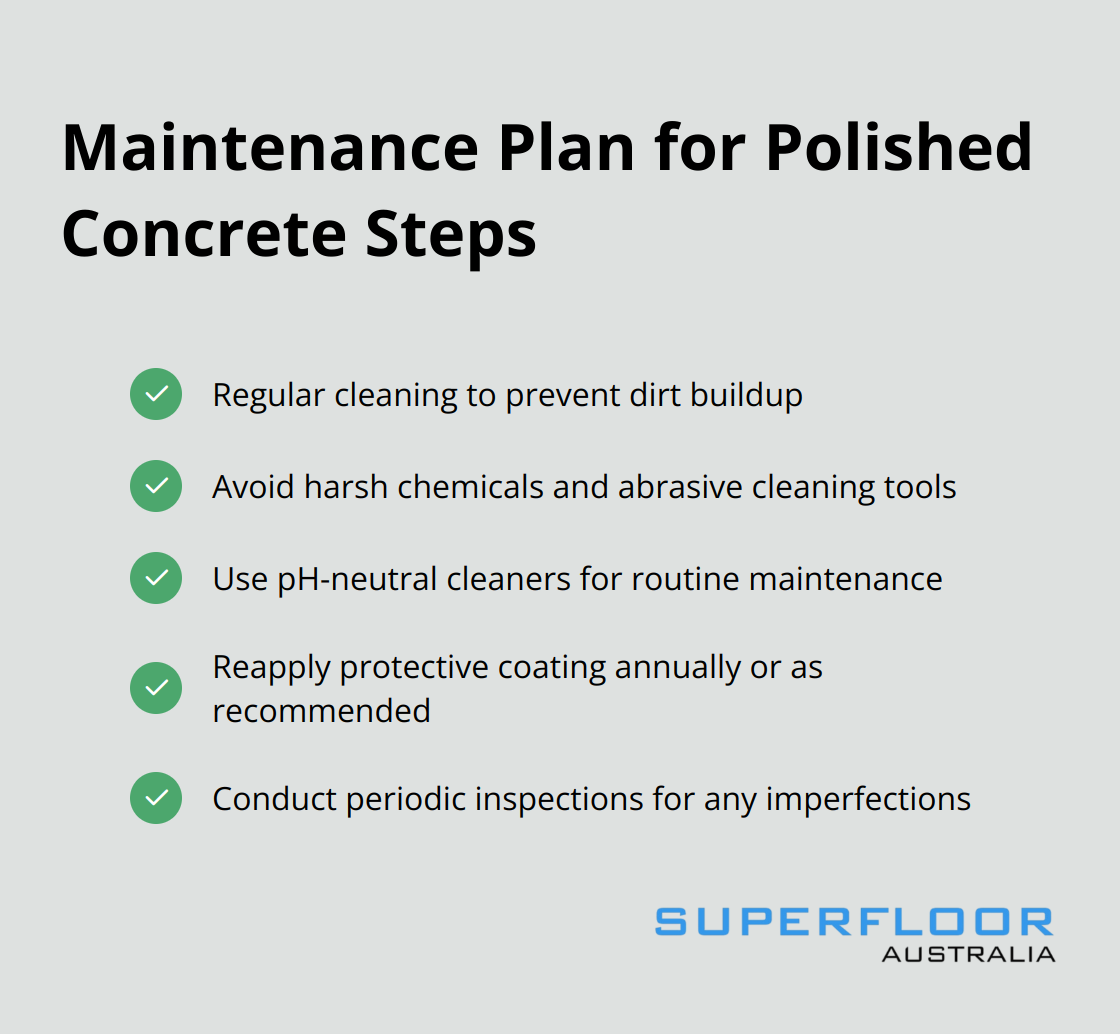
Maintenance Plan
Establish a maintenance plan to preserve the beauty of your polished concrete steps. Regular cleaning with neutral cleaners will prevent dirt buildup and maintain the shine. Avoid harsh chemicals or abrasive cleaning tools that could damage the polished surface. Reapply the protective coating annually or as recommended by the manufacturer to ensure long-lasting protection.
Final Thoughts
Polishing concrete steps transforms outdoor spaces, enhancing durability and visual appeal. The process involves thorough preparation, meticulous grinding, and protective finishing. These steps create a stain-resistant, low-maintenance surface that adds elegance to any property.
Regular maintenance preserves the beauty of polished concrete steps. Sweep and mop with pH-neutral cleaners to keep them pristine. Avoid harsh chemicals and reapply protective coatings annually (or as recommended) to maintain optimal protection against wear and environmental factors.
We at Superfloor Australia specialise in high-quality polished concrete solutions for various applications. Our team provides guidance and services to achieve exceptional results for both indoor and outdoor spaces. Contact us to learn how we can help you create stunning, long-lasting polished concrete steps for your property.