At Superfloor Australia, we’ve seen countless old concrete floors transformed into stunning surfaces.
Polishing old concrete floors is a cost-effective way to breathe new life into tired spaces. This process not only enhances aesthetics but also improves durability and ease of maintenance.
In this guide, we’ll walk you through the steps to achieve a fresh, polished look for your aged concrete floors.
How to Prepare Old Concrete Floors for Polishing
Proper preparation of old concrete floors is essential for a successful polishing project. This step can significantly impact the final result, so it’s important to approach it with care and attention to detail.
Assessing Floor Condition
The first step in preparing old concrete for polishing is a thorough assessment. Look for cracks, chips, and uneven areas. Large cracks or extensive damage might require professional repair before polishing can begin. Check for any signs of moisture issues, as these can affect the polishing process and final outcome.
Cleaning and Repairing
Once you’ve assessed the floor, it’s time to clean and repair. Start by removing all dirt, grime, and debris using industrial-strength cleaners and power washers. For stubborn stains, you might need to use specialised cleaning solutions.
Next, address any cracks or damage. Small cracks can often be filled with epoxy or other suitable fillers. Larger cracks or extensive damage might require more substantial repairs. It’s important to match the repair material to the existing concrete for the best results.
Removing Existing Coatings
Many old concrete floors have existing coatings or sealers that need to be removed before polishing. This process, known as scarification, involves using specialised equipment to mechanically remove these layers.
For tougher coatings, chemical strippers might be necessary. However, mechanical removal is often preferable (when possible), as it’s more environmentally friendly and often more effective.
Levelling the Surface
After cleaning and repairing, the next step is to level the surface. This process involves grinding down high spots and filling in low spots to create a smooth, even surface. Proper levelling is essential for achieving a uniform polish across the entire floor.
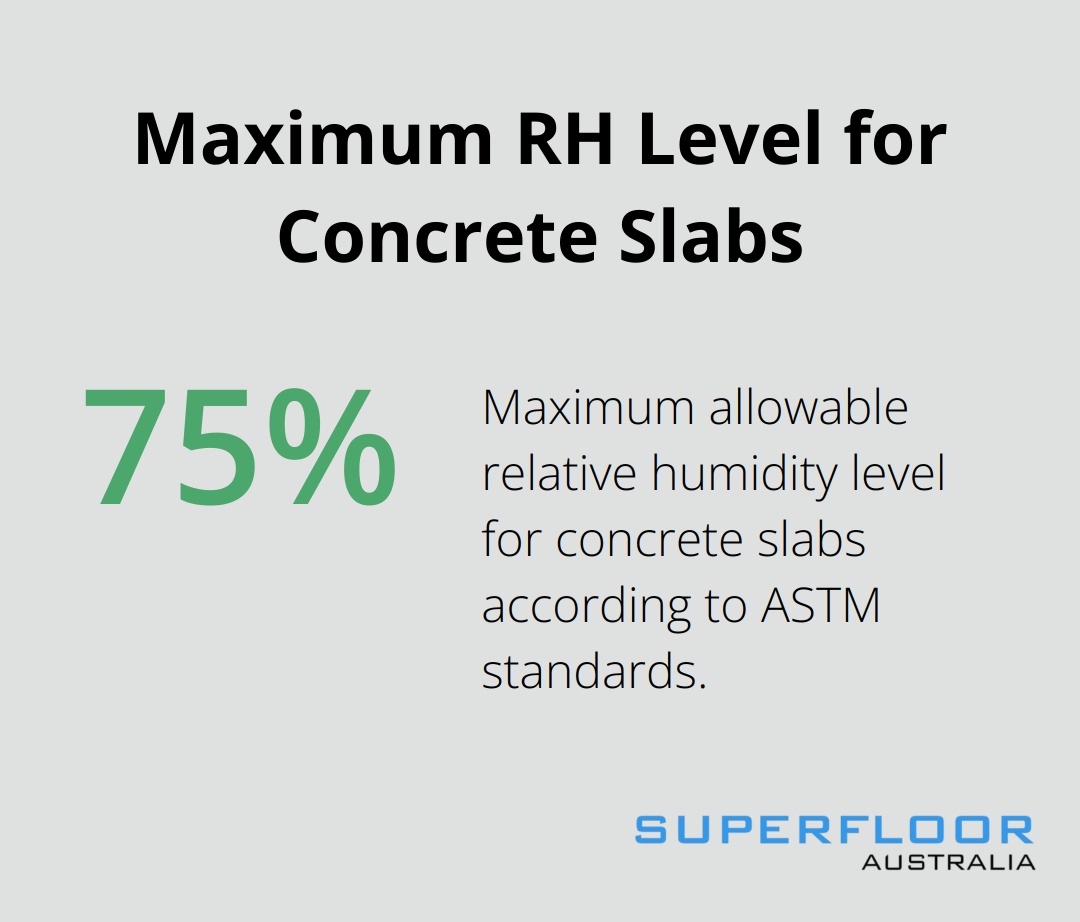
Moisture Testing
Before proceeding with polishing, it’s crucial to conduct moisture tests. Excess moisture in the concrete can lead to issues with the polishing process and the longevity of the finished floor. According to ASTM standards, when testing via ASTM F2170, the RH level of a concrete slab needs to be at or below 75%. If moisture levels are too high, you may need to address this issue before moving forward.
With these preparation steps complete, your old concrete floor is now ready for the exciting transformation that polishing will bring. The next phase involves the actual polishing process, where the true beauty of your concrete floor will begin to emerge.
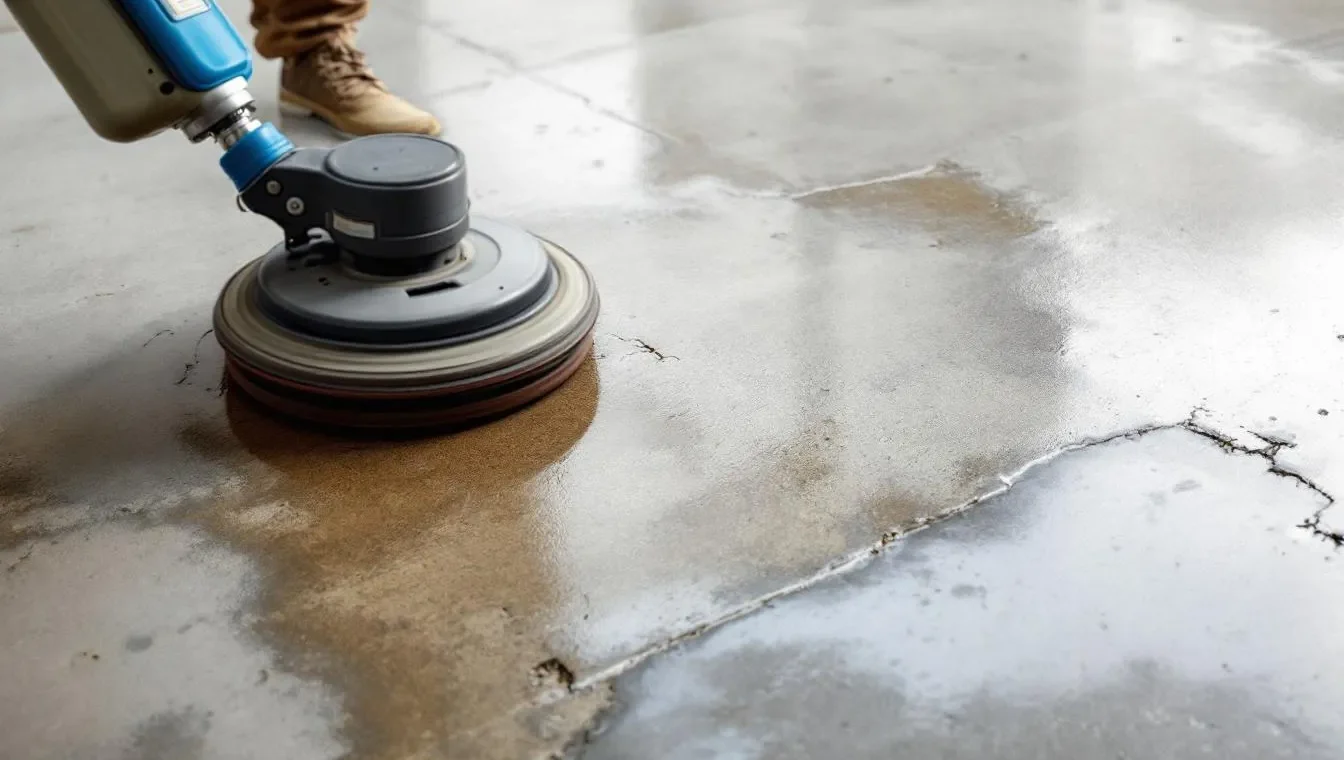
How Concrete Polishing Works
Concrete polishing transforms old, dull concrete into a smooth, glossy surface through a multi-step process. This technique has been refined to achieve stunning results for clients in Brisbane and beyond.
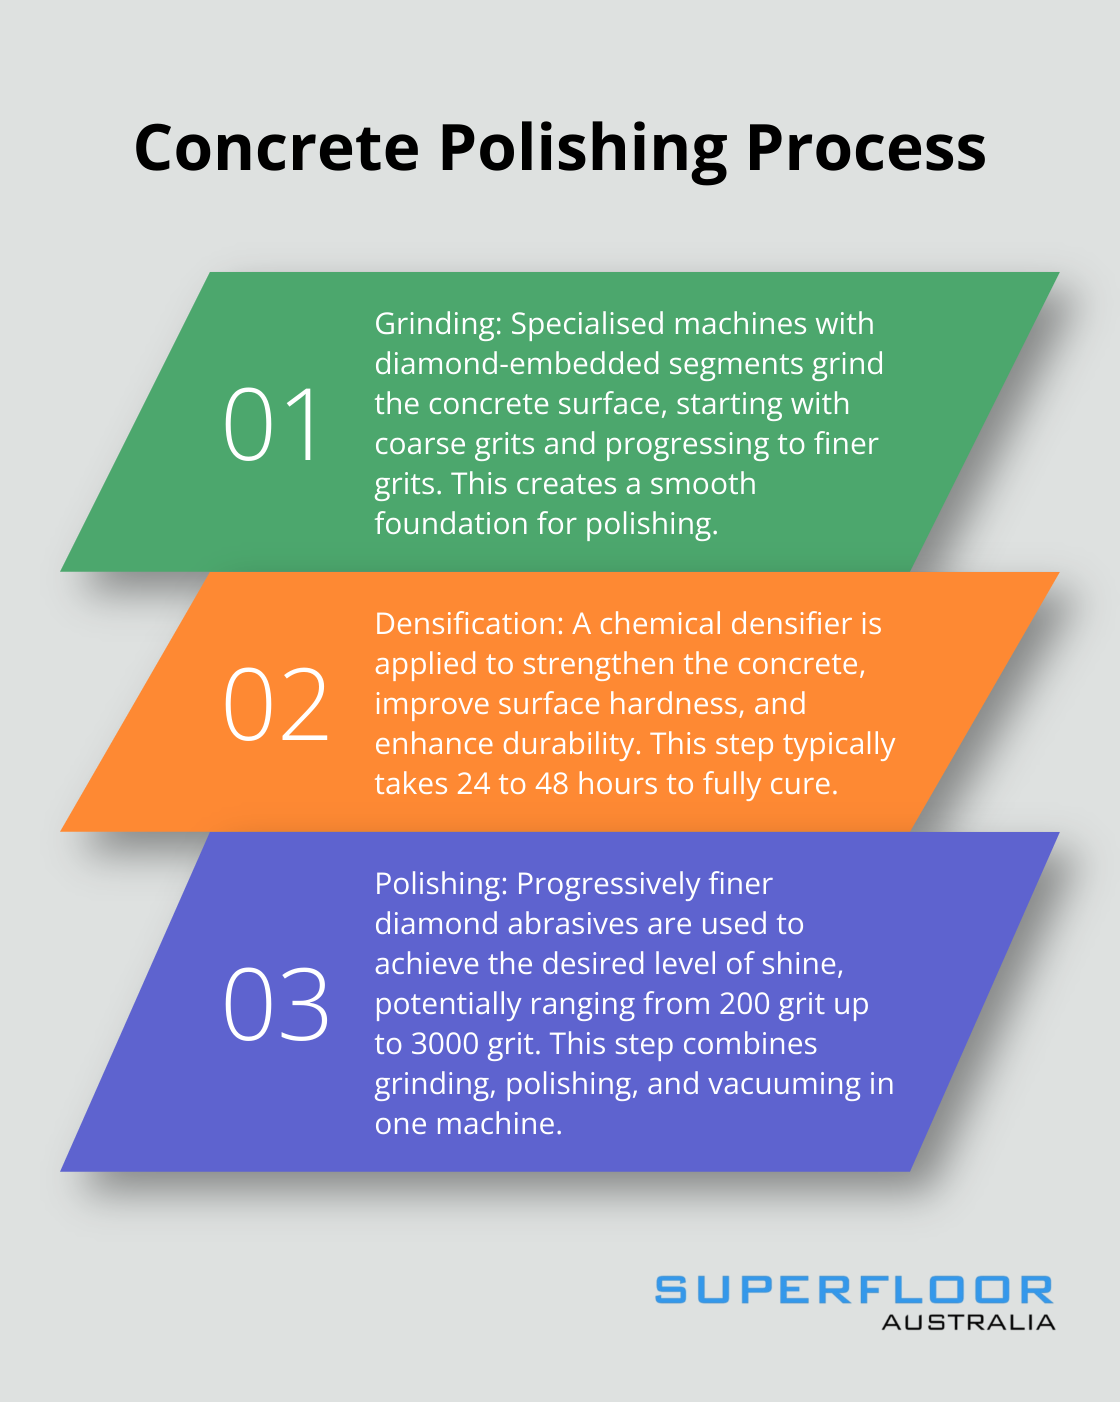
Grinding: The Foundation of Polishing
The process starts with grinding the concrete surface. Specialised machines equipped with diamond-embedded segments grind away the top layer of the concrete. This step removes imperfections and creates a smooth canvas for polishing.
The grinding begins with coarse-grit diamonds (typically 30 to 40 grit). As the process advances, finer grits are used, moving up to 80, then 150, and even higher. Each pass eliminates scratches left by the previous grit, resulting in an increasingly smooth surface.
Densification: Strengthening the Concrete
After the initial grinding stages, a chemical densifier is applied to the concrete. This liquid penetrates the surface and improves surface hardness, durability, and resistance to wear and moisture.
The densification process is essential for achieving a high-quality polish. It not only strengthens the concrete but also helps to close the pores, reducing the floor’s porosity. This step typically takes 24 to 48 hours to fully cure (depending on environmental conditions).
Polishing: Achieving the Desired Shine
Once the densifier has cured, the polishing phase begins. This involves the use of progressively finer diamond abrasives, starting where the grinding phase ended. The process might begin with 200 grit and work up to 400, 800, 1500, or even 3000 grit, depending on the desired level of shine.
The level of shine is measured in distinct categories. After grinding, concrete floors are honed and polished using different levels of diamond grit to achieve the desired gloss or shine level. The finer the diamond, the higher the shine.
Throughout the polishing process, specialised equipment combines grinding, polishing, and vacuuming in one machine. This Minimises dust and keeps the work area clean (particularly important for indoor projects).
The entire polishing process can take several days, depending on the size of the area and the level of polish desired. However, the results justify the time investment. A properly polished concrete floor can last for decades with minimal maintenance, offering both beauty and durability.
With the polishing process complete, the next step involves enhancing the newly polished concrete floor to truly make it shine and stand out.
How to Enhance Your Polished Concrete Floor
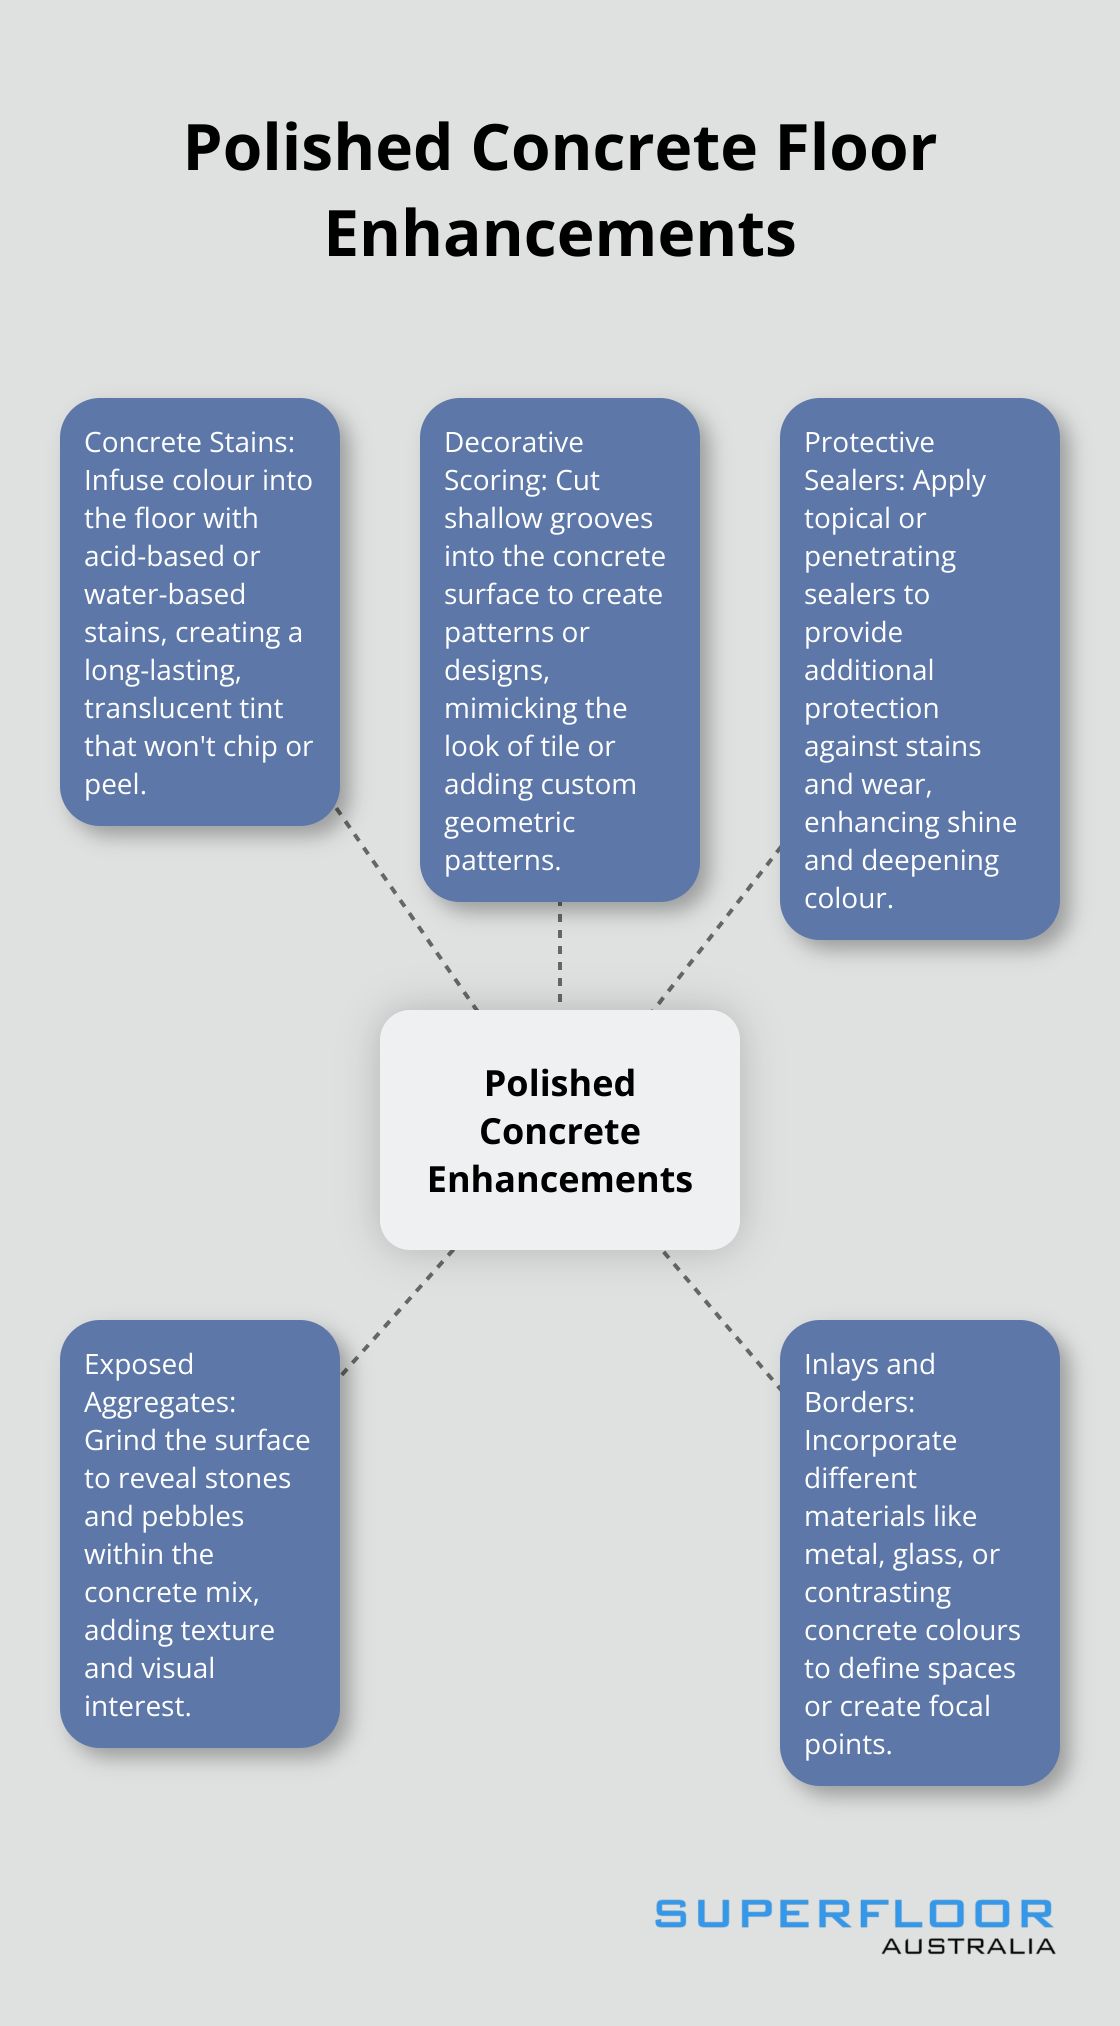
Adding Colour with Concrete Stains
Concrete stains infuse colour into your polished floor. Unlike paint, stains penetrate the concrete, creating a long-lasting, translucent tint that won’t chip or peel. You can choose from acid-based or water-based stains.
Acid stains are limited to rust and browns (including very dark browns), blues, and greens due to the chemical nature of the stain. Water-based stains offer a wider colour palette, including vibrant hues.
Always test stains in an inconspicuous area first. The final colour can vary depending on the concrete’s composition and age. For best results, apply stains after the initial grinding but before the final polishing steps.
Creating Patterns with Decorative Scoring
Decorative scoring involves cutting shallow grooves into the concrete surface to create patterns or designs. This technique can mimic the look of tile, add geometric patterns, or create custom designs.
Score the concrete after the initial grinding but before applying densifiers or final polishing. The depth of the cuts usually ranges from 1/16 to 1/4 inch. Shallower cuts tend to disappear during polishing, while deeper cuts remain more prominent.
Popular scoring patterns include grids, diamonds, and borders. More complex designs might incorporate curves or even company logos. Engraving, scoring, cutting, and stencilling are just a few ways that polished concrete can be customised in addition to colouring.
Protecting Your Polished Concrete with Sealers
While polished concrete is already quite durable, applying a sealer can provide additional protection against stains and wear. Sealers also enhance the floor’s shine and can deepen the colour of stained concrete.
Two main types of sealers exist for polished concrete: topical sealers and penetrating sealers. Topical sealers form a protective film on the surface, while penetrating sealers soak into the concrete.
For polished concrete, penetrating sealers are often preferred as they don’t change the floor’s appearance or slip resistance. Apply sealers after the final polishing step for best results.
Try to reapply sealers every 3-5 years (depending on traffic and wear). Regular maintenance, including daily dust mopping and weekly damp mopping with a pH-neutral cleaner, will help preserve your enhanced polished concrete floor for years to come.
Customising with Aggregates
Expose aggregates in your polished concrete floor to add texture and visual interest. This process involves grinding the surface to reveal the stones and pebbles within the concrete mix.
The level of aggregate exposure can range from minimal (salt and pepper finish) to full exposure. The choice depends on your aesthetic preferences and the intended use of the space.
Exposed aggregate floors offer excellent slip resistance, making them ideal for high-traffic areas or outdoor spaces. The textured surface makes it ideal for pool areas, pathways, and other outdoor applications where slip resistance is essential.
Incorporating Inlays and Borders
Add a touch of elegance to your polished concrete floor with inlays and borders. These design elements can incorporate different materials like metal, glass, or contrasting concrete colours.
Inlays and borders are typically installed during the concrete pouring process or cut into existing concrete before polishing. They can define spaces, create focal points, or add a decorative touch to your floor.
The cost of inlays and borders varies widely based on the materials used and the complexity of the design. Simple borders might start at $5 per linear foot, while intricate inlays can cost significantly more.
Final Thoughts
Polishing old concrete floors transforms dull surfaces into stunning, durable showpieces. The process involves thorough preparation, grinding, densifying, and polishing to achieve the desired level of shine. Enhancement options like staining, decorative scoring, and sealing allow for customisation that suits any aesthetic preference.
This cost-effective solution improves visual appeal, increases durability, and simplifies maintenance. Polished concrete resists stains, dust, and allergens, making it ideal for residential and commercial environments. The reflective surface can enhance lighting, potentially reducing energy costs (an added bonus for eco-conscious property owners).
We at Superfloor Australia specialise in high-quality polished concrete flooring solutions in Brisbane. Our expertise ensures that your old concrete floors can become beautiful, long-lasting surfaces that enhance any space. Polishing old concrete floors offers a sustainable, attractive, and practical flooring solution that stands the test of time.