Worn concrete floors don’t have to stay that way. Resurfacing concrete floors transforms damaged surfaces into smooth, attractive flooring that can last decades.
We at Superfloor Australia see homeowners and businesses achieve remarkable results with the right techniques. This guide walks you through every step of the process, from initial assessment to final finishing touches.
Preparation and Assessment of Concrete Floors
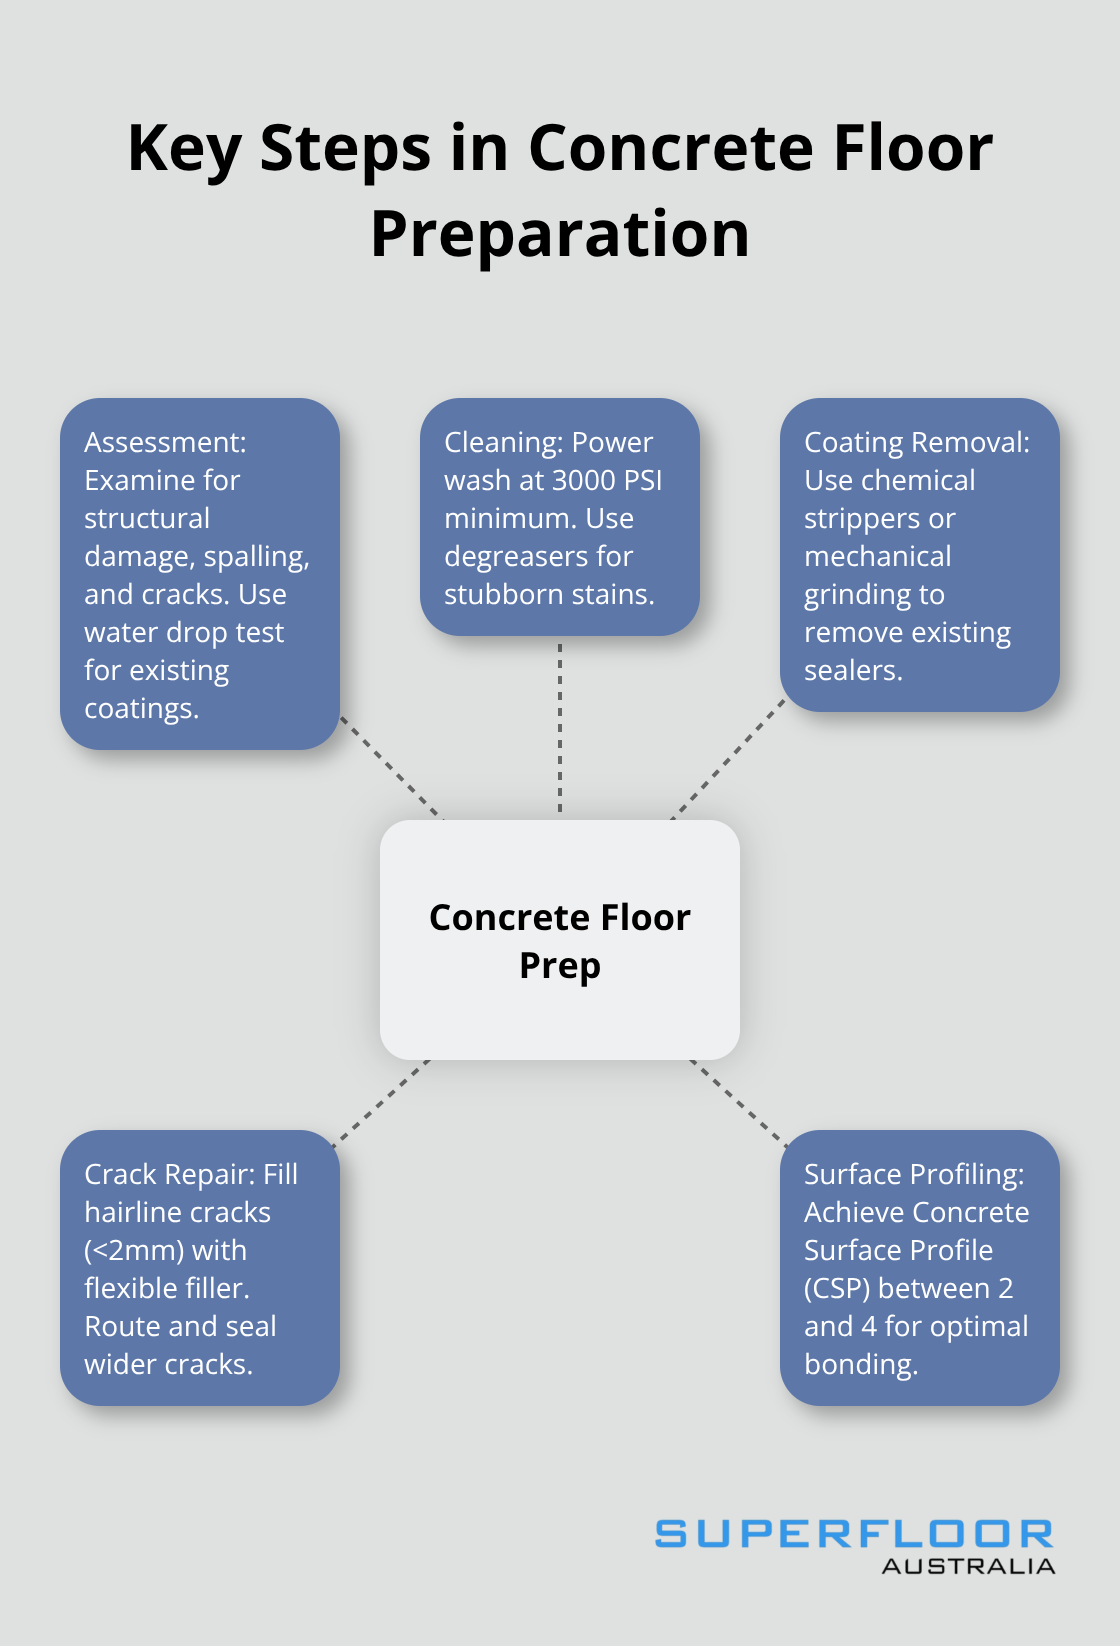
Proper assessment separates successful projects from costly failures. Start by examining your concrete surface for structural damage, spalling deeper than 6mm, or extensive cracks that indicate foundation issues. These problems require professional repair before any work begins. Check for oil stains, paint residue, or existing sealers with the water drop test – if water beads instead of absorbs within 30 seconds, coatings must be removed first.
Surface Condition Assessment
Walk the entire area and mark problem spots with chalk. Look for loose concrete, scaling, or areas where the surface crumbles under pressure. Test adhesion by scratching the surface with a coin – sound concrete won’t powder or flake. Measure crack widths with a ruler; anything over 3mm needs structural repair with epoxy injection or routing and sealing. Document moisture issues by taping plastic sheets to different areas overnight – condensation underneath indicates moisture problems that will cause failure.
Cleaning and Coating Removal
Power wash the surface at 3000 PSI minimum, working systematically from one end to the other. For stubborn stains, apply industrial degreasers and scrub with stiff brushes before you pressure wash again. Remove existing sealers with chemical strippers or mechanical grinding – half-measures here guarantee poor adhesion. The concrete surface preparation industry standard requires you achieve a Concrete Surface Profile between CSP-2 and CSP-4 for optimal bonding. Acid etching with muriatic acid creates the necessary surface roughness when mechanical methods aren’t practical.
Crack and Defect Repair
Fill hairline cracks under 2mm with flexible concrete crack filler applied with a caulk gun. Wider cracks need routing to create a V-groove, then fill with structural repair mortar mixed to manufacturer specifications. Allow 24 hours minimum cure time before you proceed. Patch holes and spalled areas with polymer-modified repair compound, feathering edges to blend with surrounding concrete (this prevents visible repair lines). Test repairs by tapping with a hammer – hollow sounds indicate poor bonding that will fail under the new surface.
Once you complete these preparation steps and verify all repairs have cured properly, you can select the appropriate materials and methods for your specific project requirements.
Resurfacing Methods and Materials
Concrete overlays dominate the resurfacing market because they deliver superior performance at reasonable costs. Polymer-modified overlays contain acrylic or latex additives that enhance performance and sustainability compared to standard cement mixes. These systems typically cost between $3-8 per square metre and handle foot traffic within 6 hours. Ardex CD and Mapei Ultraplan products represent industry standards, with compressive strengths that exceed 25 MPa after 28 days. Spray-applied overlays work best for decorative patios where texture variation adds visual interest, while trowel-applied systems suit high-traffic commercial areas that require uniform thickness.
Self-Levelling Compounds for Perfect Results
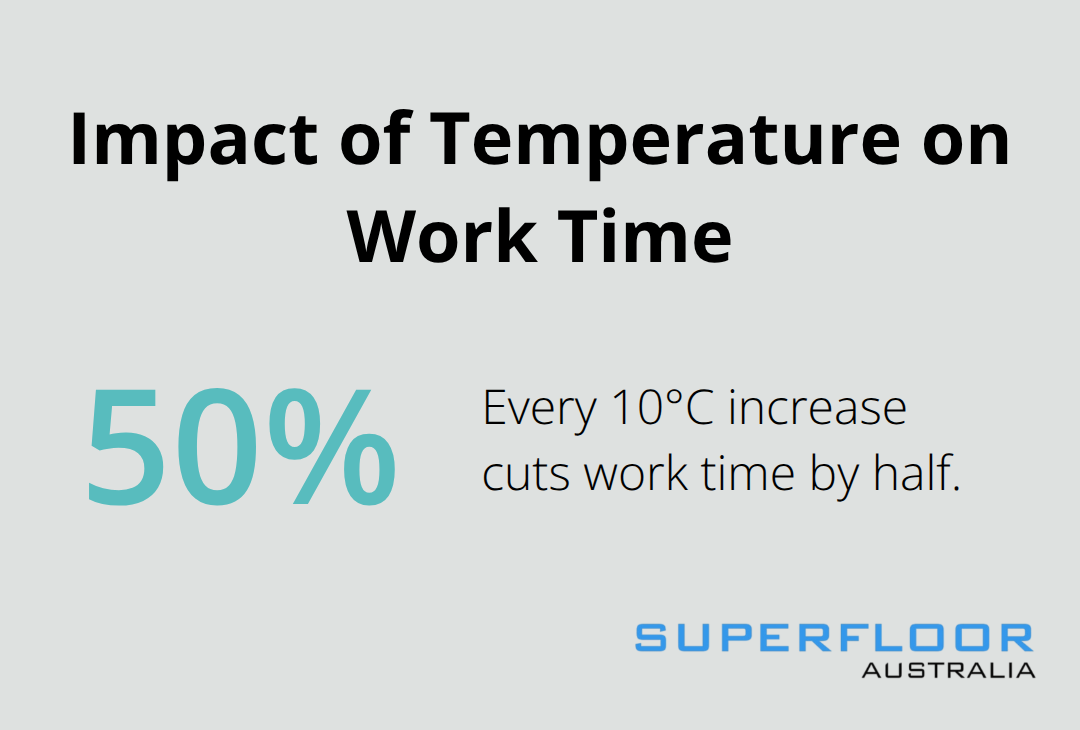
Self-levelling compounds eliminate the guesswork from flat surface achievement. These commercial grade products provide outstanding flow and workability and accept foot traffic in 2-4 hours (depending on thickness). Mapei Novoplan and Sika Level systems can be applied from 2mm to 25mm thickness in single pours. The key advantage lies in their ability to correct substrate irregularities automatically – something manual trowelling cannot match consistently. Mix ratios matter here; too much water reduces strength by 30%, while insufficient water prevents proper flow. Temperature affects work time dramatically – every 10°C increase cuts work time by half.
Decorative Options That Endure
Integral colour systems outperform surface-applied stains in durability and colour consistency. Iron oxide pigments added during mix create permanent colouration that produces rich and durable colours in concrete. Popular choices include warm greys, earth tones, and charcoal blacks that complement modern interior design trends. Textured finishes use broomed, stamped, or exposed aggregate techniques to add slip resistance and visual appeal. Acrylic concrete stains penetrate 2-3mm deep and react chemically with concrete to create permanent colour changes. These stains cost approximately $0.50-1.20 per square metre and require acid neutralisation before sealing (which adds processing time but improves longevity).
With your material selection complete, the next step involves proper surface preparation and application techniques that determine project success.
Step-by-Step Resurfacing Process
Temperature and Environmental Controls
Temperature control determines project success or failure. Work when ambient temperatures stay between 10°C and 27°C – outside this range, curing problems multiply exponentially. Humidity levels above 85% slow cure times and create surface defects. Wind speeds over 15 km/h cause rapid moisture loss that leads to surface cracking within hours.
Check weather forecasts 48 hours ahead and plan accordingly. Avoid work during temperature swings greater than 10°C within 24 hours (this causes thermal stress in fresh surfaces).
Surface Preparation and Primer Application
Apply bonding primer at 150-200 square metres per litre with a microfibre roller to achieve uniform coverage. Acrylic bonding agents like Sika Primer-3N create mechanical adhesion that exceeds 2.5 MPa bond strength when applied correctly. Roll in overlapping W-patterns to eliminate streaks and missed spots.
Wait exactly 30-60 minutes after primer application before you start resurfacing. Too early causes delamination, too late reduces bond strength by 40%. Test primer tackiness with your finger – it should feel slightly sticky but not wet.
Material Preparation and Mixing
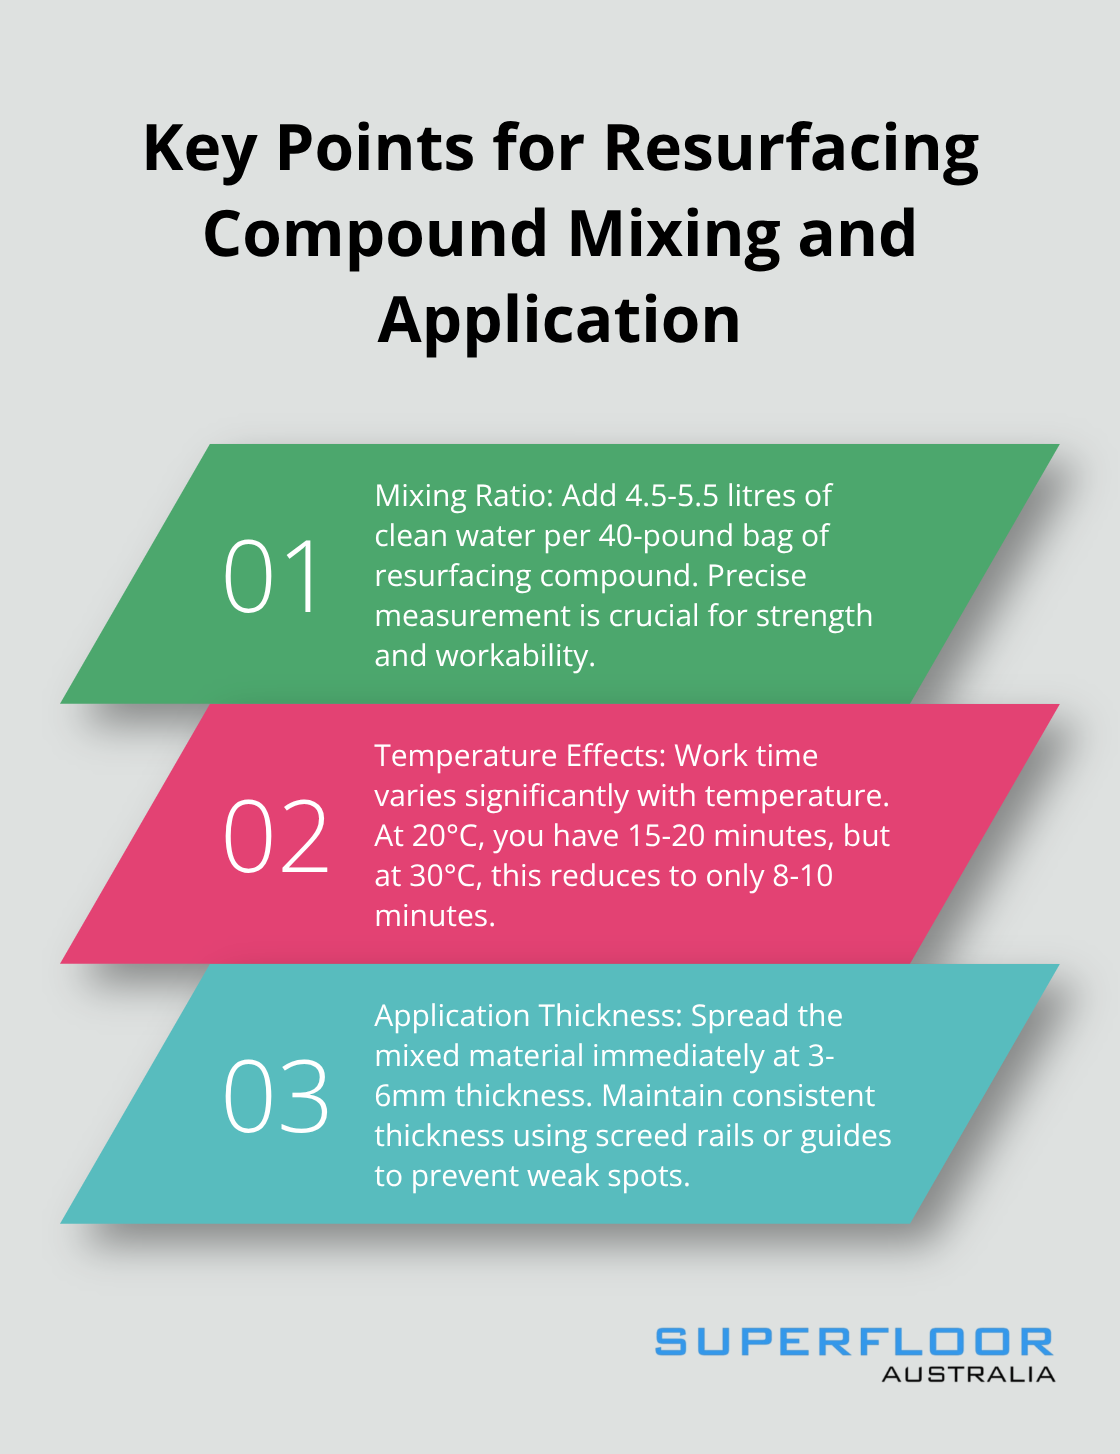
Mix resurfacing compound in 20kg batches maximum to maintain workability. Add exactly 4.5-5.5 litres of clean water per 40-pound bag – deviation by even 200ml compromises strength and workability significantly. Use a paddle mixer at 400-600 RPM for 3-5 minutes until you achieve pancake batter consistency.
Temperature affects work time dramatically. You get 15-20 minutes at 20°C but only 8-10 minutes at 30°C. Mix only what you can apply within these timeframes to prevent waste and cold joints.
Application and Spreading Techniques
Pour mixed material immediately and spread with a magic trowel or squeegee at 3-6mm thickness. Work systematically in 2-metre strips to maintain wet edges and prevent cold joints. Start from the furthest corner and work toward your exit point.
Maintain consistent thickness by using screed rails or guides. Uneven application creates weak spots that fail under traffic loads within months.
Surface Finishing and Texture Creation
Float the surface immediately after application with overlapping circular motions to eliminate trowel marks and air bubbles. Add slip-resistant texture with a broom finish while the material remains plastic. Wait too long and you create weak surface layers that wear prematurely.
Protect from direct sunlight and wind with plastic sheeting during the first 4 hours. Foot traffic becomes safe after 6-8 hours, but wait 24-48 hours before heavy loads. Mist spray the surface every 2 hours during hot weather to prevent rapid moisture loss.
Final Thoughts
Successful resurfacing concrete floors depends on three key factors: thorough surface preparation, proper material selection, and environmental control during application. Temperature management between 10°C and 27°C prevents 90% of common failures, while CSP-2 to CSP-4 surface profiles guarantee optimal adhesion. Projects that skip primer application or rush cure times typically fail within 12 months.
Maintenance extends surface life dramatically. Daily sweeps and weekly cleaning with pH-neutral cleaners prevent abrasive buildup. Reapply penetrating sealers every 2-3 years to maintain stain resistance (properly maintained resurfaced floors last 15-20 years compared to 8-10 years without regular care).
Consider professional services for areas exceeding 100 square metres, structural repairs, or when moisture issues exist. Complex projects require specialised equipment and experience that DIY approaches cannot match. We at Superfloor Australia deliver expert concrete floor solutions with precision preparation and professional craftsmanship.