
At Superfloor Australia, we know that polishing stained concrete floors can transform any space into a stunning showcase.
This guide will walk you through the professional techniques we use to achieve a flawless finish.
From preparation to the final touches, we’ll share our expert tips to help you polish your stained concrete floors like a pro.
How to Prepare Stained Concrete for Polishing
At Superfloor Australia, we understand that proper preparation forms the foundation of a successful concrete polishing project. Before you start polishing your stained concrete floor, you must ensure it’s in optimal condition. Here’s our expert guide on how to prepare your stained concrete floor for polishing.
Assess Floor Condition
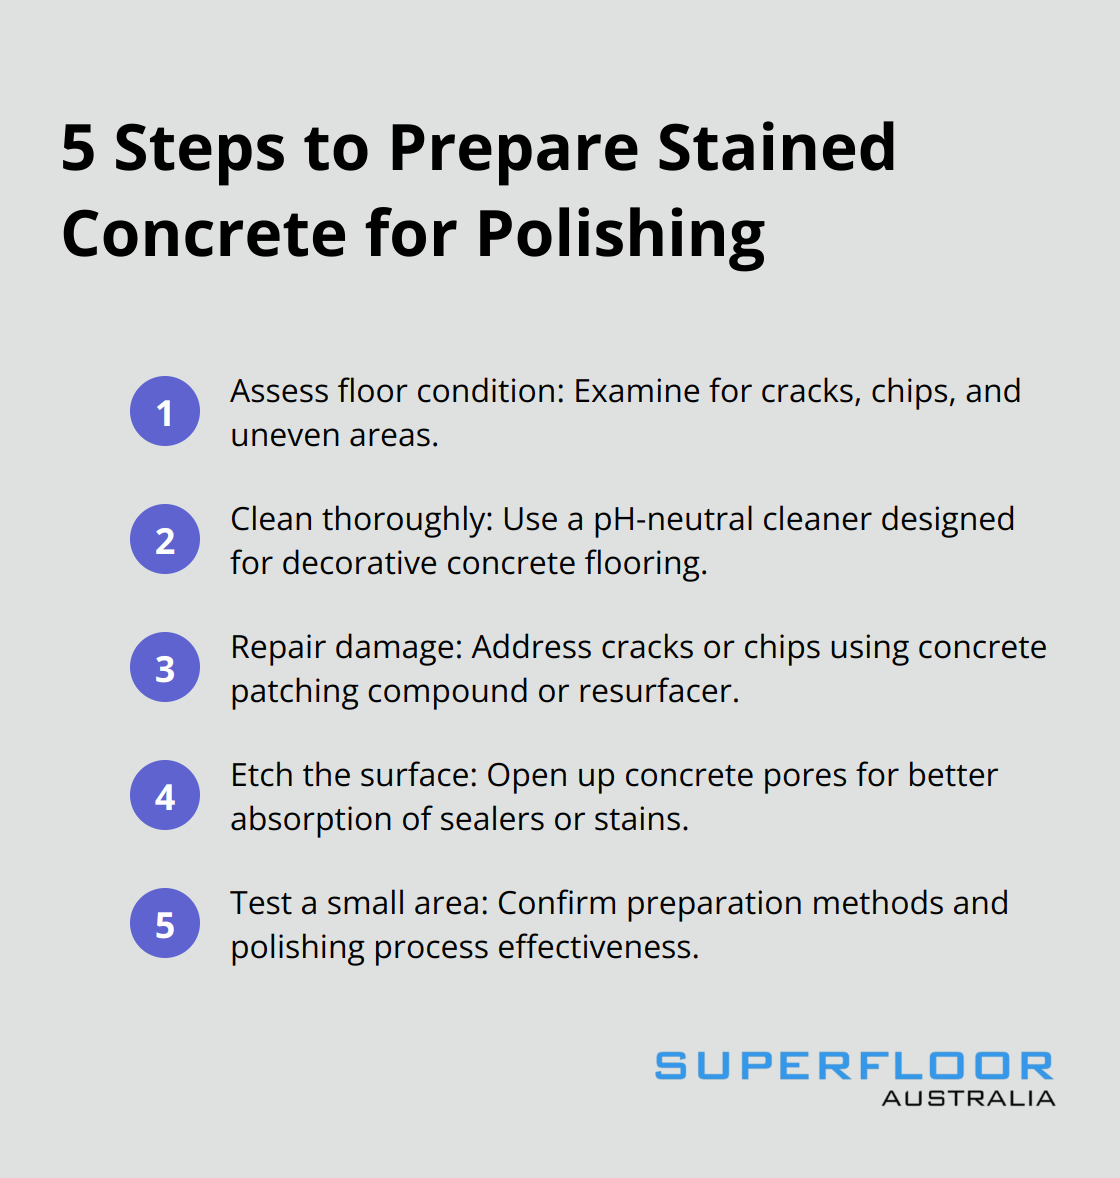
First, examine your floor closely. Look for cracks, chips, and uneven areas. This thorough assessment will help you plan your approach and determine if you need to make any repairs before polishing.
Clean Thoroughly
Next, clean the floor thoroughly. Use a pH-neutral cleaner specifically designed for decorative concrete flooring. Avoid harsh cleaning products such as ammonia, citrus, bleach, vinegar, or pine cleaners as they could damage the concrete. For tough stains, you might need to use a degreaser or a specialised concrete cleaner. After cleaning, rinse the floor thoroughly and allow it to dry completely.
Repair Damage
If you found any cracks or chips during your assessment, address them now. Use a concrete patching compound to fill in any cracks or holes. For larger damages, you might need to use a concrete resurfacer. Follow the manufacturer’s instructions carefully and allow adequate drying time before you proceed.
Etch the Surface
In some cases, you might need to etch the surface to ensure the polishing process is effective. Acid etching opens up the pores of the concrete surface, which prepares it for better absorption of sealers or stains. This process involves the use of chemicals, so exercise caution and follow safety guidelines.
Test a Small Area
Before you proceed with the full polishing process, test your approach on a small, inconspicuous area of the floor. This step will help you confirm that your preparation methods are effective and that the polishing process will yield the desired results. It’s a small investment of time that can save you from potential disappointment or costly mistakes later on.
Now that you’ve properly prepared your stained concrete floor, you’re ready to move on to the actual polishing process. The next section will guide you through the steps of polishing your stained concrete floor to achieve that professional, glossy finish.
How to Polish Stained Concrete Floors
At Superfloor Australia, we have mastered the art of polishing stained concrete floors. This process demands precision, patience, and the right tools. Follow our step-by-step guide to achieve that professional, glossy finish you desire.
Selecting the Right Equipment
You’ll need a concrete grinder to start. For DIY projects, a walk-behind grinder usually suffices. However, larger areas or commercial projects require ride-on grinders for efficiency. You’ll also need a set of diamond grinding pads in various grits, from coarse to ultra-fine.
The Grinding Process
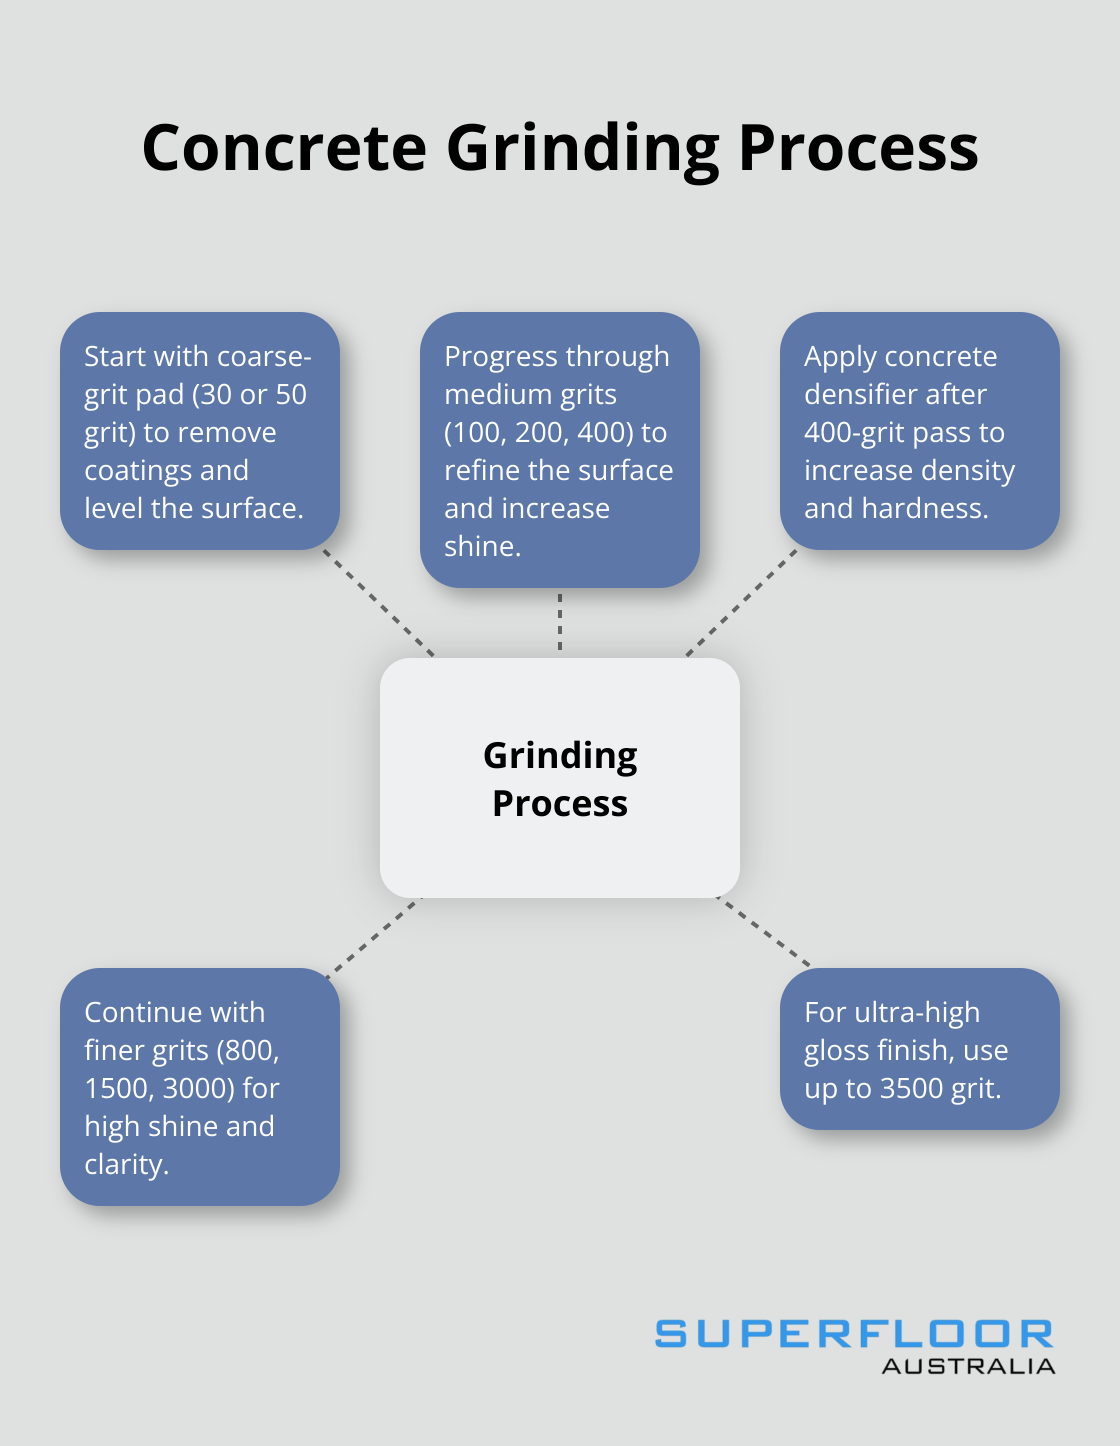
Begin with a coarse-grit pad (typically 30 or 50 grit). This initial grinding removes existing coatings and levels the surface. Work in overlapping passes to ensure even coverage. After the first pass, vacuum the floor thoroughly to remove all dust and debris.
Progress through medium grits (100, 200, 400). Each pass will refine the surface further, gradually increasing the shine. Vacuum between each grit change to prevent cross-contamination.
Applying a Densifier
After the 400-grit pass, apply a concrete densifier. This liquid penetrates the concrete, chemically reacting to increase its density and hardness. Use a weed sprayer to apply the densifier evenly (follow the manufacturer’s instructions for coverage and drying time).
Final Polishing
Once the densifier dries, continue with finer grits (800, 1500, 3000). These final passes will bring out the high shine and clarity in your stained concrete floor. For an ultra-high gloss finish, you can use up to 3500 grit.
The entire process typically takes several days, depending on the size and layout of the floor. Large areas naturally need more time and resources. However, the results justify the time investment. A properly polished stained concrete floor can last for decades with minimal maintenance, making it a cost-effective flooring solution in the long run.
While this guide provides a solid foundation, polishing concrete is a skill that takes practice to master. If you’re unsure about tackling this project yourself, consider reaching out to professional services (like Superfloor Australia). We have the expertise and equipment to ensure your stained concrete floors shine to perfection.
Now that you’ve mastered the polishing process, let’s move on to the finishing touches that will give your stained concrete floor that professional look.
How to Perfect Your Polished Concrete Floor
At Superfloor Australia, we know that the final touches transform a good polished concrete floor into an exceptional one. After the main polishing process, focus on these details to elevate your floor’s appearance and durability.
Ultra-High Shine Techniques
To achieve an unparalleled glossy finish, use ultra-fine grit pads (up to 3500 grit). This step demands patience and precision. Work in small sections and move the polisher in slow, overlapping circles. The floor will develop a mirror-like sheen. Clean the surface thoroughly between passes to remove any residual dust.
Protective Sealing Methods
Protect your hard work with a high-quality sealer. We recommend a penetrating sealer that bonds with the concrete. There are five main types of penetrating concrete sealers: Silane, Siloxane, Siliconate, Silicate or Silica, and Fluorinated.
Apply the sealer using a microfibre mop or a low-pressure sprayer (follow the manufacturer’s instructions carefully). You’ll typically need to apply two thin coats, allowing each to dry completely before the next. This process usually takes 24-48 hours, depending on humidity and temperature.
Proper Curing Procedures
Don’t use your newly polished floor immediately after sealing. Proper curing is essential for long-term durability. Wait at least 72 hours before allowing foot traffic and a full week before placing furniture or heavy items on the floor. This patience results in a floor that maintains its beauty for years.
During the curing process, maintain a consistent room temperature between 15-25°C (59-77°F). Extreme temperatures or humidity can affect the curing process and potentially compromise the finish.
Maintenance Tips for Longevity
To keep your polished concrete floor looking its best:

- Sweep or dust mop daily to remove abrasive particles.
- Clean spills promptly to prevent staining.
- Use pH-neutral cleaners for regular mopping (avoid harsh chemicals).
- Place mats at entrances to reduce dirt and grit tracked onto the floor.
- Apply felt pads to furniture legs to prevent scratches.
Final Thoughts
Polishing stained concrete floors transforms dull surfaces into gleaming, professional-grade finishes. This process requires careful preparation, the right tools, and expert techniques. The result is a durable, easy-to-maintain, and cost-effective flooring solution that resists stains, dust, and allergens.
While DIY enthusiasts can achieve good results, professional services often provide superior outcomes. We at Superfloor Australia bring expertise to concrete polishing projects in Brisbane and beyond. Our team delivers stunning, long-lasting floors tailored to individual needs (using specialised equipment and years of experience).
A well-executed polished concrete floor is an investment in your property’s beauty and functionality. It combines durability with timeless elegance, enhancing various environments from homes to commercial spaces. The end result will be a floor that stands the test of time and elevates the overall aesthetic of your space.