
At Superfloor Australia, we know that polished and sealed concrete floors are a game-changer for any space. They offer unparalleled durability, easy maintenance, and stunning aesthetics.
In this guide, we’ll walk you through the process of how to polish and seal concrete floors for lasting beauty. You’ll learn about the benefits, steps involved, and best practices to achieve professional-grade results.
What Is Concrete Polishing
The Transformation Process
Concrete polishing transforms ordinary concrete into a smooth, glossy surface. This multi-step process begins with grinding the concrete surface using progressively finer diamond-tipped tools. We start with coarse grits to remove imperfections and then move to finer grits for a smoother finish. This method exposes the aggregate within the concrete, creating a unique, natural look.
The next step involves the application of a chemical hardener (also known as a densifier). This substance penetrates the concrete, increasing its strength and resistance to stains and wear. The floor then undergoes further polishing with even finer grits to achieve the desired level of shine.
Benefits of Polished Concrete
Polished concrete floors offer numerous advantages:
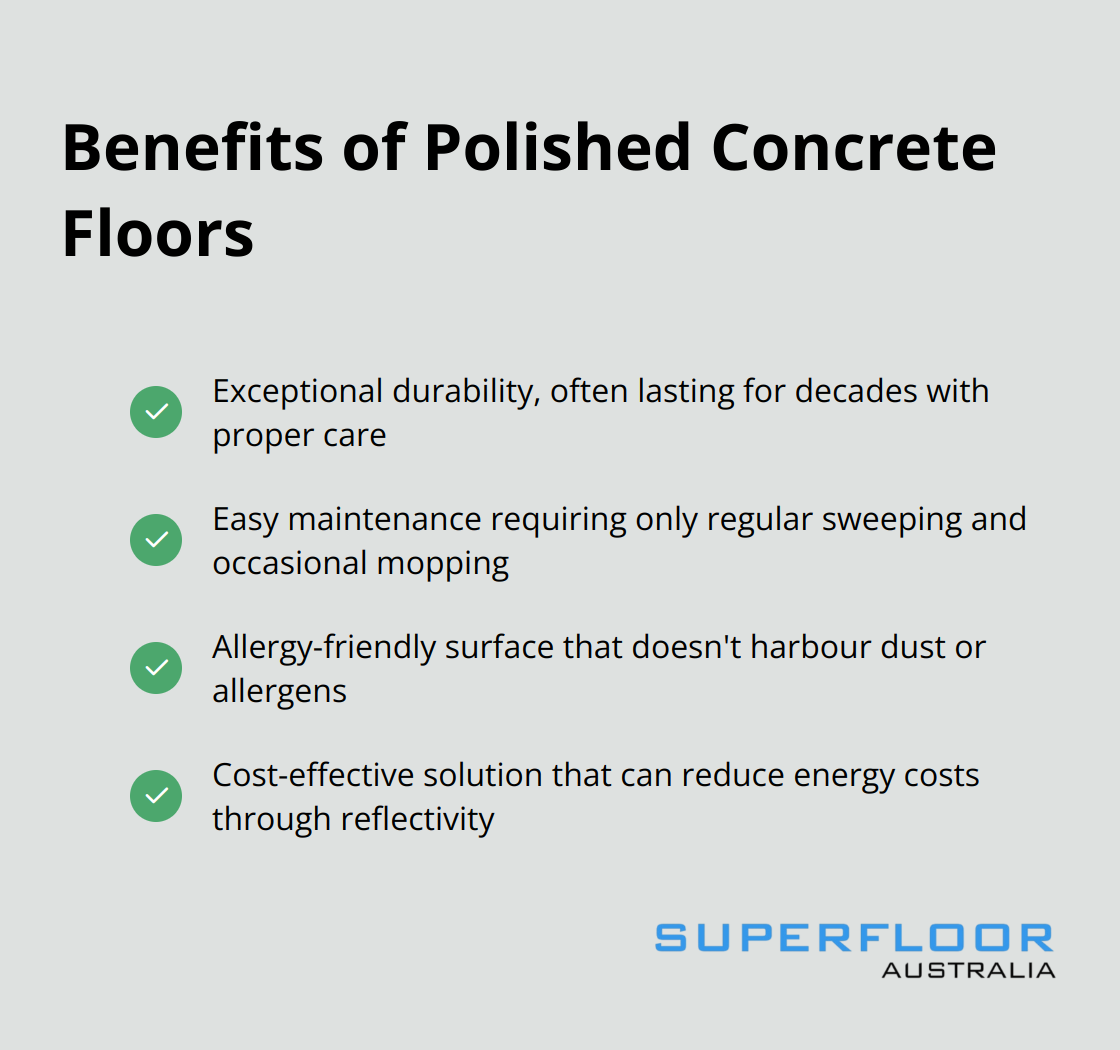
- Durability: These floors often last decades with proper maintenance.
- Easy Maintenance: The smooth surface requires only regular sweeping and occasional mopping.
- Allergy-Friendly: Dust and allergens can’t easily hide in crevices, making it ideal for allergy sufferers.
- Cost-Effective: Polished concrete can reduce energy costs significantly through reflectivity and ambient lighting.
Customisation Options
One of the most exciting aspects of polished concrete is its versatility. Various finishes are achievable, from a matte look to a high-gloss shine. The level of aggregate exposure can also be customised, ranging from a ‘cream’ finish (with minimal aggregate showing) to a ‘salt and pepper’ look (with more exposed aggregate).
Colour options are virtually limitless. Dyes or stains can be added during the polishing process to create vibrant hues or subtle tints. Some clients opt for decorative saw cuts or embedded objects (like coins or seashells) for a truly unique floor.
Applications in Various Settings
Polished concrete floors suit a wide range of environments. In residential settings, they add a modern, sleek touch to living spaces. Commercial areas benefit from their durability and low maintenance requirements. Industrial facilities appreciate their resistance to heavy machinery and frequent foot traffic.
The versatility of polished concrete makes it an excellent choice for both indoor and outdoor applications. Its slip-resistant properties (when properly treated) make it suitable for areas around pools or in high-traffic commercial spaces.
As we move forward, let’s explore the step-by-step process of how to achieve these beautiful, durable floors through proper polishing techniques.
How to Polish Concrete Floors
Preparing the Surface
The first step in concrete polishing involves thorough preparation. We inspect the floor for cracks, holes, or other imperfections. These are filled with a high-quality epoxy filler to ensure a smooth surface. Next, we clean the floor extensively, removing all dirt, grease, and previous coatings. This step is essential – any residue left on the surface can interfere with the polishing process and compromise the final result.
The Grinding Process
Once the floor is prepped, we start the grinding process. We use industrial-grade grinding machines equipped with diamond-embedded segments. We begin with coarse grit and gradually work our way up to finer grits. This progressive grinding process removes the top layer of concrete, exposes the aggregate underneath, and creates a smooth surface.
During this stage, we keep the floor wet to minimise dust and prevent the diamonds from overheating. We also regularly check the floor’s levelness to ensure an even finish across the entire surface.
Applying the Densifier
After the initial grinding stages, we apply a concrete densifier. This chemical solution penetrates the concrete surface, increasing surface density by sealing pores. This significantly hardens the concrete, making it more resistant to abrasion and stains.
We apply the densifier using a sprayer and work it into the surface with a soft broom. We allow it to dry completely before moving on to the next step (which usually takes about 24 hours).
Polishing for Perfection
With the densifier applied, we resume the grinding process, this time using progressively finer grits. We typically start at 100-grit and work our way up to 3000-grit or higher (depending on the desired level of shine). Each pass with a finer grit removes the scratches left by the previous grit, resulting in an increasingly smooth and reflective surface.
Throughout this process, we use specialised polishing pads designed to work with the hardened concrete surface. These pads, combined with the right amount of pressure and speed, are key to achieving a high-quality finish.
The Finishing Touch
The last step in our polishing process is burnishing. We use a high-speed burnisher equipped with a fine pad to bring out the maximum shine and hardness in the floor. This step also helps to further densify the surface, enhancing its durability.
For added protection, we often apply a penetrating sealer at this stage. This sealer retains a natural-looking finish while protecting the concrete surface from water, stains, and contaminants.
Polishing concrete floors is a time-intensive process, but the results are worth it. A well-polished concrete floor can last for decades with minimal maintenance, providing a beautiful and durable surface for any space. While DIY polishing is possible, achieving professional-grade results requires experience and specialised equipment.
Now that we’ve covered the polishing process, let’s explore the equally important step of sealing polished concrete floors to ensure their longevity and beauty.

Why Seal Your Polished Concrete Floor
Protection Against Stains and Damage
Sealing polished concrete floors provides essential protection. Concrete, even when polished, remains porous. Without a sealer, it becomes vulnerable to stains from spills, oil, and other contaminants. A high-quality sealer creates a protective barrier, which prevents these substances from penetrating the surface. This protection is particularly important in high-traffic areas or spaces prone to spills (such as kitchens or garages).
Enhanced Appearance and Longevity
A sealer doesn’t just protect; it enhances. It deepens the colour of the concrete, highlighting the natural beauty of the aggregate and any decorative elements. Moreover, it adds a layer of shine that can range from a subtle sheen to a high gloss, depending on your preference. This enhancement contributes to the overall aesthetic appeal of your polished concrete floor.
Types of Concrete Sealers
Two main categories of sealers exist: penetrating sealers and topical sealers. Penetrating sealers soak into the concrete, providing protection from within. They excel in outdoor areas as they don’t change the surface texture and resist peeling or wearing off.
Topical sealers form a protective film on the surface. They offer stronger stain resistance and can significantly boost the shine of your floor. However, they may require more frequent reapplication, especially in high-traffic areas.
For polished concrete, a combination approach often works best. A penetrating sealer is applied first for deep protection, followed by a thin layer of topical sealer for added shine and stain resistance.

Application Process
Applying a sealer requires more than just pouring it on and spreading it around. The concrete must be thoroughly cleaned and completely dry before application. Any moisture trapped under the sealer can lead to clouding or peeling.
Specialised equipment helps apply the sealer evenly, ensuring complete coverage without puddles or thin spots. The number of coats depends on the specific product and the level of protection desired. Between coats, adequate drying time and light sanding of the surface ensure proper adhesion.
Maintaining Sealed Concrete Floors
Sealed polished concrete floors require minimal maintenance. Regular sweeping and occasional damp mopping with a pH-neutral cleaner usually suffice. Harsh chemicals or abrasive cleaning tools should be avoided as they could damage the sealer.
Reapplication frequency depends on the type of sealer used and the amount of traffic the floor receives. Periodic resealing every few years will help preserve its stain resistance and finish. Watch how water behaves on your floor. If it no longer beads up, consider resealing. Early detection prevents damage to the underlying concrete and maintains your floor’s beautiful appearance.
Final Thoughts
Polishing and sealing concrete floors transforms ordinary surfaces into stunning, durable, and low-maintenance flooring solutions. The process elevates spaces with a beautiful finish that resists stains, repels dust, and maintains its luster for years. These floors also contribute to energy savings due to their reflective properties, which reduce the need for artificial lighting.
Professional installation ensures the best results when you polish and seal concrete floors. The process requires specialised equipment, technical expertise, and a deep understanding of concrete properties. Professionals can address challenges such as uneven surfaces, existing damage, or moisture issues that might compromise the final result.
Superfloor Australia offers top-tier flooring solutions for those in Brisbane seeking expert concrete polishing and sealing services. Their team delivers high-quality polished concrete floors for residential, commercial, and industrial spaces (with a focus on precision preparation and expert craftsmanship). Superfloor Australia strives to provide lasting results tailored to individual needs.