Concrete floor staining is a fantastic way to transform plain surfaces into stunning, durable works of art.
At Superfloor Australia, we’ve seen firsthand how this technique can elevate the look of any space, from residential homes to commercial buildings.
Our DIY guide will walk you through the process, helping you achieve professional-looking results without breaking the bank.
How to Prepare Your Concrete Floor for Staining
Surface Cleaning: The First Step
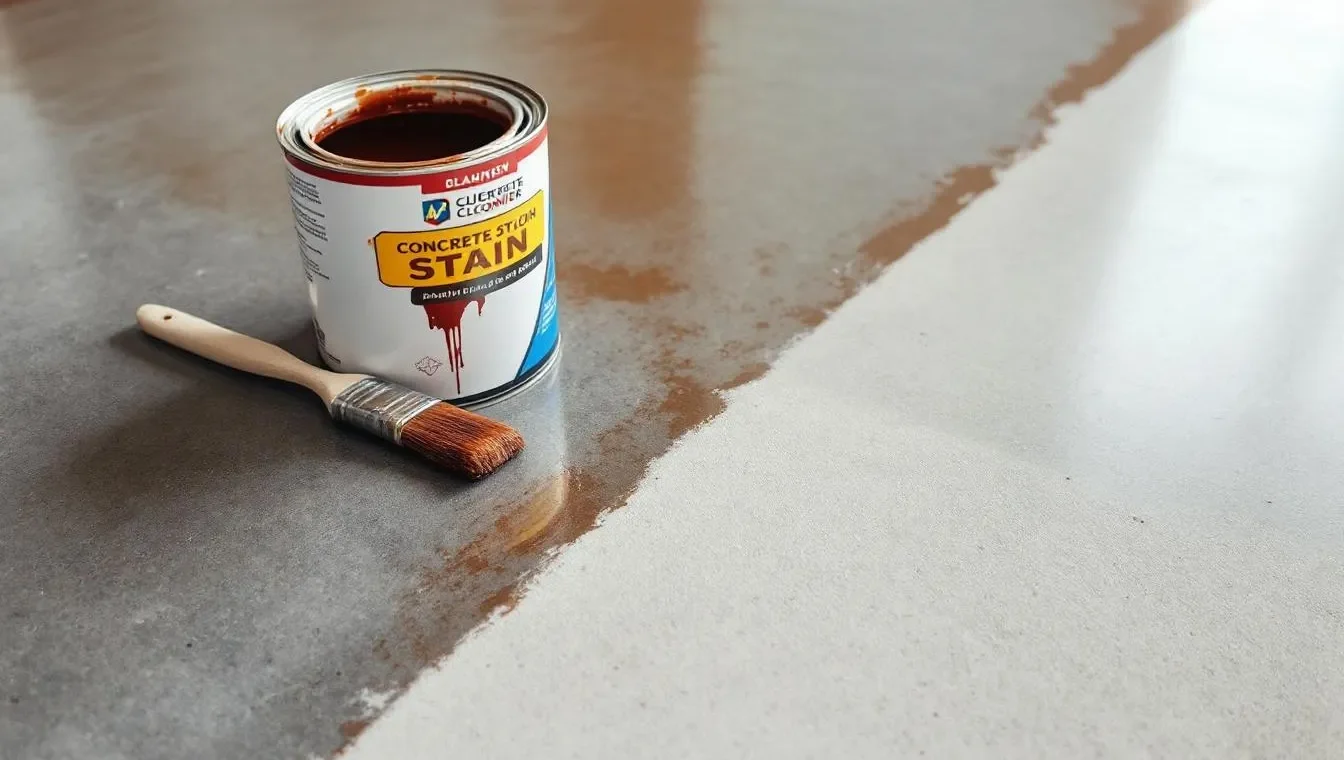
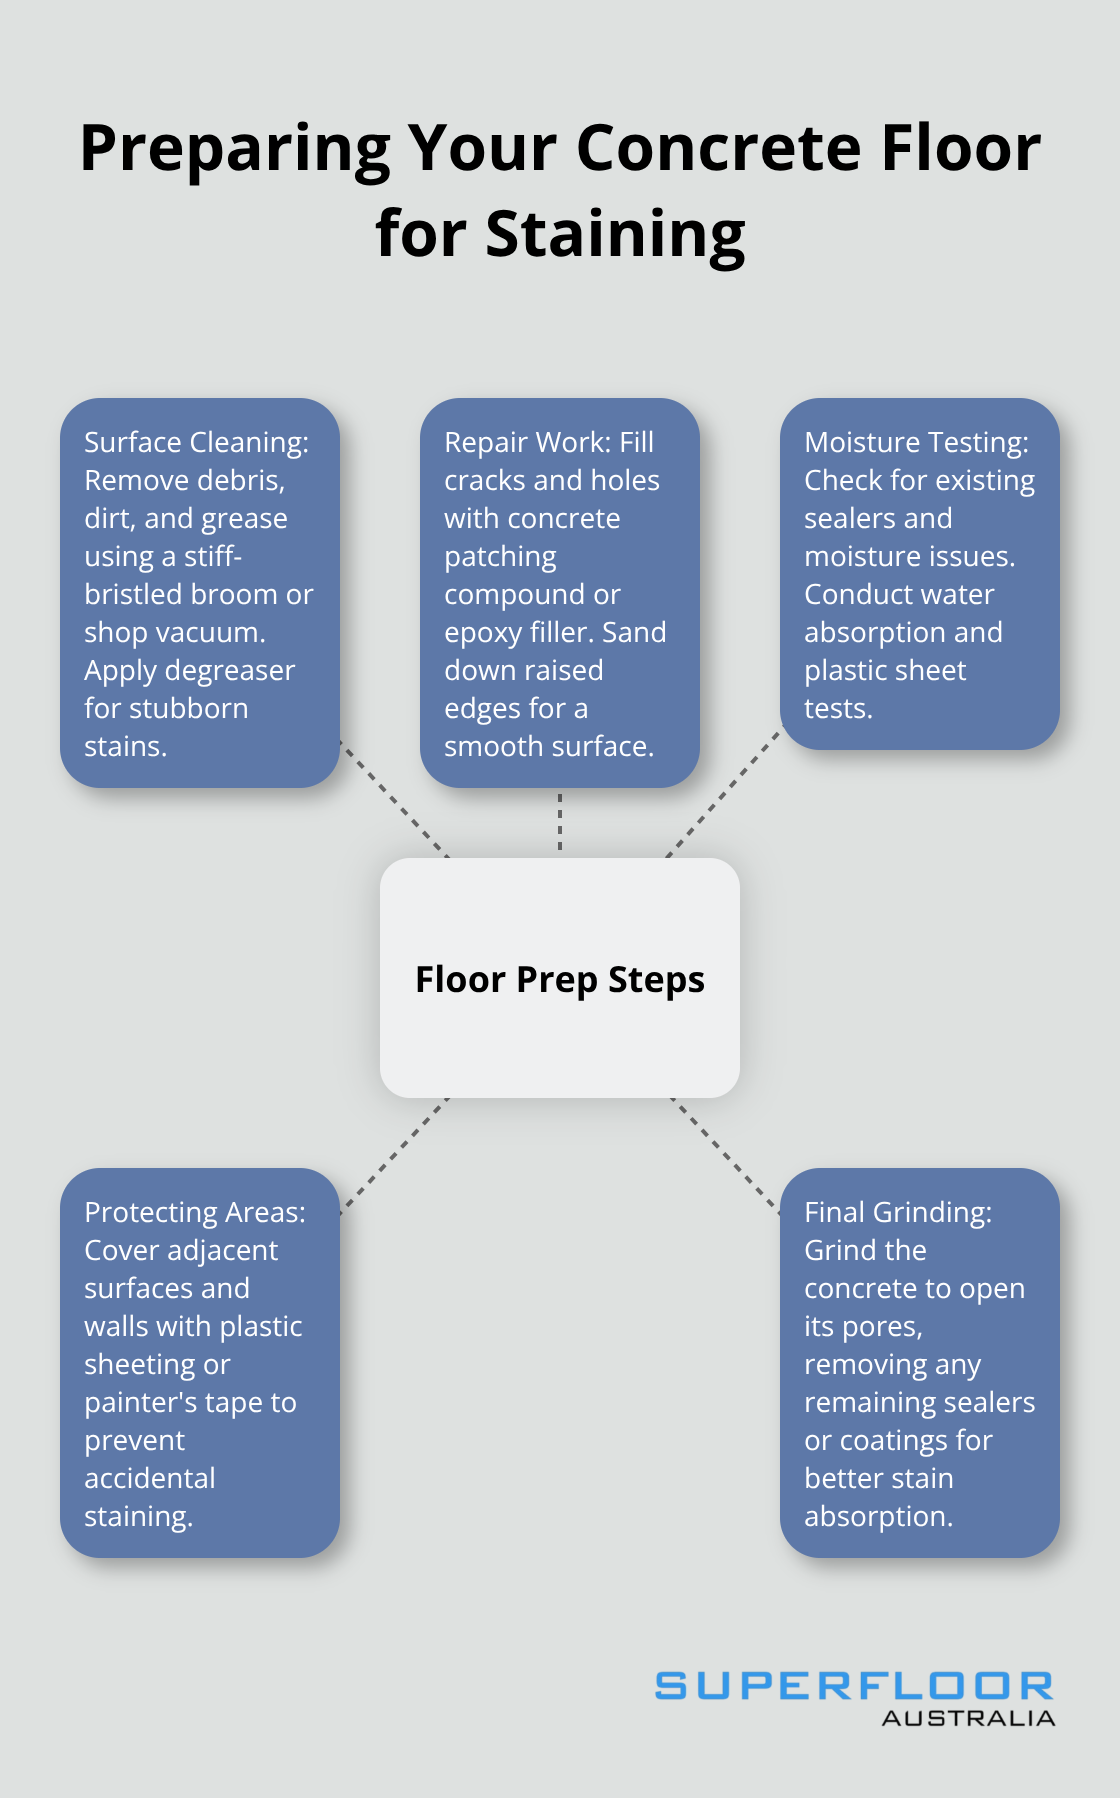
Start your concrete staining project with a thorough clean. Remove all debris, dirt, and grease from your floor. Use a stiff-bristled broom or shop vacuum to sweep away loose particles. For stubborn stains or oily spots, apply a degreaser and scrub vigorously. Rinse the floor with clean water and let it dry completely. This step ensures the stain adheres properly to the concrete surface.
Repair Work: Fixing Cracks and Imperfections
Inspect your floor for cracks, holes, or other imperfections. Fill small cracks with a concrete patching compound, while larger ones may need epoxy filler. After the filler dries, sand down any raised edges to create a smooth surface. Take your time during this step to achieve the best possible finish (stains will highlight imperfections).
Moisture and Sealer Testing: A Critical Check
Before you apply any stain, check for existing sealers and moisture issues. Spray water on the concrete and observe how quickly it soaks in. The way the water interacts with the concrete provides valuable insights into its porosity. This test can help determine if there’s a sealer present that needs to be removed. For moisture testing, tape a plastic sheet to the floor and leave it for 24 hours. If condensation forms underneath, address the moisture problem before staining.
Protecting Surrounding Areas: Prevent Unwanted Stains
Cover adjacent surfaces and walls with plastic sheeting or painter’s tape. This precaution prevents accidental staining of areas you don’t intend to colour. Pay special attention to baseboards, doorways, and any fixed furniture or appliances that can’t be moved.
Final Preparation: Creating an Ideal Surface
The final prep step involves grinding the concrete to open its pores. This process removes any remaining sealers or coatings and creates a surface that will improve stain absorption. Vacuum the surface again to remove any dust created during this process. Your floor is now ready for staining.
The preparation phase sets the foundation for a beautiful, long-lasting stained concrete floor. With your surface clean, repaired, and properly prepped, you’re ready to move on to the exciting part: choosing the perfect colour for your concrete floors.
Choosing the Right Concrete Stain for Your Project
Selecting the perfect concrete stain is a key step in transforming your floors. We at Superfloor Australia have extensive experience with various stains and can provide guidance through the selection process.
Acid-Based vs. Water-Based Stains: Understanding the Differences
Acid-based and water-based stains have distinct characteristics that can impact your concrete project. Acid stains create a chemical reaction with the concrete, resulting in unique, variegated colours. They penetrate deeply into the surface, resulting in a natural, mottled appearance that many homeowners appreciate. However, these stains offer a limited colour palette, typically consisting of earth tones and muted hues.
Water-based stains, in contrast, are more user-friendly and environmentally safe. They come in a wider range of colours (including vibrant options) and provide more consistent coverage. For DIY projects, water-based stains often become the preferred choice due to their ease of application and predictable results.
Colour Selection: Making the Right Choice
When you select a colour, consider your existing decor and the atmosphere you want to create. Lighter colours can make a space appear larger and brighter, while darker tones add depth and warmth. We recommend testing several colours on small, inconspicuous areas of your floor before making a final decision.
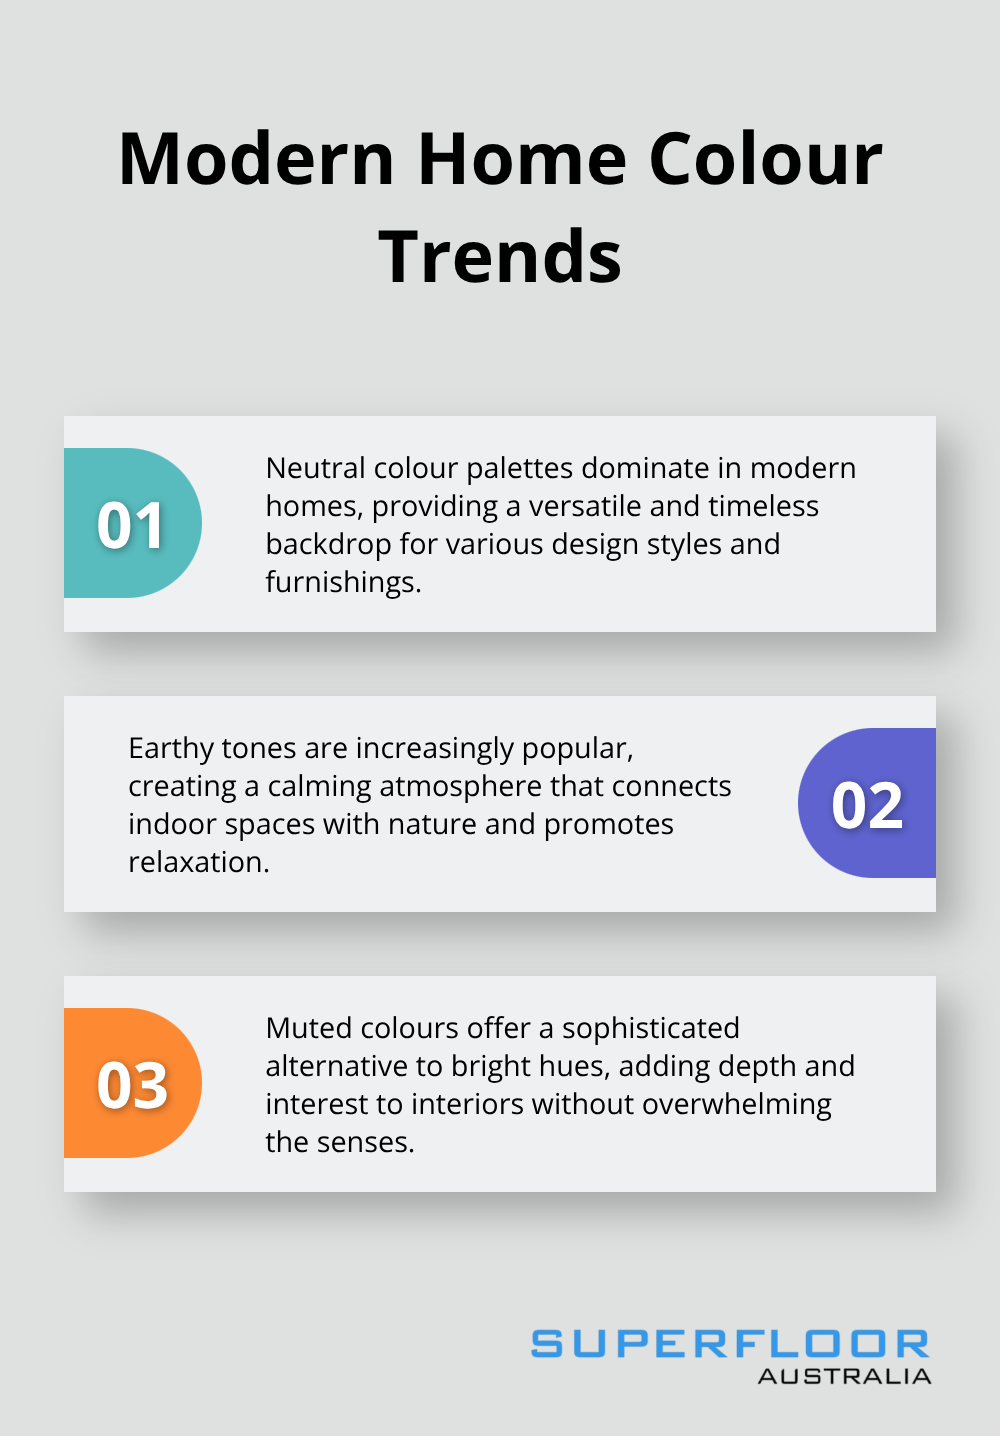
Recent trends show that neutral colour palettes are still dominating in many modern homes, with earthy tones and muted colours creating a calming atmosphere. However, don’t hesitate to choose bold colours if they align with your style preferences.
Application Methods and Coverage: Achieving the Best Results
The application method you choose will affect the final look of your stained concrete. Sprayers offer the most even coverage and work well for large areas. Rollers and brushes can create interesting textures but require more skill to avoid streaks.
Coverage rates vary depending on the stain type and concrete porosity. Always check the manufacturer’s specifications for accurate estimates.
Durability and Maintenance: Ensuring Long-Lasting Beauty
Stained concrete is known for its longevity, but proper sealing is essential to maintain its appearance. A high-quality sealant provides additional protection. Two common types of sealers are film-forming and penetrating, each with their own benefits and suitable applications.
For ongoing maintenance, regular sweeping and occasional mopping with a pH-neutral cleaner will keep your floors looking their best. Avoid harsh chemicals or abrasive cleaning tools that can damage the stain or sealer.
In high-traffic areas, you might need to reapply sealer every 2-3 years. This simple step can significantly extend the life of your stained concrete floor.
Now that you’ve selected the perfect stain for your project, it’s time to move on to the actual application process. The next section will guide you through the step-by-step staining process, ensuring you achieve professional-looking results.
How to Apply Concrete Stain Like a Pro
Prepare Your Stain
Mix your chosen stain according to the manufacturer’s instructions. Use a pump sprayer with a conical tip nozzle for even coverage. Work in small sections (typically 5×5 feet) to maintain control over the application.
Apply the Stain
For acid stains, wear protective gear (gloves, goggles, and a respirator). Apply the stain in a circular motion to help prevent puddling and ensure better penetration. Water-based stains can be applied with a sprayer, roller, or brush. For larger areas, a sprayer is most efficient. Maintain a consistent distance from the surface (about 18 inches) to achieve uniform coverage.
Allow Proper Drying Time
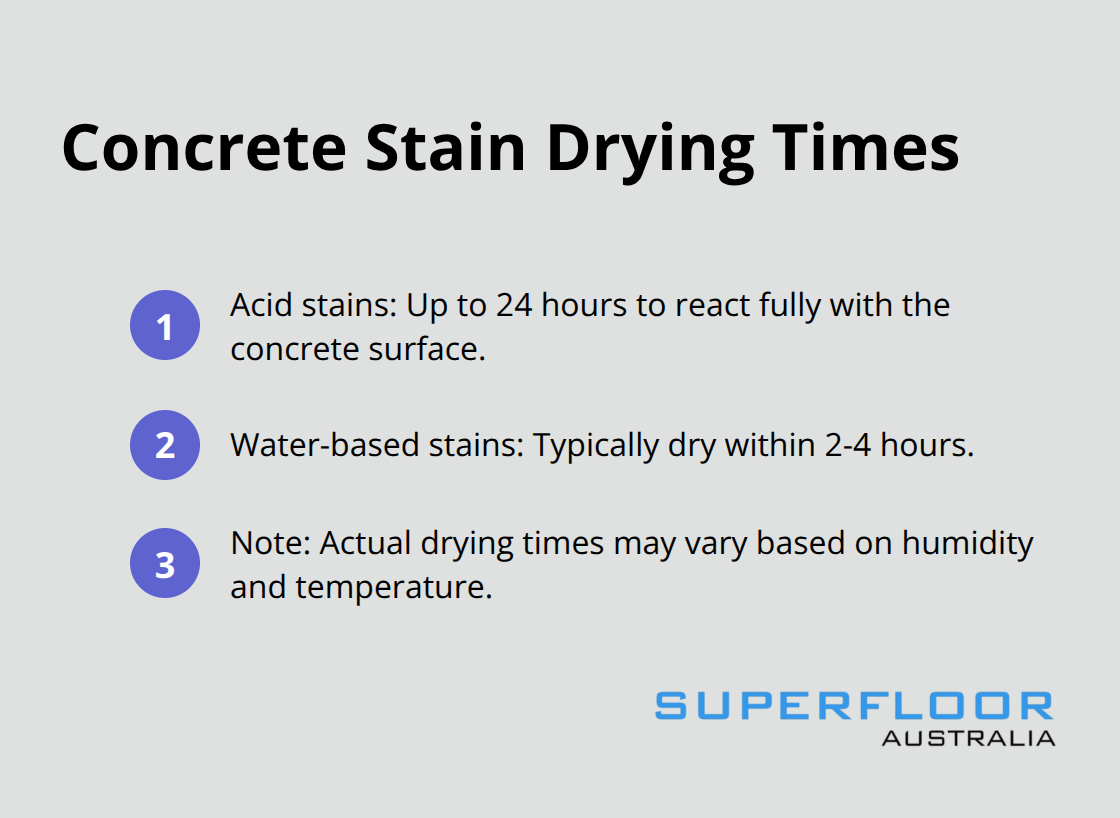
Acid stains usually require 4-24 hours to react fully with the concrete. Water-based stains generally dry faster (often within 2-4 hours). These times can vary based on humidity and temperature. Avoid walking on the stained surface during this time. If you must, wear spiked shoes to minimise contact.
Neutralise Acid Stains
If you’ve used an acid stain, neutralisation is essential. Mix a solution of water and baking soda (1 cup per 5 gallons of water). Apply this mixture evenly across the floor using a mop or sprayer. This step stops the chemical reaction and prepares the surface for sealing. After neutralising, rinse the floor thoroughly with clean water. Use a wet vacuum to remove all residue. The floor should be completely clean and pH neutral before proceeding.
Apply Multiple Coats (Optional)
For richer colour or unique effects, apply multiple coats of stain. Allow each coat to dry fully before applying the next. This technique can create depth and interesting variations in the final appearance. Two colours can be mixed wet-on-wet, or for sharper boundaries of colours wet-on-dry for more dramatic effects (allow 5 hours for the first colour to dry).
Seal the Stained Concrete
Choose a sealer compatible with your stain type. For most residential applications, a water-based acrylic sealer offers a good balance of protection and ease of application. Apply the sealer using a pump sprayer or roller, working in thin, even coats. Two coats are typically sufficient (but always follow the manufacturer’s recommendations). Allow proper drying time between coats (usually 2-4 hours).
For added durability in high-traffic areas, consider a polyurethane or epoxy sealer. Epoxy floors are harder, stronger and more durable than polyurethanes, making them the best choice for factories, warehouses and industrial workplaces that have heavy traffic.
Final Thoughts
Concrete floor staining transforms ordinary surfaces into extraordinary works of art. This DIY project offers durability, easy maintenance, and endless design possibilities for both modern and rustic aesthetics. The process requires meticulous preparation and careful application techniques, but the results can impress for years to come.
Stained concrete floors blend beauty and functionality, creating a lasting masterpiece beneath your feet. You can achieve stunning results that reflect your personal style with the right tools, materials, and patience. The eco-friendly nature of this project can also increase your property’s value.
For those seeking professional assistance or tackling larger projects, we at Superfloor Australia specialise in high-quality polished concrete flooring solutions. Our expertise can enhance both the aesthetics and durability of your space (residential or commercial). Contact us to explore how we can elevate your concrete floors to new heights.