At Superfloor Australia, we’ve seen a growing interest in DIY concrete polishing amongst homeowners. This guide will walk you through the process of transforming your concrete floors into stunning, durable surfaces.
Whether you’re renovating your garage or upgrading your living space, our step-by-step instructions for DIY concrete polishing in Australia will help you achieve professional-looking results. Let’s dive into the world of concrete polishing and discover how you can enhance your home’s aesthetics and value.
What Is Concrete Polishing
The Concrete Polishing Process
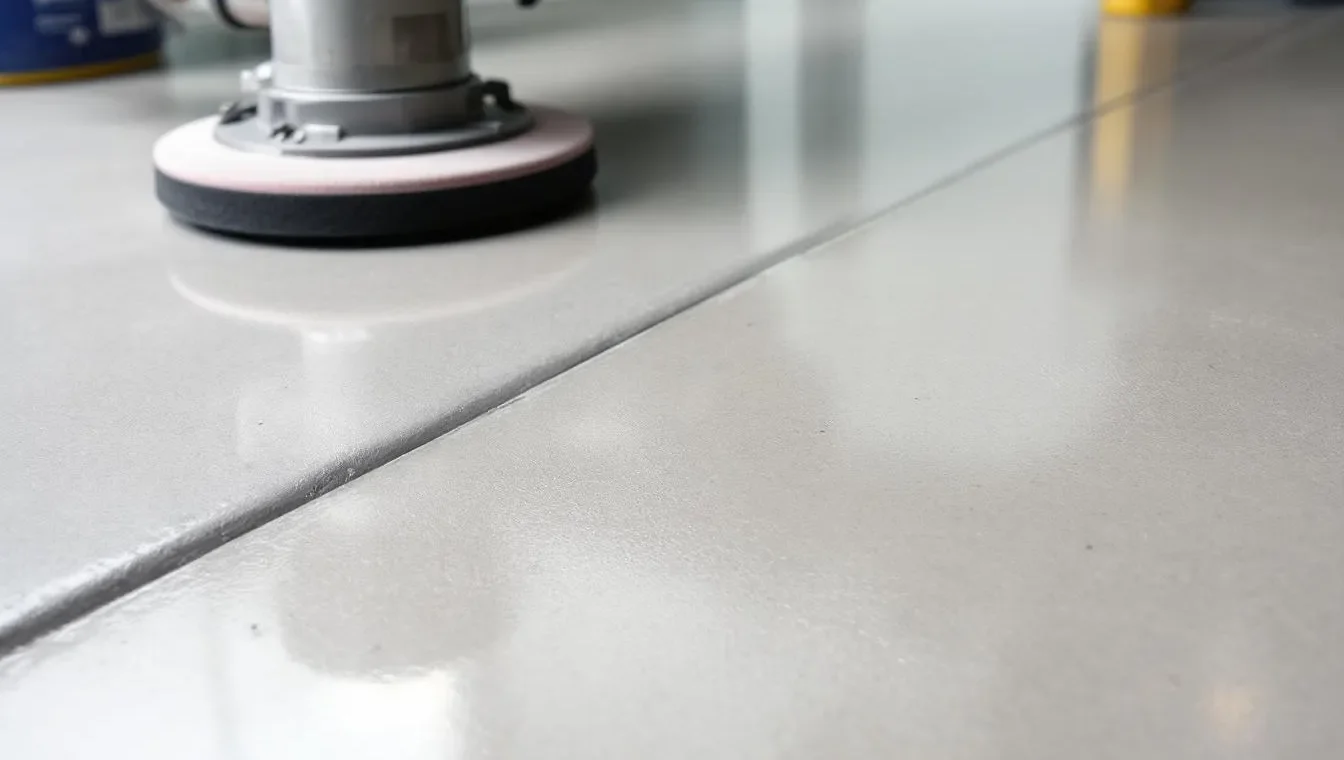
Concrete polishing transforms ordinary concrete floors into smooth, glossy surfaces. At Superfloor Australia, we use this technique to create stunning, durable floors for homes and businesses across Brisbane. The process involves grinding concrete with progressively finer abrasives. We start with coarse diamond-embedded segments to remove imperfections and flatten the surface. Then, we use increasingly fine grits to achieve the desired level of shine. This method exposes the aggregate within the concrete, creating a unique, natural look.
Benefits of Polished Concrete Floors
Polished concrete floors offer numerous advantages:
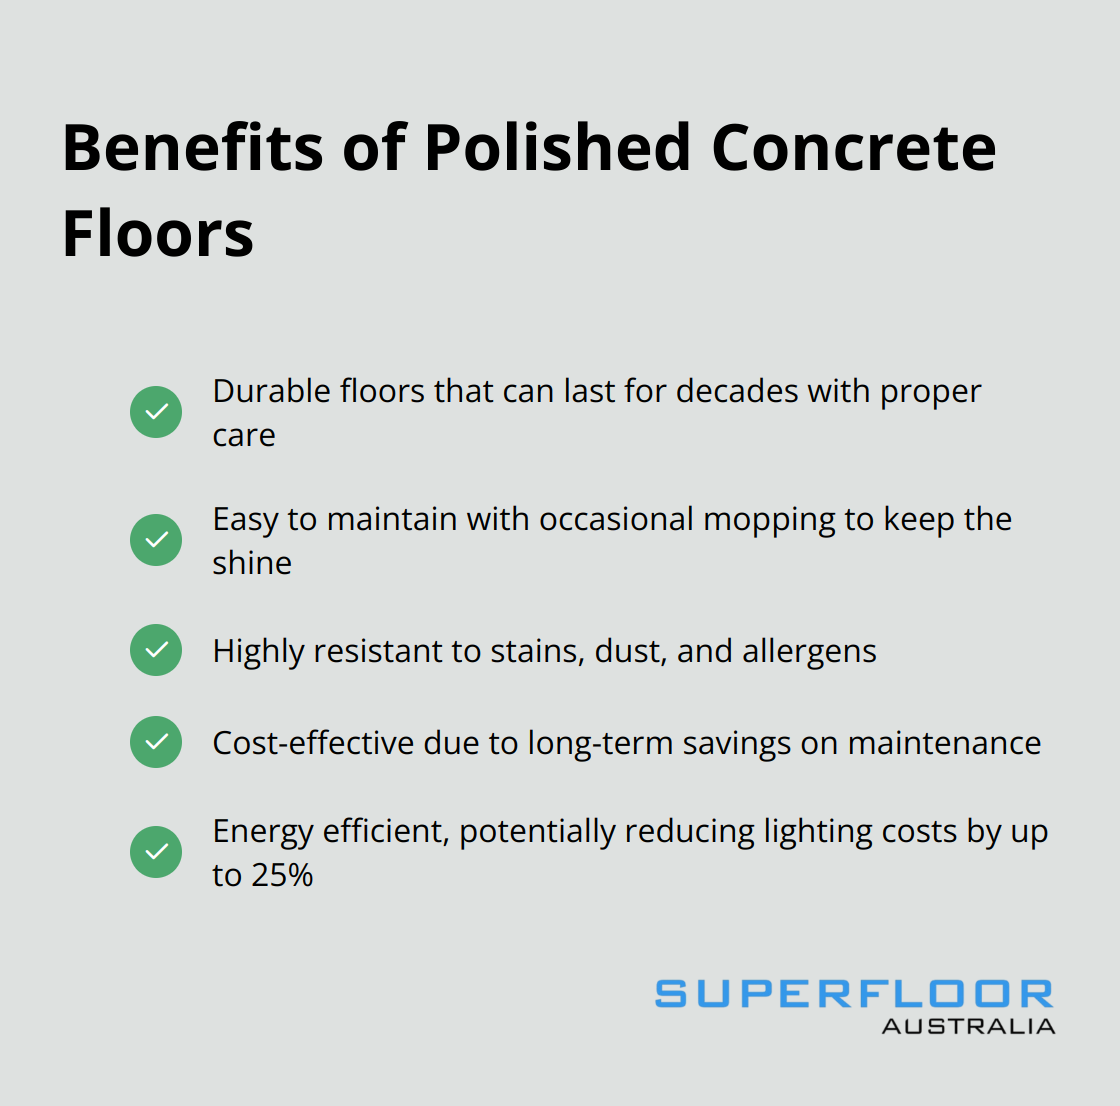
- Durability: These floors often last decades with proper maintenance.
- Easy maintenance: The smooth surface requires only occasional mopping to maintain its shine.
- Resistance: Highly resistant to stains, dust, and allergens (great for allergy sufferers).
- Cost-effectiveness: While initial investment might be higher than some flooring options, long-term savings on maintenance and replacement make it economical.
- Energy efficiency: The reflective surface can help reduce lighting costs (up to 25% in some spaces).
Essential Tools for DIY Polishing
If you consider a DIY approach, you’ll need specific tools:
- Concrete grinder (the most crucial piece of equipment)
- Diamond-embedded pads in various grits (from coarse to fine)
- Quality vacuum system for dust control
- Concrete densifier (hardens the surface)
- Stain guard or sealer for protection
It’s important to note that professional-grade equipment can be expensive and challenging to operate without proper training. While DIY is possible, achieving a high-quality finish requires significant skill and experience.
Safety Considerations
Safety should be your top priority when you polish concrete. Always wear appropriate personal protective equipment, including:
- Safety glasses
- Dust masks
- Ear protection
Ensure proper ventilation in your work area to minimise dust inhalation. If you’re unsure about any aspect of the process, it’s best to consult with professionals to avoid potential injuries or damage to your concrete surface.
Now that we understand what concrete polishing is and its benefits, let’s move on to the crucial first step: preparing the concrete surface for polishing.
How to Prepare Your Concrete Surface
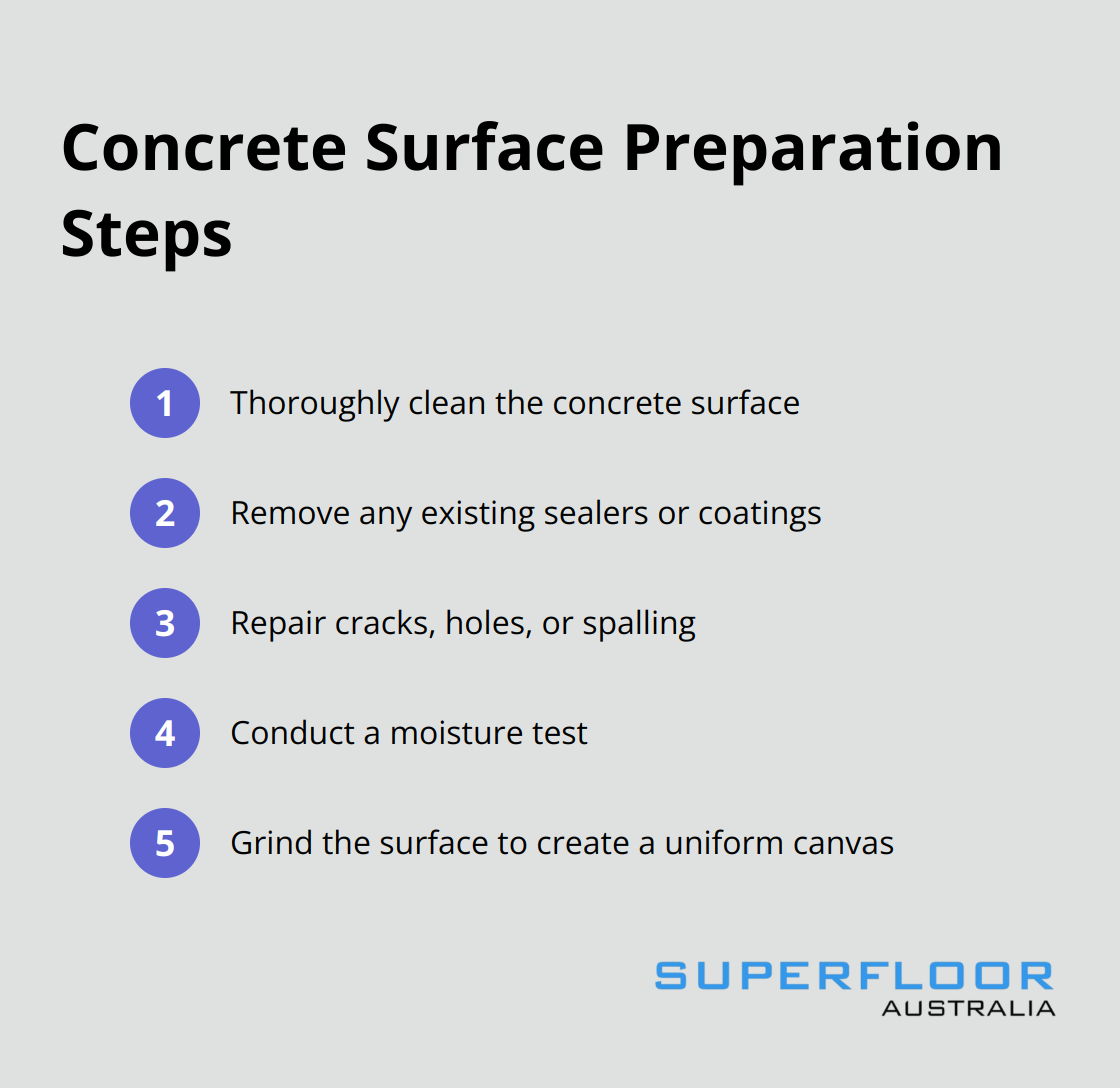
Thorough Cleaning
Start with a deep clean of your concrete. Use a high-pressure washer to remove dirt, grime, and loose debris. For stubborn stains, apply a degreaser or concrete cleaner. Let it sit for 15-20 minutes before scrubbing with a stiff-bristled brush. Rinse thoroughly and allow the surface to dry completely. This step ensures an even polish and prevents future issues. Professionals use a fine grit abrasive pad to truly enhance the durability and visual appeal of the concrete floor.
Removing Existing Coatings
If your concrete has an existing sealer or coating, remove it. Use a chemical stripper designed for concrete. Apply it evenly and let it sit according to the manufacturer’s instructions (usually about 30 minutes). Then, use a floor scraper or a grinding machine with a coarse diamond pad to remove the loosened coating. You might need to repeat this process for stubborn coatings.
Repairing Imperfections
Inspect your cleaned surface for cracks, holes, or spalling. For small or shallow chips, divots, and spalls, using cement-based patching mixtures is your best bet. Allow all repairs to cure fully before proceeding.
Moisture Testing
Conduct a simple moisture test by taping a clear plastic sheet (about 18 inches square) to the concrete. Seal all edges with tape and leave it for 24 hours. If condensation forms under the plastic or the concrete darkens, you have a moisture issue. In this case, apply a moisture barrier before polishing.
Creating a Smooth Canvas
Start by grinding the surface to create a uniform surface for polishing. Work in overlapping passes, ensuring you cover the entire area evenly. Consider various concrete preparation methods to select the right one for your project, such as shot blasting or hydroblasting.
Proper preparation takes time but yields excellent results. It forms the foundation for a beautiful, long-lasting polished concrete floor. If you encounter unexpected issues during this process, consider reaching out to professionals. Now that your surface is prepared, let’s move on to the exciting part: the step-by-step polishing process.
How to Polish Concrete Step by Step
Grinding the Concrete Surface
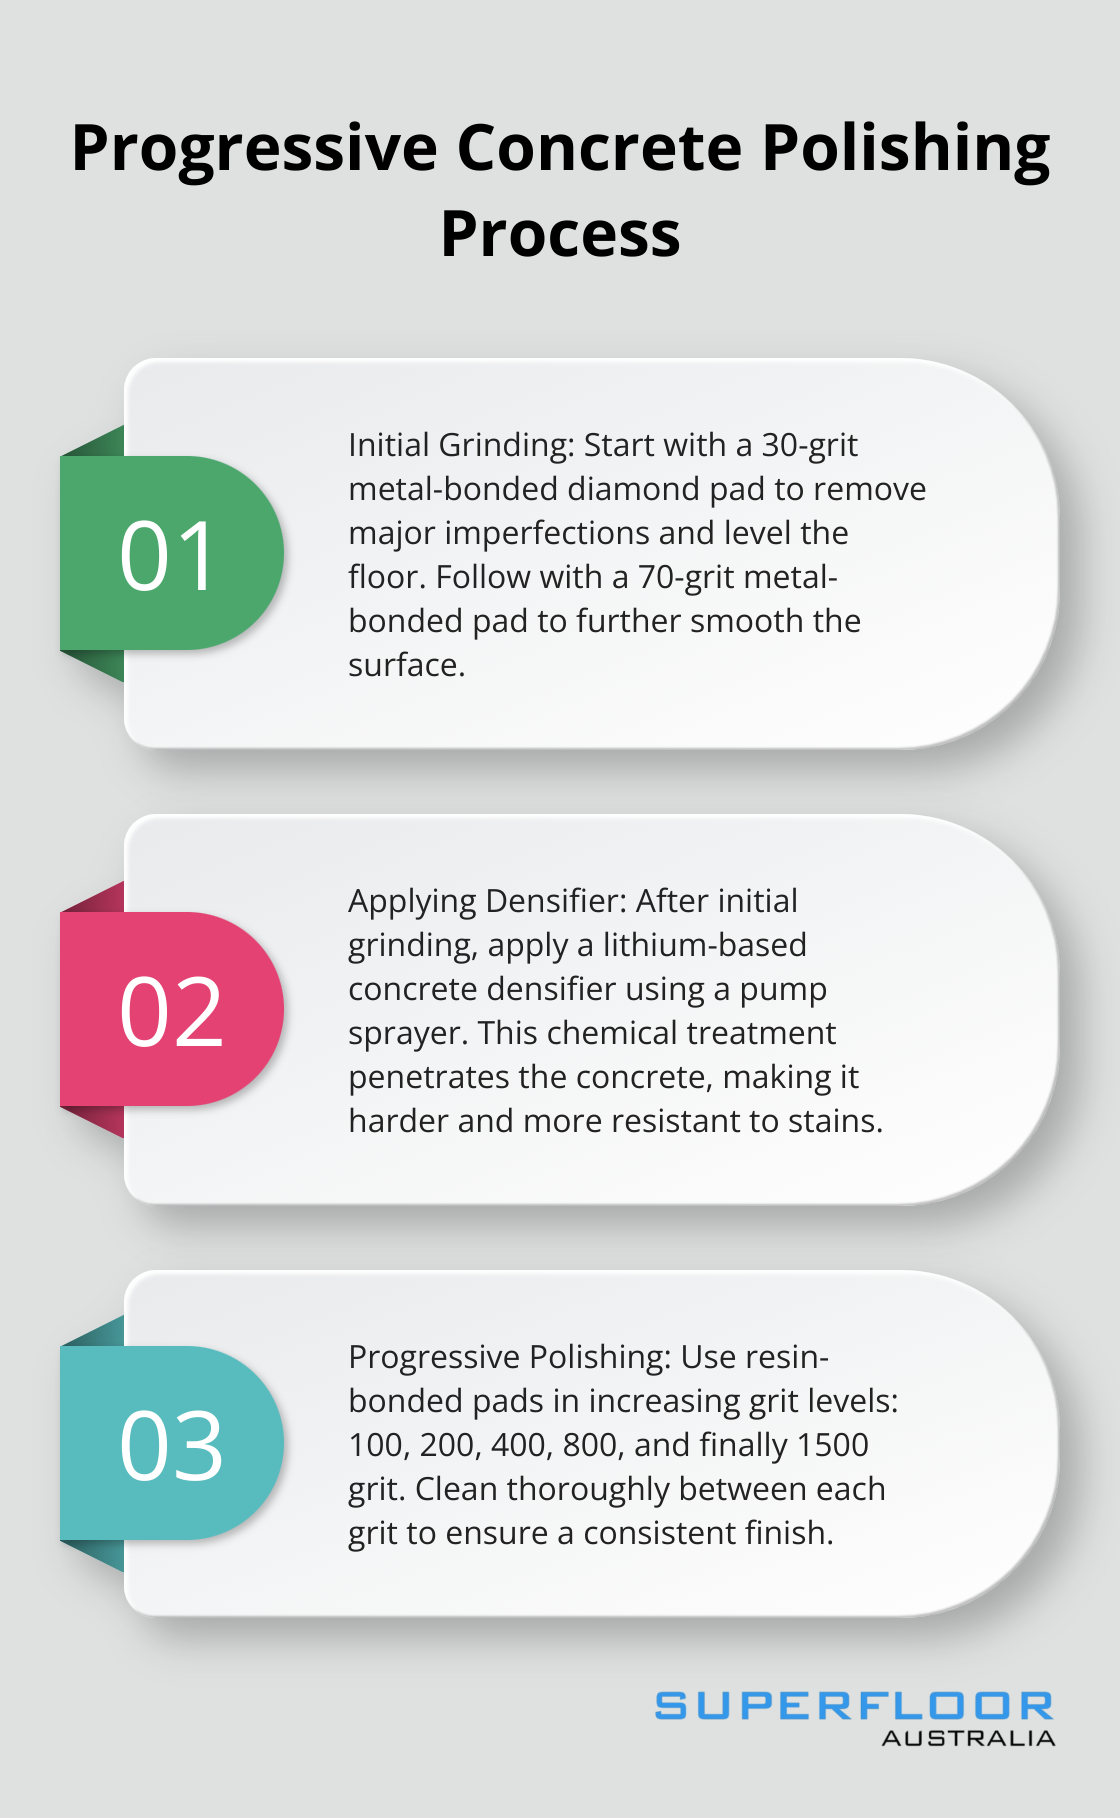
Start with a 30-grit metal-bonded diamond pad to remove major imperfections and level the floor. Work in overlapping passes, move at a steady pace of about 1 metre per second. This initial grind typically removes about 3mm of concrete (be cautious near edges and corners).
Switch to a 70-grit metal-bonded pad to further smooth the surface. This step usually takes about 4-6 hours for a 100 square metre area. Vacuum thoroughly between grits to prevent scratching from loose particles.
Applying Concrete Densifier
After the initial grinding, apply a lithium-based concrete densifier. This chemical treatment penetrates the concrete, makes it harder and more resistant to stains. Use a pump sprayer to apply the densifier evenly. Allow it to dry before you proceed.
Progressive Polishing
Now transform the rough surface into a glossy finish. Start with a 100-grit resin-bonded pad, followed by 200, 400, 800, and finally 1500 grit. Each pass should take about 2-3 hours for a 100 square metre area.
Overlap your passes by about 30% to ensure even coverage. After each grit, clean the floor thoroughly with a vacuum and damp mop. This prevents scratching and ensures a consistent finish.
Final Sealing
Once you achieve the desired level of shine, protect your hard work. Apply a penetrating sealer using a microfibre mop. Allow the sealer to dry before you walk on the surface.
For best results, apply a second coat of sealer after 24 hours. This double application provides superior protection against stains and makes future maintenance easier.
Polishing concrete is a time-consuming process, often takes 3-5 days for a typical residential project. While DIY is possible, a truly professional finish requires specialised equipment and extensive experience. If you’re unsure at any point, don’t hesitate to consult with professionals. At Superfloor Australia, we’re always happy to provide advice or take over the project to ensure you get the stunning, durable floor you desire.
Final Thoughts
DIY concrete polishing in Australia requires careful planning, proper tools, and significant time investment. Each stage of the process demands patience and attention to detail to achieve a high-quality finish. The specialised equipment needed can be expensive, and using these tools effectively takes practice.
Professional help might be necessary if you encounter unexpected issues or feel overwhelmed. At Superfloor Australia, we offer expertise in delivering polished concrete flooring in Brisbane. Our team handles projects of any size, ensuring durable and visually stunning results.
The key to successful DIY concrete polishing lies in proper preparation and the right techniques (plus a healthy dose of patience). If you want to guarantee a flawless finish without the hassle, don’t hesitate to reach out to professionals who can bring your vision to life.